Follow this procedure to gain access to the customer’s system via Support Mode.
- SSH into the proxy server (tacp-proxy.cp.lenovo.com) using a valid Support ID.
For example:
marc.lavergne is an example Support ID in the following:
Figure 1. Virtual Office sign-in page 
- The SSH session CLI displays. Enter the following command:
ssh -p [user’s port number] cldtx_support@localhost
where the user’s port number is the number shown in the user’s Cloud Controller Support Mode screen.
In this example, the user’s switch port number is 11076.
Figure 2. Command to connect to customer’s interconnect 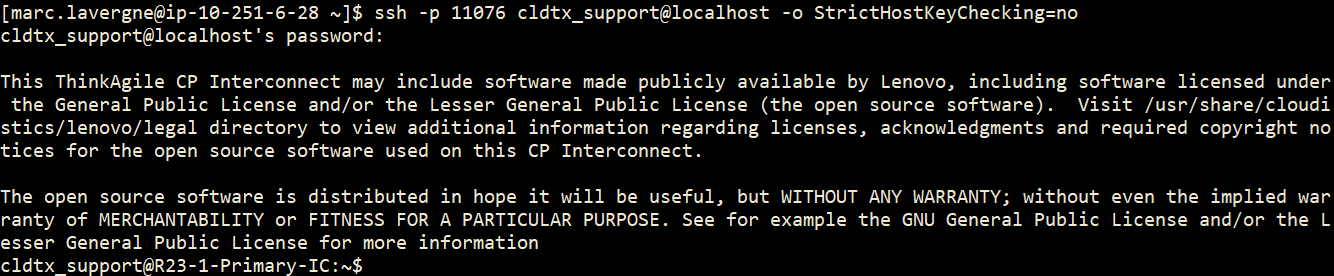
- Access a storage or compute node by first looking for the IP address of the node under the hardware section on the Cloud Controller or at /var/lib/dhcp/dhpcd.leases via the CLI. Then use the following command to connect to the node:
ssh -i ~/.ssh/<pri_file> cldtx_support@<ip>
where <ip> is the IP address of the node you are trying to connect to and <pri_file> is the private key file.
- If the configuration has dual switches, -b needs to be added to the node connect command, thus making it:
ssh -b 192.168.1.1 -i .ssh/<pri_file> cldtx_support@<ip> #primary
ssh -b 192.168.1.2 -i .ssh/<pri_file> cldtx_support@<ip> #secondary
Rather than looking up the Multi-enclosure Link Aggregation Group (MLAG) IP for the switch, you can run the following commands:
source /etc/tacp/tacp_switch_resource.shecho $MLAG_VLAN_IPssh -b $MLAG_VLAN_IP -i .ssh/<pri_file> cldtx_support@<ip>