Place a support file on the storage or compute node
This section covers the procedure to place a support file on a storage or compute node.
Follow these steps to place a support file on a storage or compute node:
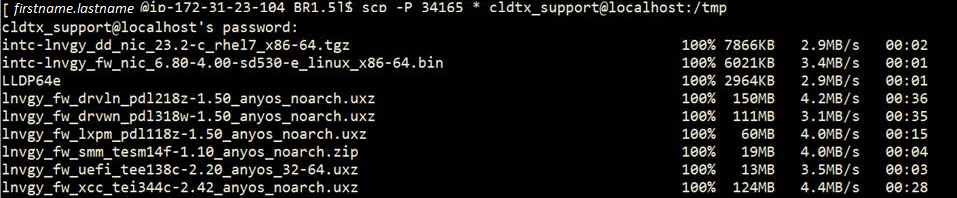
- Use SCP to copy the firmware packages (and LLDP64e) from your laptop to the directory on the proxy server:

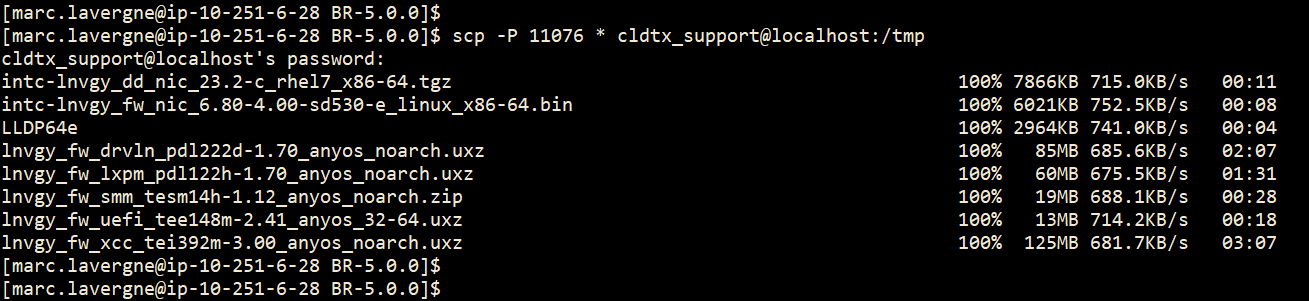
- Use scp to copy the files from the SSH proxy to the primary interconnect switch (in the example, the files are copied to a /tmp directory)
 Note
NoteThe port number used to connect to the interconnect switch is provided when the customer enables Support Mode.
- Verify that the files that you copied are in the temporary directory.
Give feedback