Install a hot-swap power supply
Use this information to install a hot-swap power supply.


The following tips describe the type of power supply that the storage supports and other information that you must consider when you install a power supply:
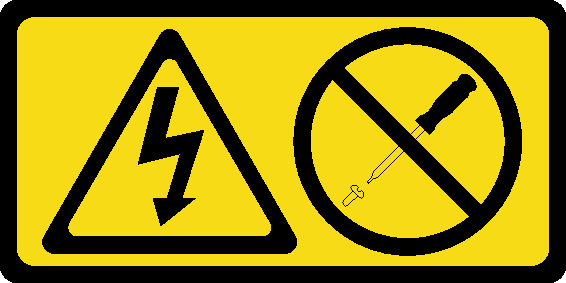
Never remove the cover on a power supply or any part that has this label attached.
Hazardous voltage, current, and energy levels are present inside any component that has this label attached. There are no serviceable parts inside these components. If you suspect a problem with one of these parts, contact a service technician.

To avoid a shock hazard:
- Do not connect or disconnect any cables or perform installation, maintenance, or reconfiguration of this product during an electrical storm.
- Connect all power cords to a properly wired and grounded electrical outlet.
- Connect to properly wired outlets any equipment that will be attached to this product.
- When possible, use one hand only to connect or disconnect signal cables.
- Never turn on any equipment when there is evidence of fire, water, or structural damage.
- Disconnect the attached power cords, telecommunications systems, networks, and modems before you open the device covers, unless instructed otherwise in the installation and configuration procedures.
- Connect and disconnect cables as described in the following table when installing, moving, or opening covers on this product or attached devices.
| To Connect: | To Disconnect: |
|---|---|
|
|
Before installing a hot-swap power supply:
Touch the static-protective package containing the new hot-swap power supply to any unpainted surface on the outside of the storage.
Take the new hot-swap power supply out of the package and place it on a static-protective surface.
Procedure performed by: customer or field service
To install a hot-swap power supply, complete the following steps:
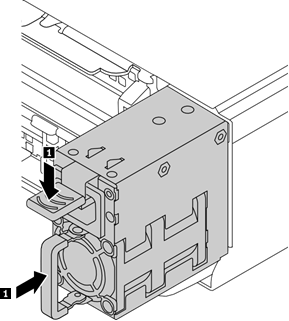
- Press the release tab down, and slide the new hot-swap power supply into the bay at the same time until the release latch clicks into place.Figure 1. Hot-swap power supply installation (1/2)
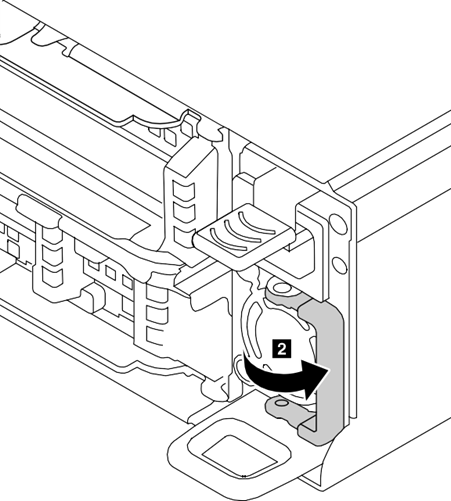
- Close the handle.Figure 2. Hot-swap power supply installation (2/2)
After installing the power supply:
Connect one end of the power cord to the new power supply connector. Then, connect the other end of the power cord into a properly grounded electrical outlet.
Ensure that the power supply LED is lit, indicating that the power supply is operating properly.