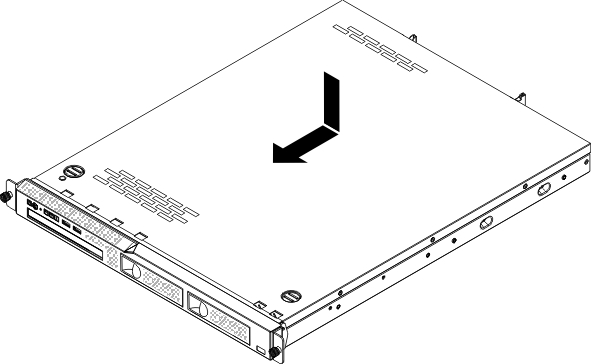
Replacing the cover
Use this information to replace the cover.
Make sure that all cables, adapters, and other server components are installed and seated correctly and that you have not left loose tools or parts inside the server. Also, make sure that all internal cables are correctly routed.
Important
Before you slide the cover forward, make sure that all the tabs on the front, rear, and side of the cover engage the chassis correctly. If all the tabs do not engage the chassis correctly, it will be very difficult to remove the cover later.
To replace the server cover, complete the following steps.
If you have replaced a server component or installed an optional device in the server, you need to reconnect the power cords and all external cables, and turn on the server and peripheral devices.
Give documentation feedback
