Activating Intel® On Demand
Installing Intel On Demand to processor
Install Intel On Demand features to the processor with the Activation Key downloaded from the the Lenovo Features on Demand website via XCC Web GUI, XCC REST API or LXCE OneCLI.
Use XCC Web GUI to install Intel On Demand
- Open XCC Web GUI, go to to upload the Activation KeyFigure 1. Uploading Activation Key via XCC Web GUI
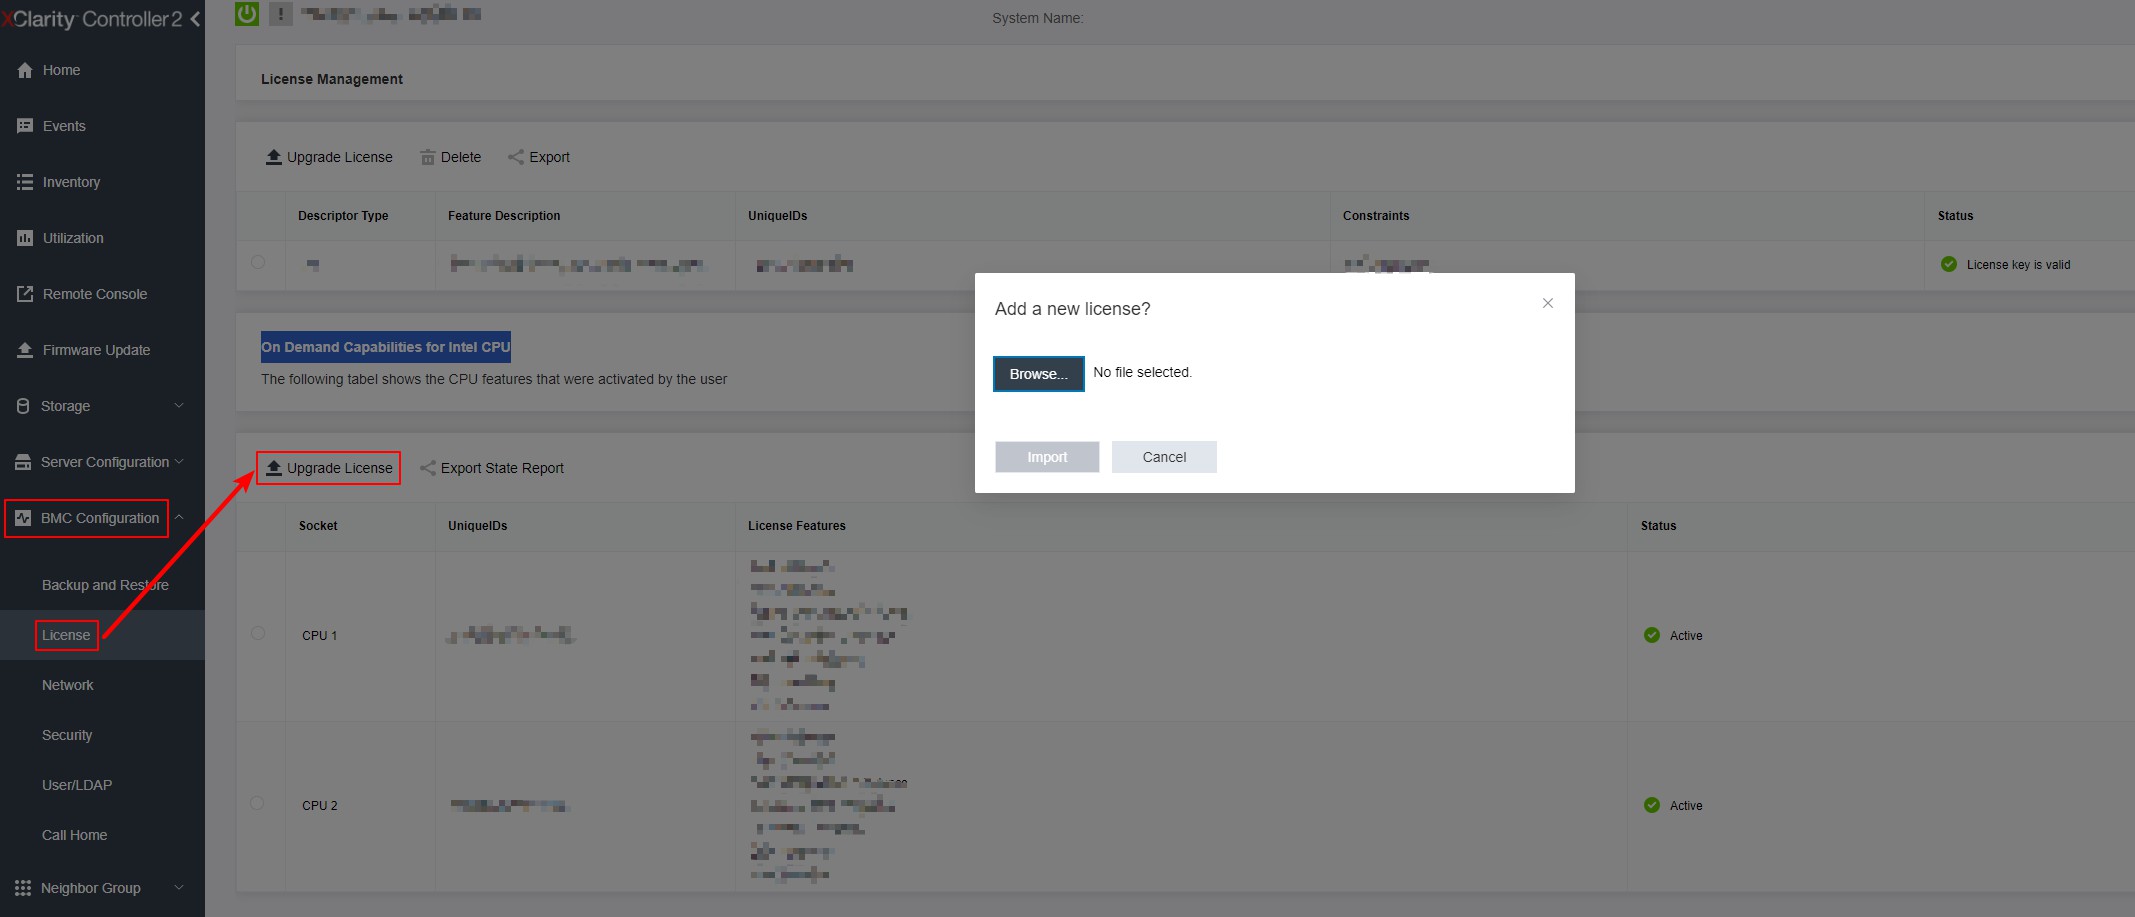
If the installation is successful, the Web GUI will show a pop-up window with the message “License key upgraded successfully. The features will be activated on the processor after system power cycle”.
Otherwise, see Troubleshooting & FAQs.
Use XCC REST API to install Intel On Demand
- Use the POST method with the following Request URL:
POST https://bmc_ip/redfish/v1/LicenseService/Licenses - Transfer Activation Key to base64 string at first and fill it into the LicenseString field as POST data.
{
    "LicenseString": ""
}
If the installation is successful, XCC REST API show the message “License key upgraded successfully. The features will be activated on the processor after system power cycle”.
Otherwise, see Troubleshooting & FAQs.
Use LXCE OneCLI to install Intel On Demand
Input the following command, where <key_file> specifies the Activation Key:
OneCli.exe fod install --keyfile <key_file>
If successfully installed, the response will show:
Successfully install key
Call Lenovo support if the response shows the following:
Failed to install key
Give documentation feedback