Remove a fan
Use this information to remove a fan in the enclosure.
To avoid possible danger, read and follow the following safety statement.
- S017
 CAUTIONHazardous moving fan blades nearby. Keep fingers and other body parts away.
 - S033
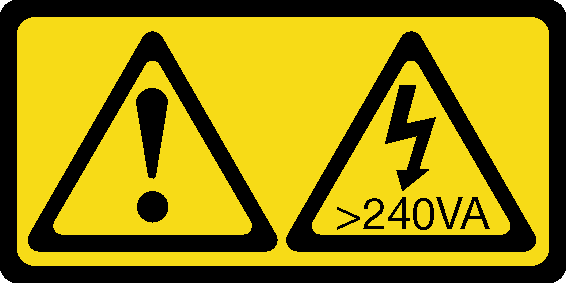 CAUTION
Hazardous energy present. Voltages with hazardous energy might cause heating when shorted with metal, which might result in spattered metal, burns, or both.
The following illustration shows locations of fan fault LEDs. When the LED is lit, it indicates the fan is having problems.
Figure 1. Fan fault LEDs
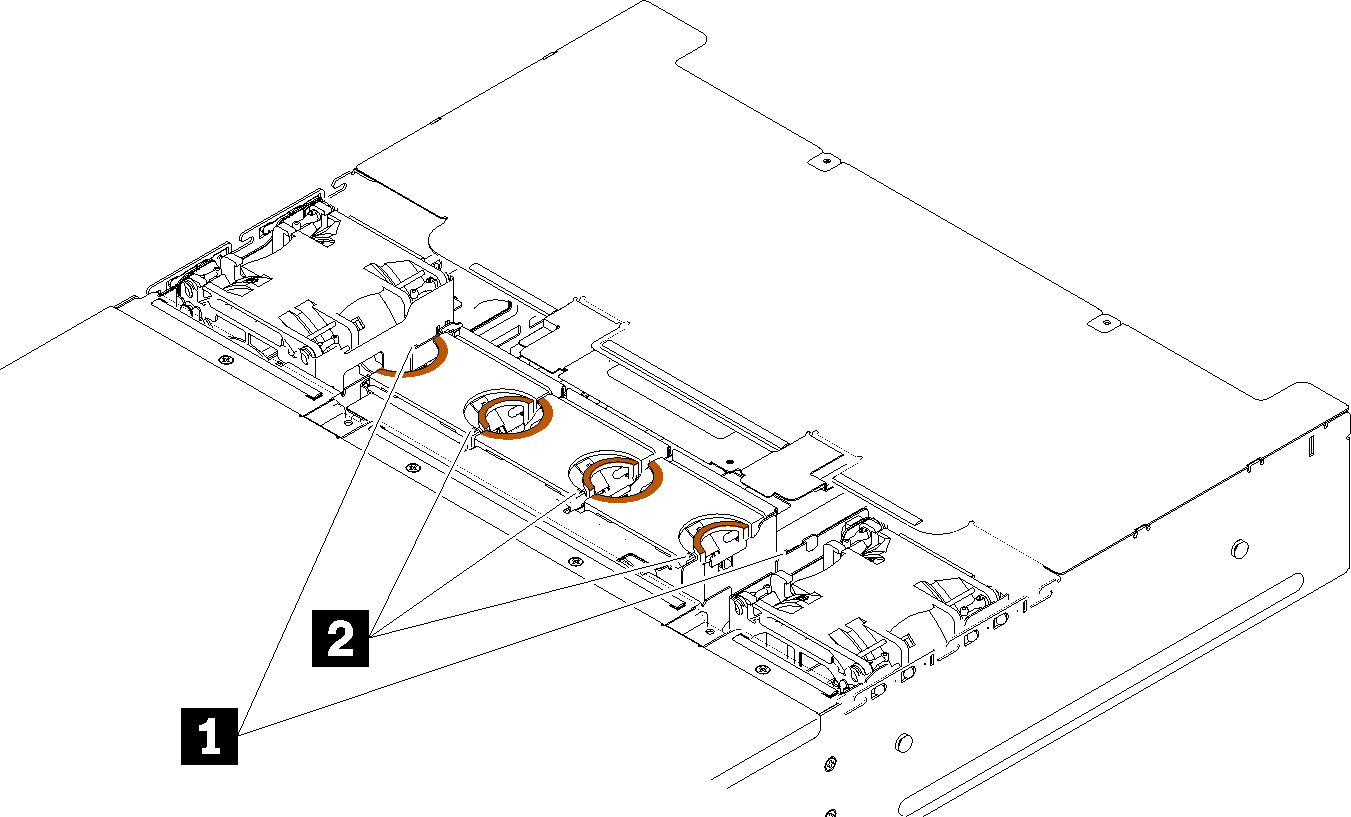
| 1 80x80x80mm fan fault LEDs | 2 60x60x56mm fan fault LEDs |
Before removing a fan:
- Read the following section(s) to ensure that you work safely.AttentionStatic electricity that is released to internal solution components when the solution is powered-on might cause the solution to halt, which might result in the loss of data. To avoid this potential problem, always use an electrostatic-discharge wrist strap or other grounding system when you work inside the solution with the power on.
Remove the fan cover (see Remove the fan cover).
NoteReplace the failed fan and reinstall the fan cover in 3 minutes.
Complete the following steps to remove a fan.
Remove the fan.
For a 60x60x56mm fan:
Squeeze the fan release latches together, and then lift the fan out of the enclosure.
Figure 2. 60x60x56mm fan removal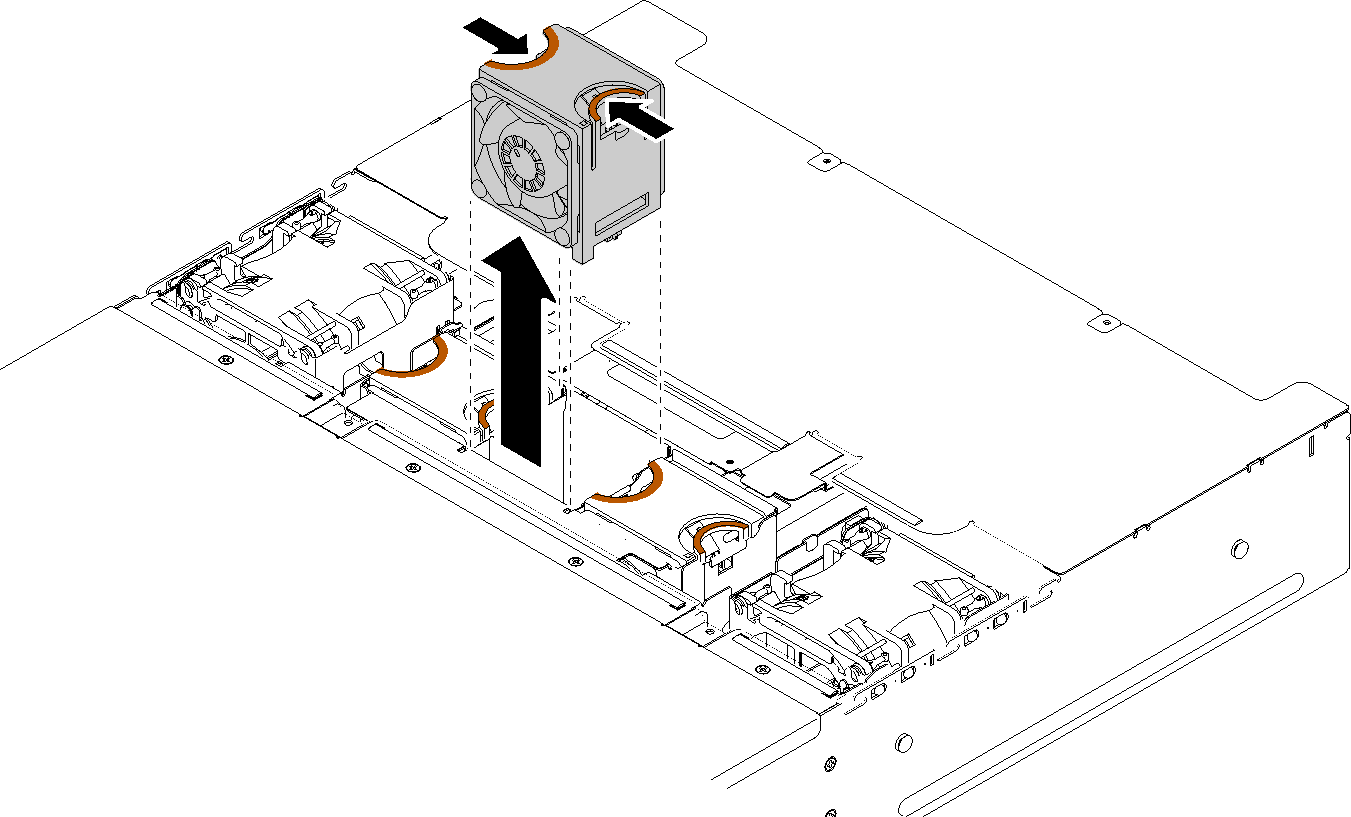
For an 80x80x80mm fan:
Carefully pull the cable out from underneath the sheet metal flange.
Disconnect the cable.
Grasp the fan and lift it out of the enclosure.
Figure 3. 80x80x80mm fan removal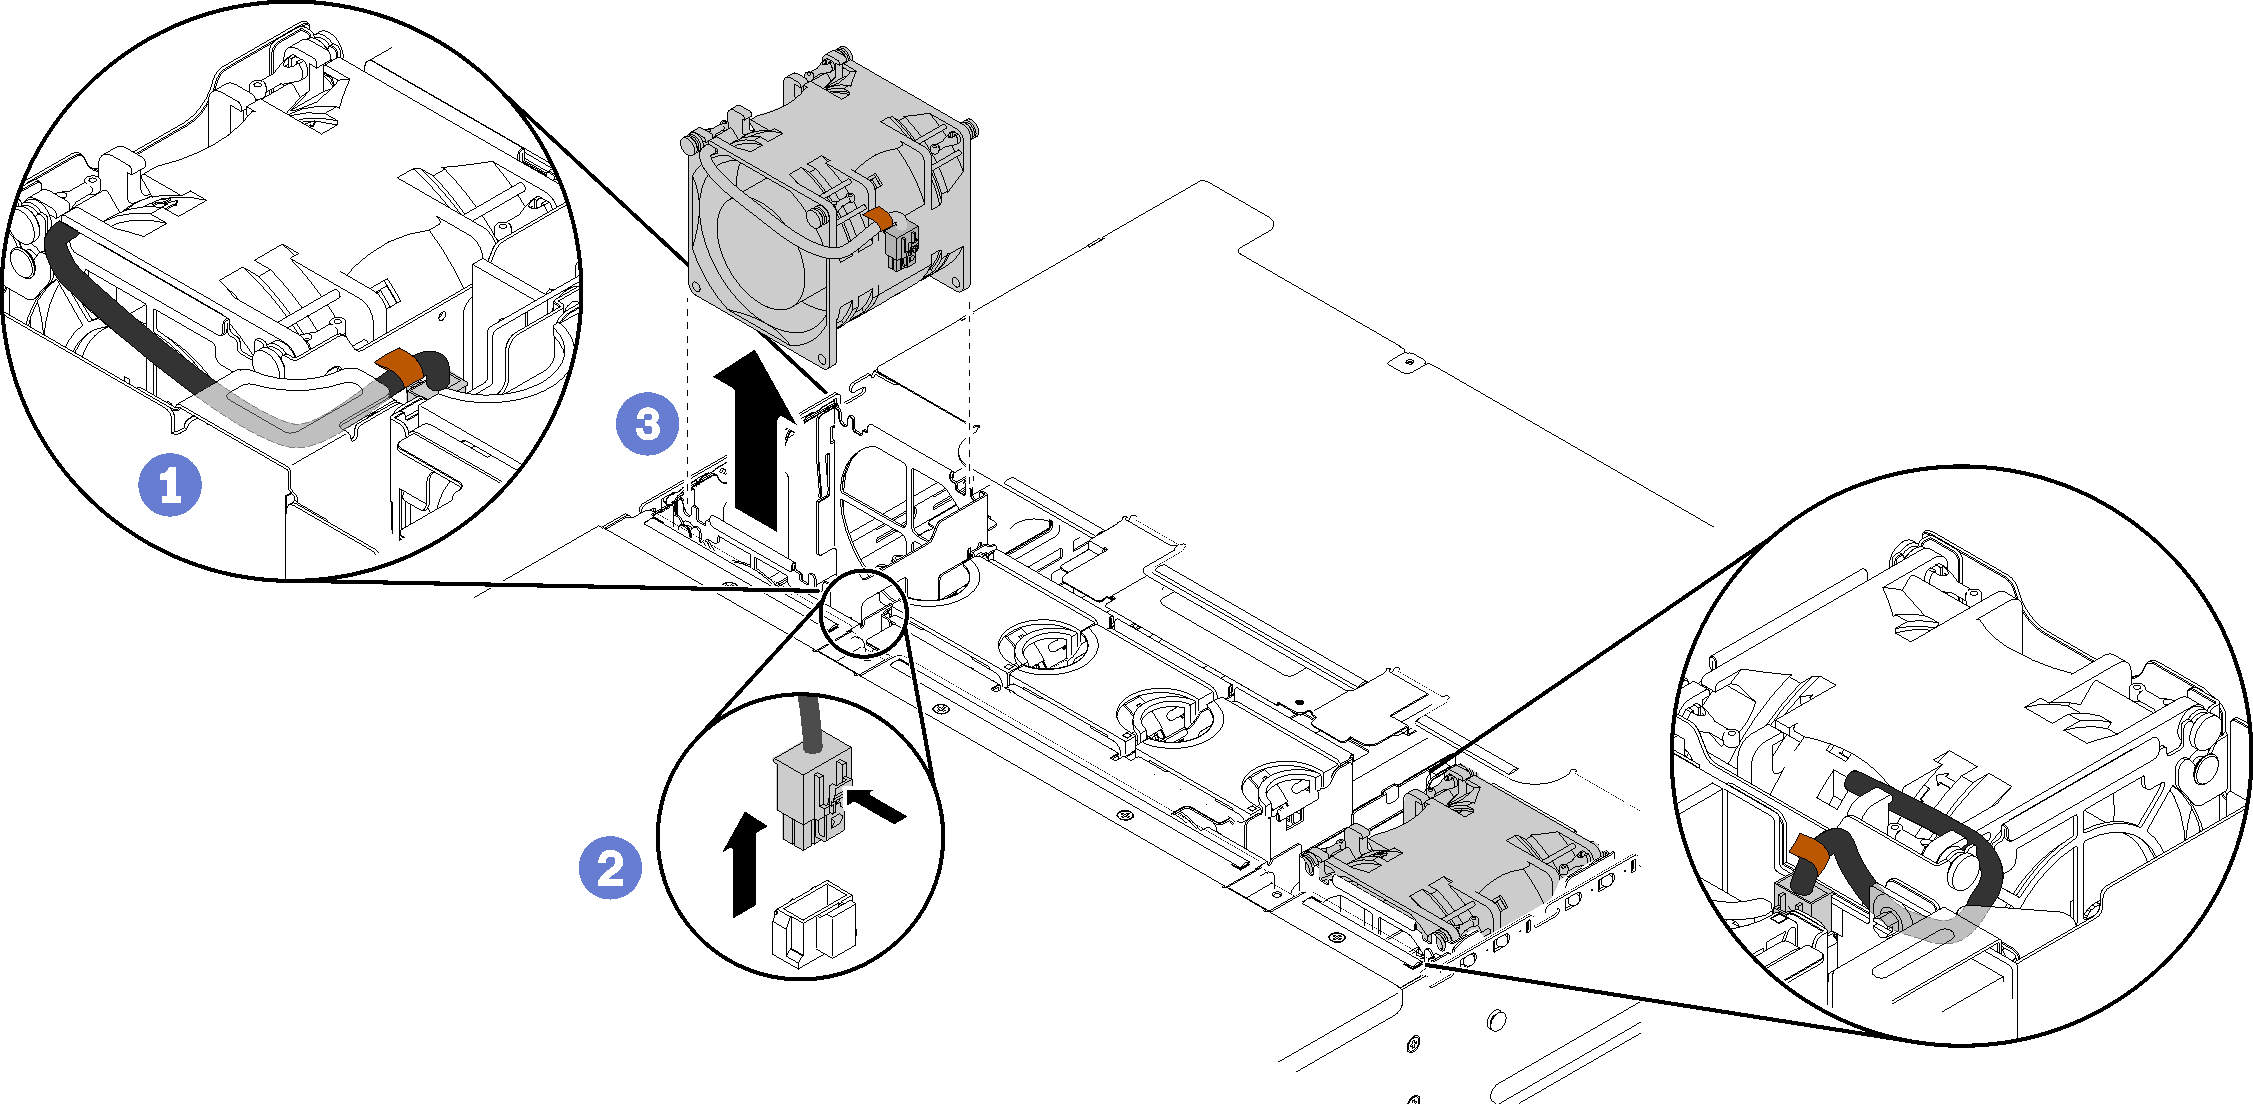
If you are instructed to return the component or optional device, follow all packaging instructions, and use any packaging materials for shipping that are supplied to you.
Demo video
Give documentation feedback