Remove a drive cage assembly
Use this information to remove a drive cage assembly.
Before you remove a drive cage assembly:
Read the Installation Guidelines to ensure that you work safely.
Turn off the corresponding DWC tray that you are going to perform the task on.
Remove the tray (see Remove a DWC tray from the enclosure).
Remove the tray cover (see Remove the tray cover).
Remove the existing drive (if it is installed) and place the drive on the static protective surface (see Remove a drive).
Remove the front and the rear cross braces (10x P2 screws).
Figure 1. Cross brace removal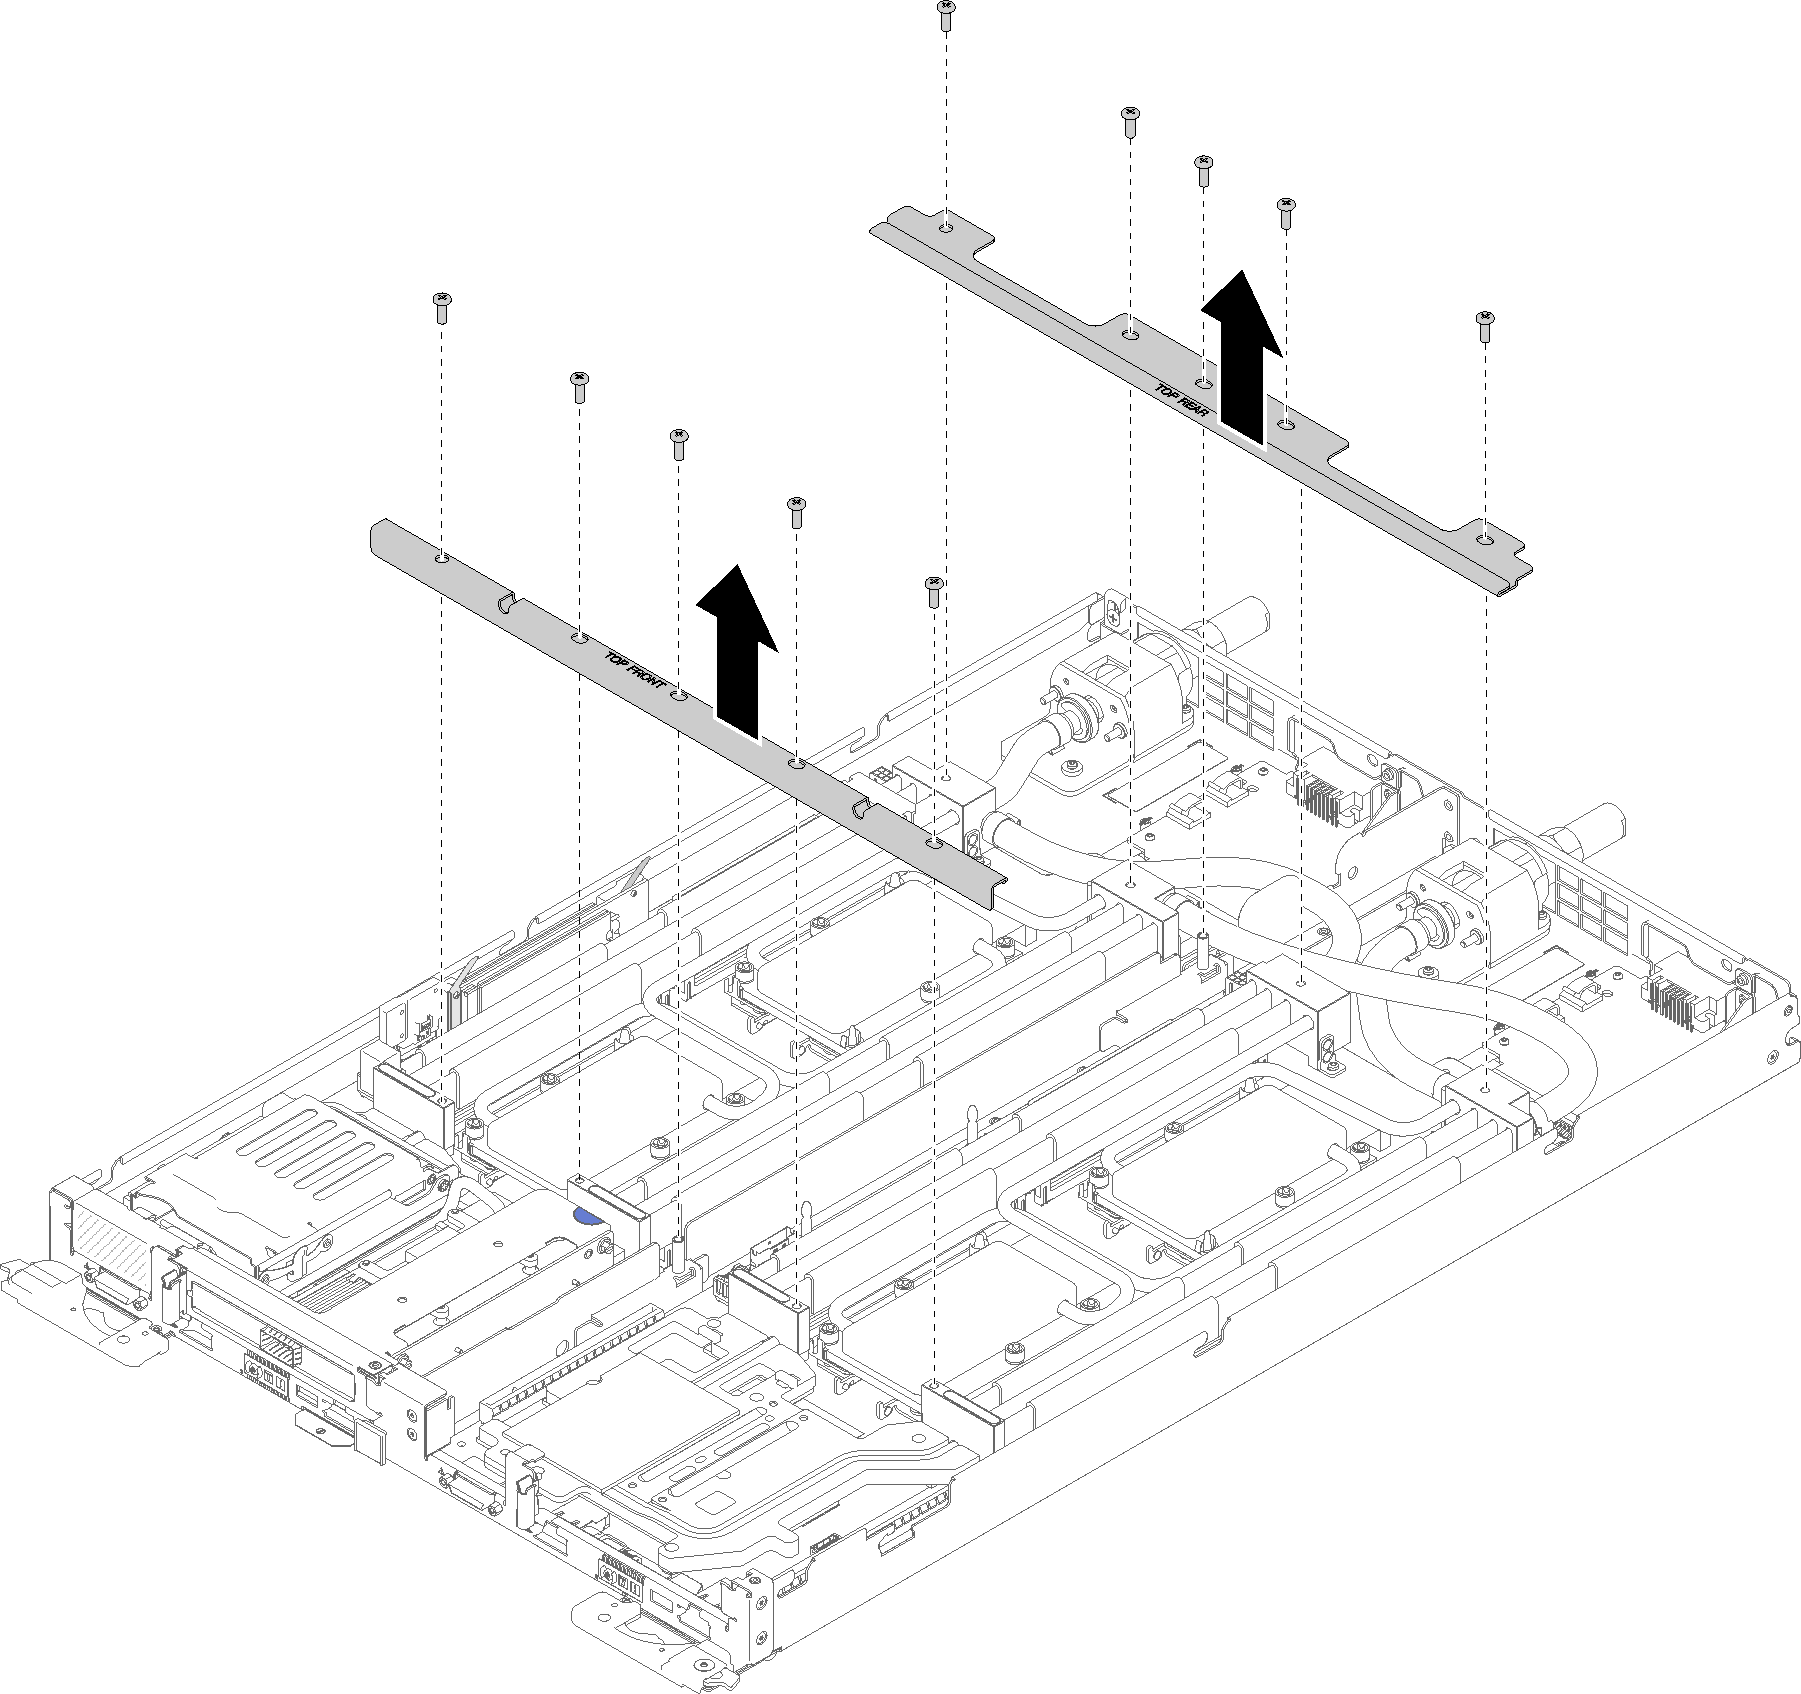
Complete the following steps to remove a drive cage assembly.
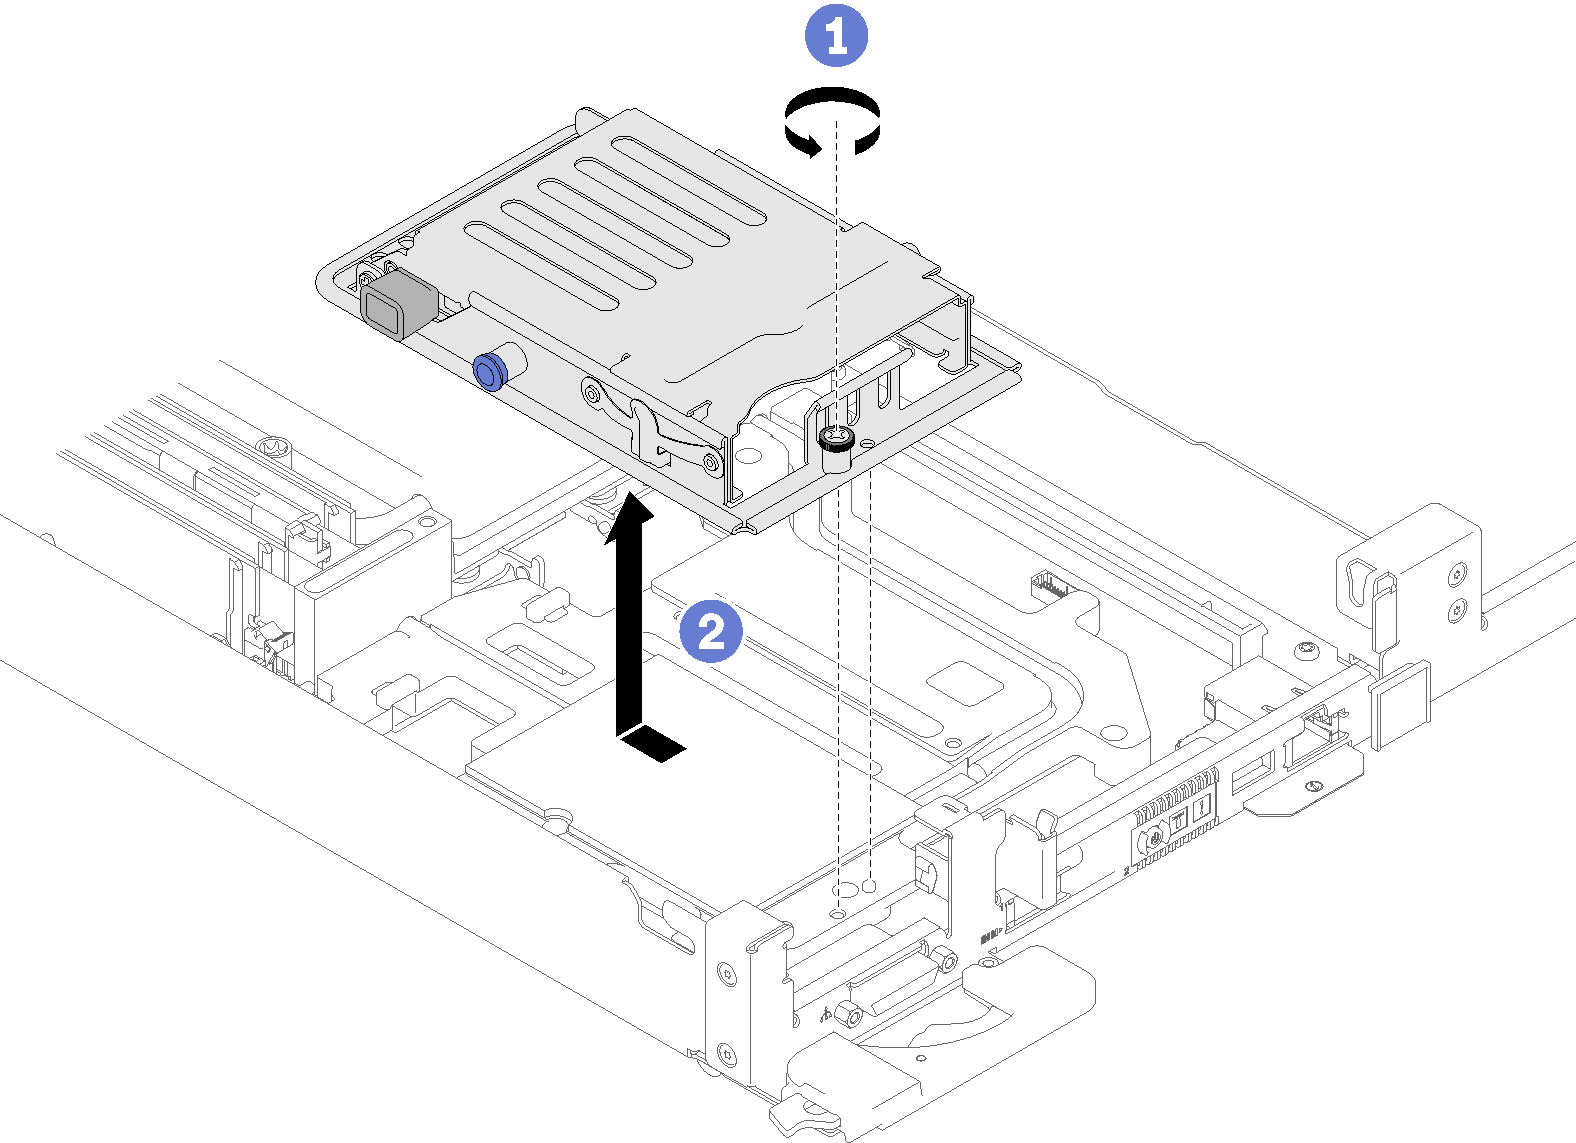
- Loosen the captive screw and slide the drive cage assembly backward; then, remove the drive cage assembly out of the node.Figure 2. Drive cage assembly removal
- Disconnect the cables if needed.
- Remove screws and connectors.
1x2.5-inch drive model
Figure 3. Screws removal - 1x2.5-inch drive model
2x2.5-inch drive model
Figure 4. Screws removal - 2x2.5-inch drive model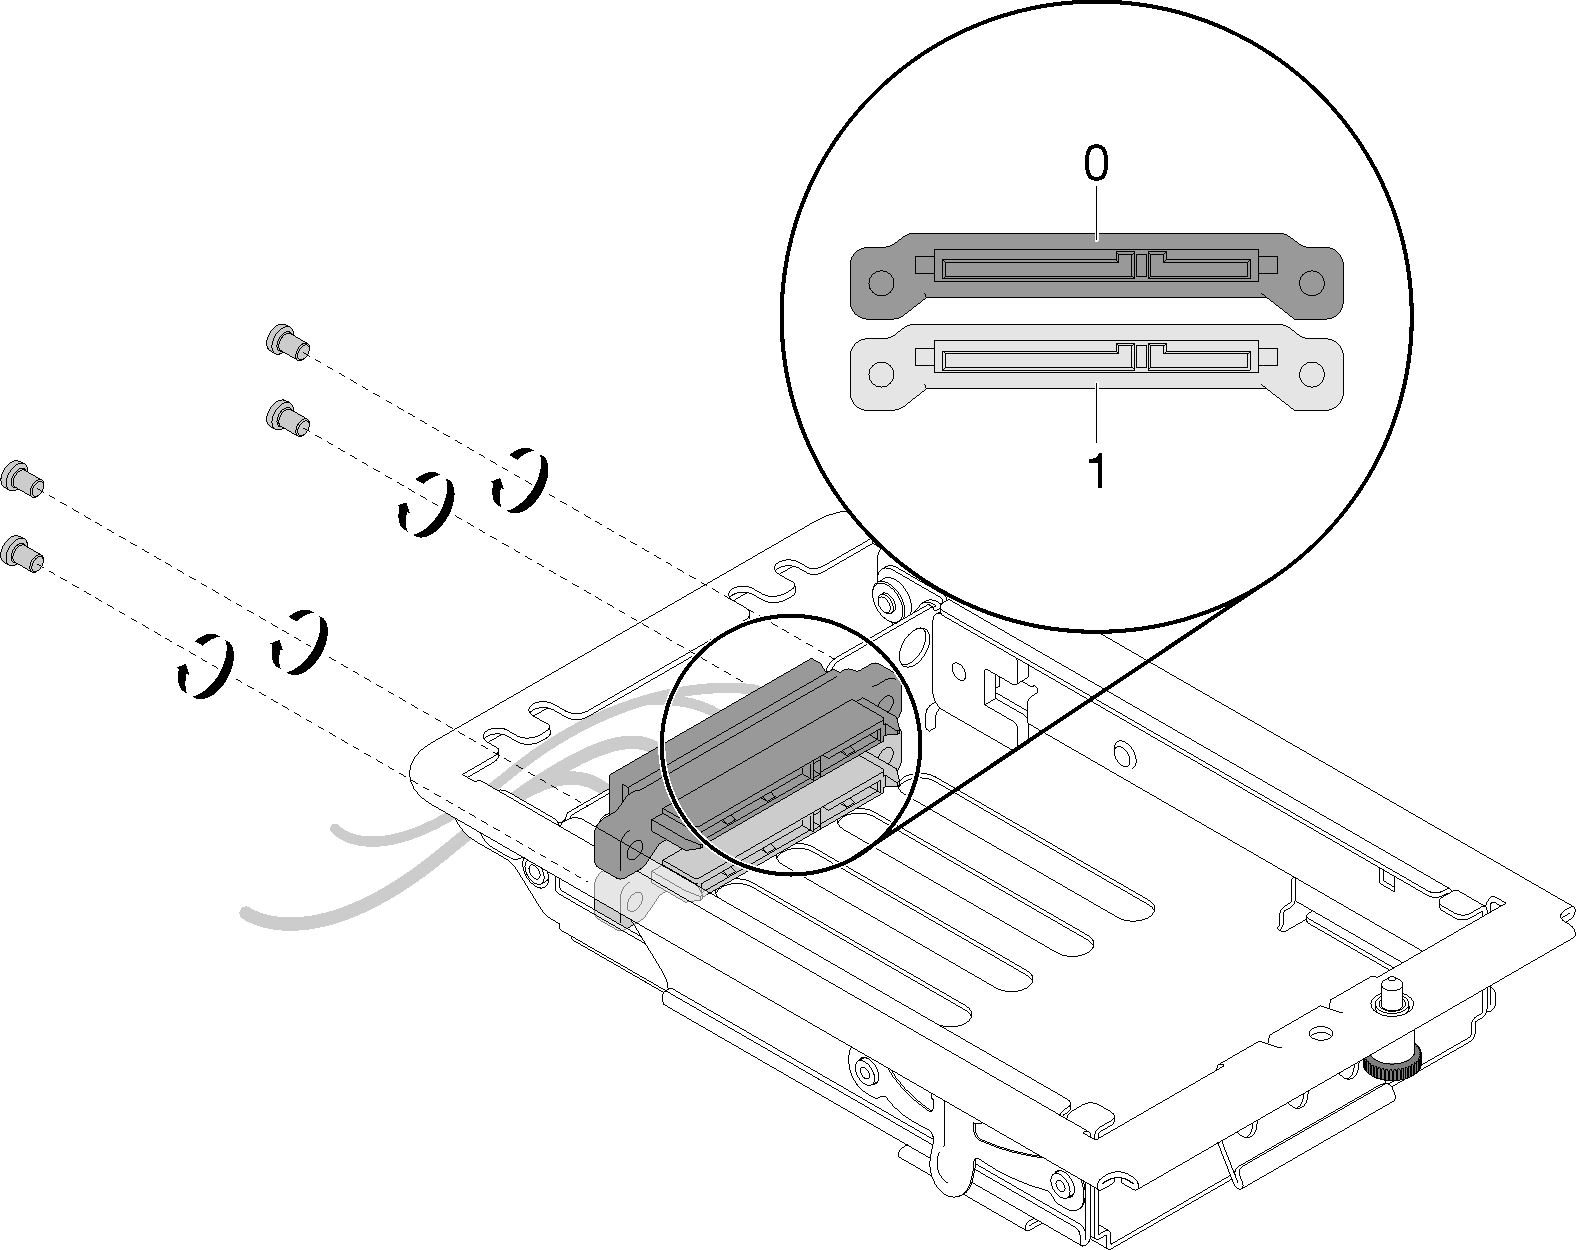
- Remove screws and connectors.
If you are instructed to return the component or optional device, follow all packaging instructions, and use any packaging materials for shipping that are supplied to you.
Demo video