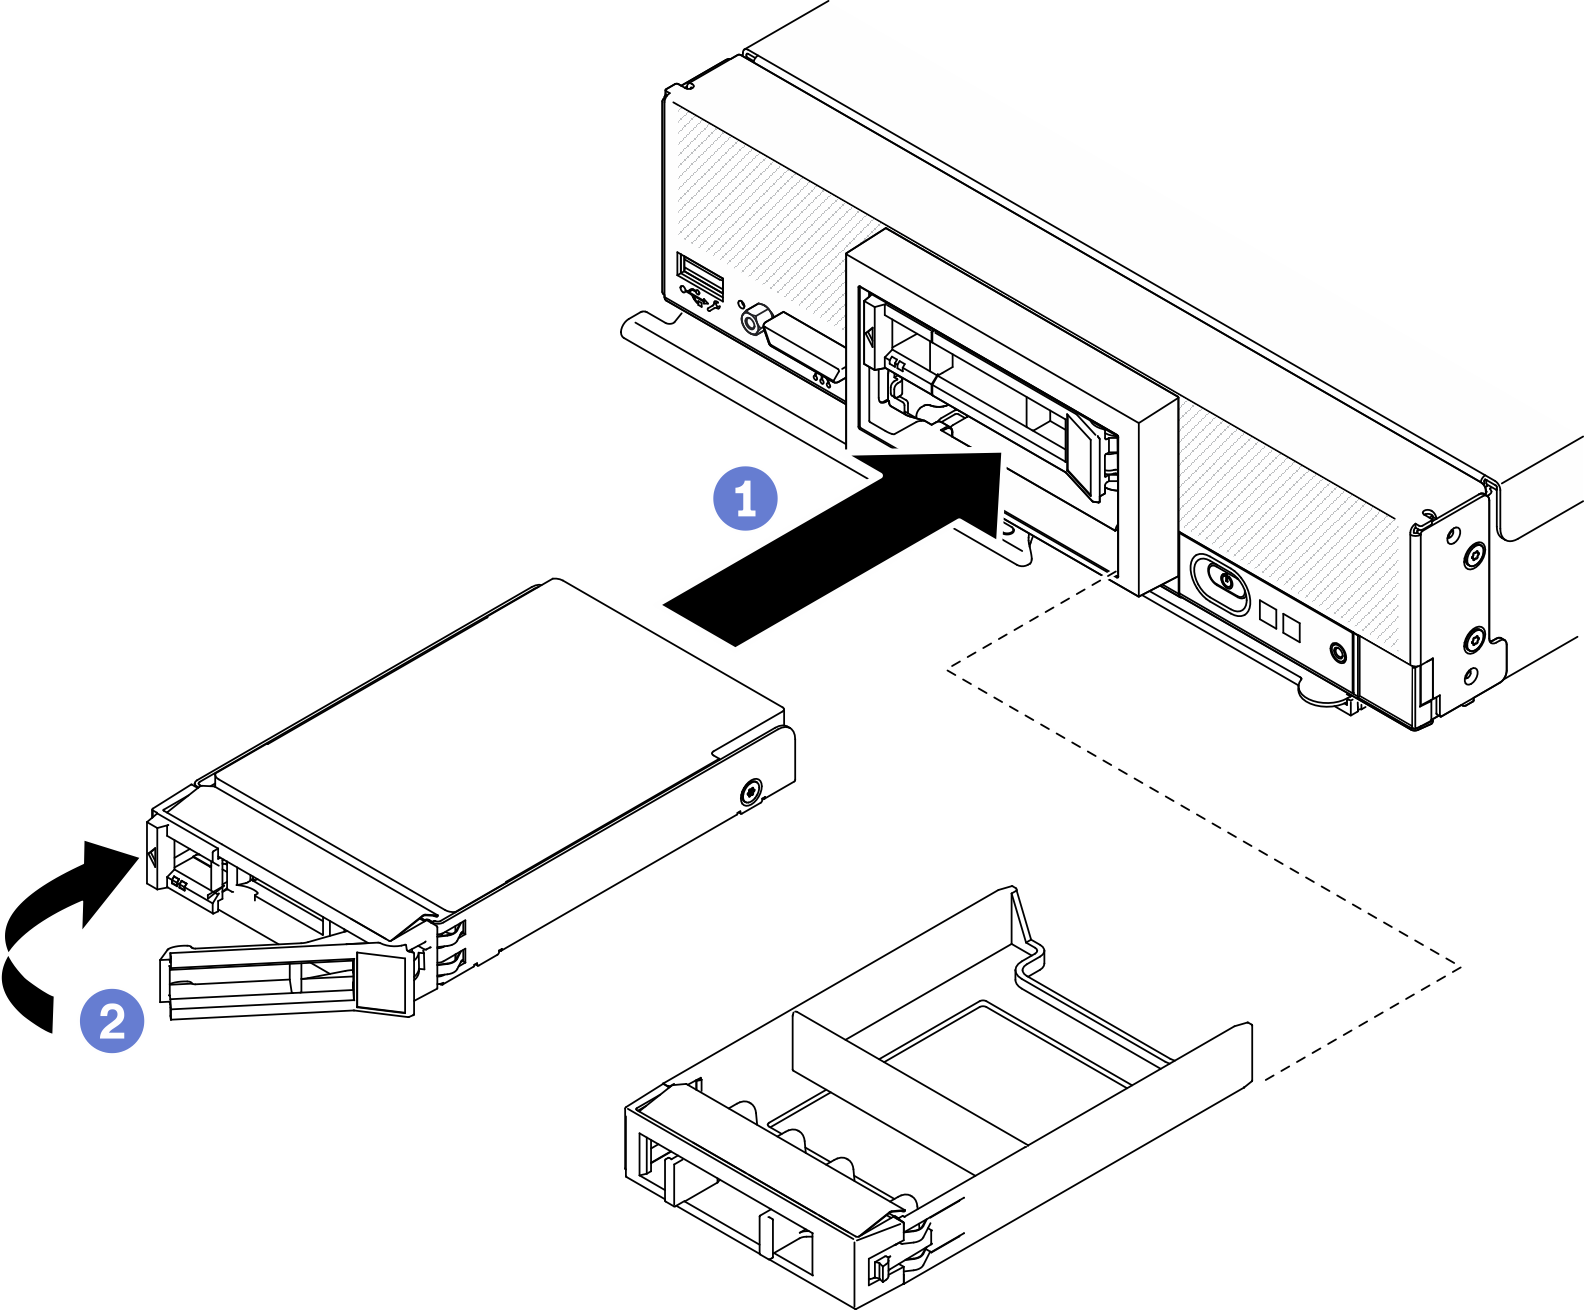
Install a 2.5-inch hot-swap drive
Use this information to install a 2.5-inch drive.
About this task
Attention
Read Safety inspection checklist and Installation Guidelines to ensure that you work safely.
Note
There are two 2.5-inch drive bays in the compute node. If the compute node is already equipped with one 2.5-inch drive, you can install an additional 2.5-inch drive. RAID level-0 (striping) can be configured on a compute node with a single drive installed. A minimum of two disk drives of the same interface type must be installed to implement and manage RAID level-1 (mirroring) arrays. See the ThinkSystem SN550 V2 Setup Guide for more information.
Procedure
Demo video
Give documentation feedback


