Install a power supply unit
Use instructions in this section to install a power supply unit.
About this task
Read Installation Guidelines and Safety inspection checklist to ensure that you work safely.
Touch the static-protective package that contains the component to any unpainted metal surface on the server; then, remove it from the package and place it on a static-protective surface.
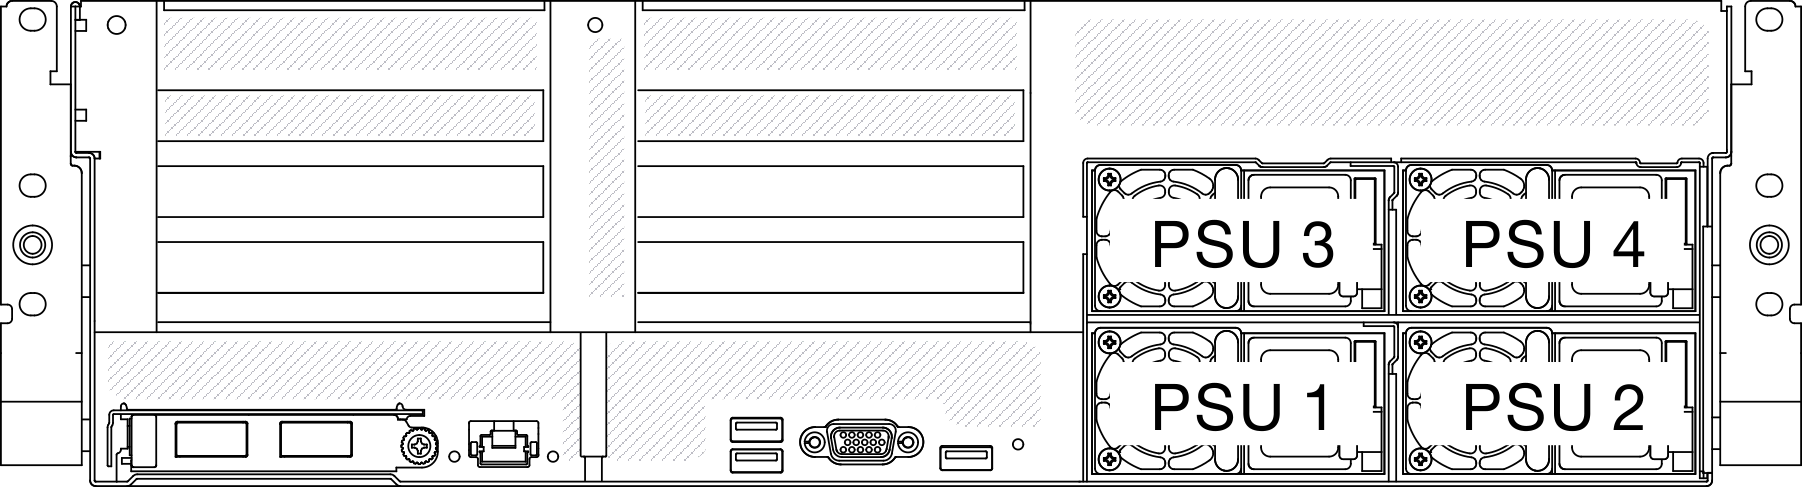
4-DW GPU Model and 8-DW GPU Model server should be installed with two power supply units in bay 1 and bay 2 or four power supply units in all four bays.
SXM GPU Model server should be installed with four power supply units in all four bays.
During normal operation, each power supply bay must contain either a power supply unit or a power supply filler for proper cooling.
Procedure

Check the PSU LEDs to verify that the PSU is operating correctly. See Figure 2.
Demo video