Disassemble the system board assembly for recycle
Follow the instructions in this section to disassemble the system board assembly before recycling.
About this task
Before disassembling the system board assembly:
- Remove the firmware and RoT security module from the system I/O board. See Remove the firmware and RoT security module.
- Separate the system I/O board from the processor board.NoteTo prevent the contact of the I/O board from damage, pinch and lift the plunger on the I/O board upward a little and pull out the I/O board outward. During the entire pulling action, ensure that the I/O board remains as horizontal as possible.
 Remove the four screws that secure the system I/O board.
 Lift and hold the rear plunger; then, slide the system I/O board towards the rear end of the chassis to disengage it from the processor board.Figure 1. System I/O board removal
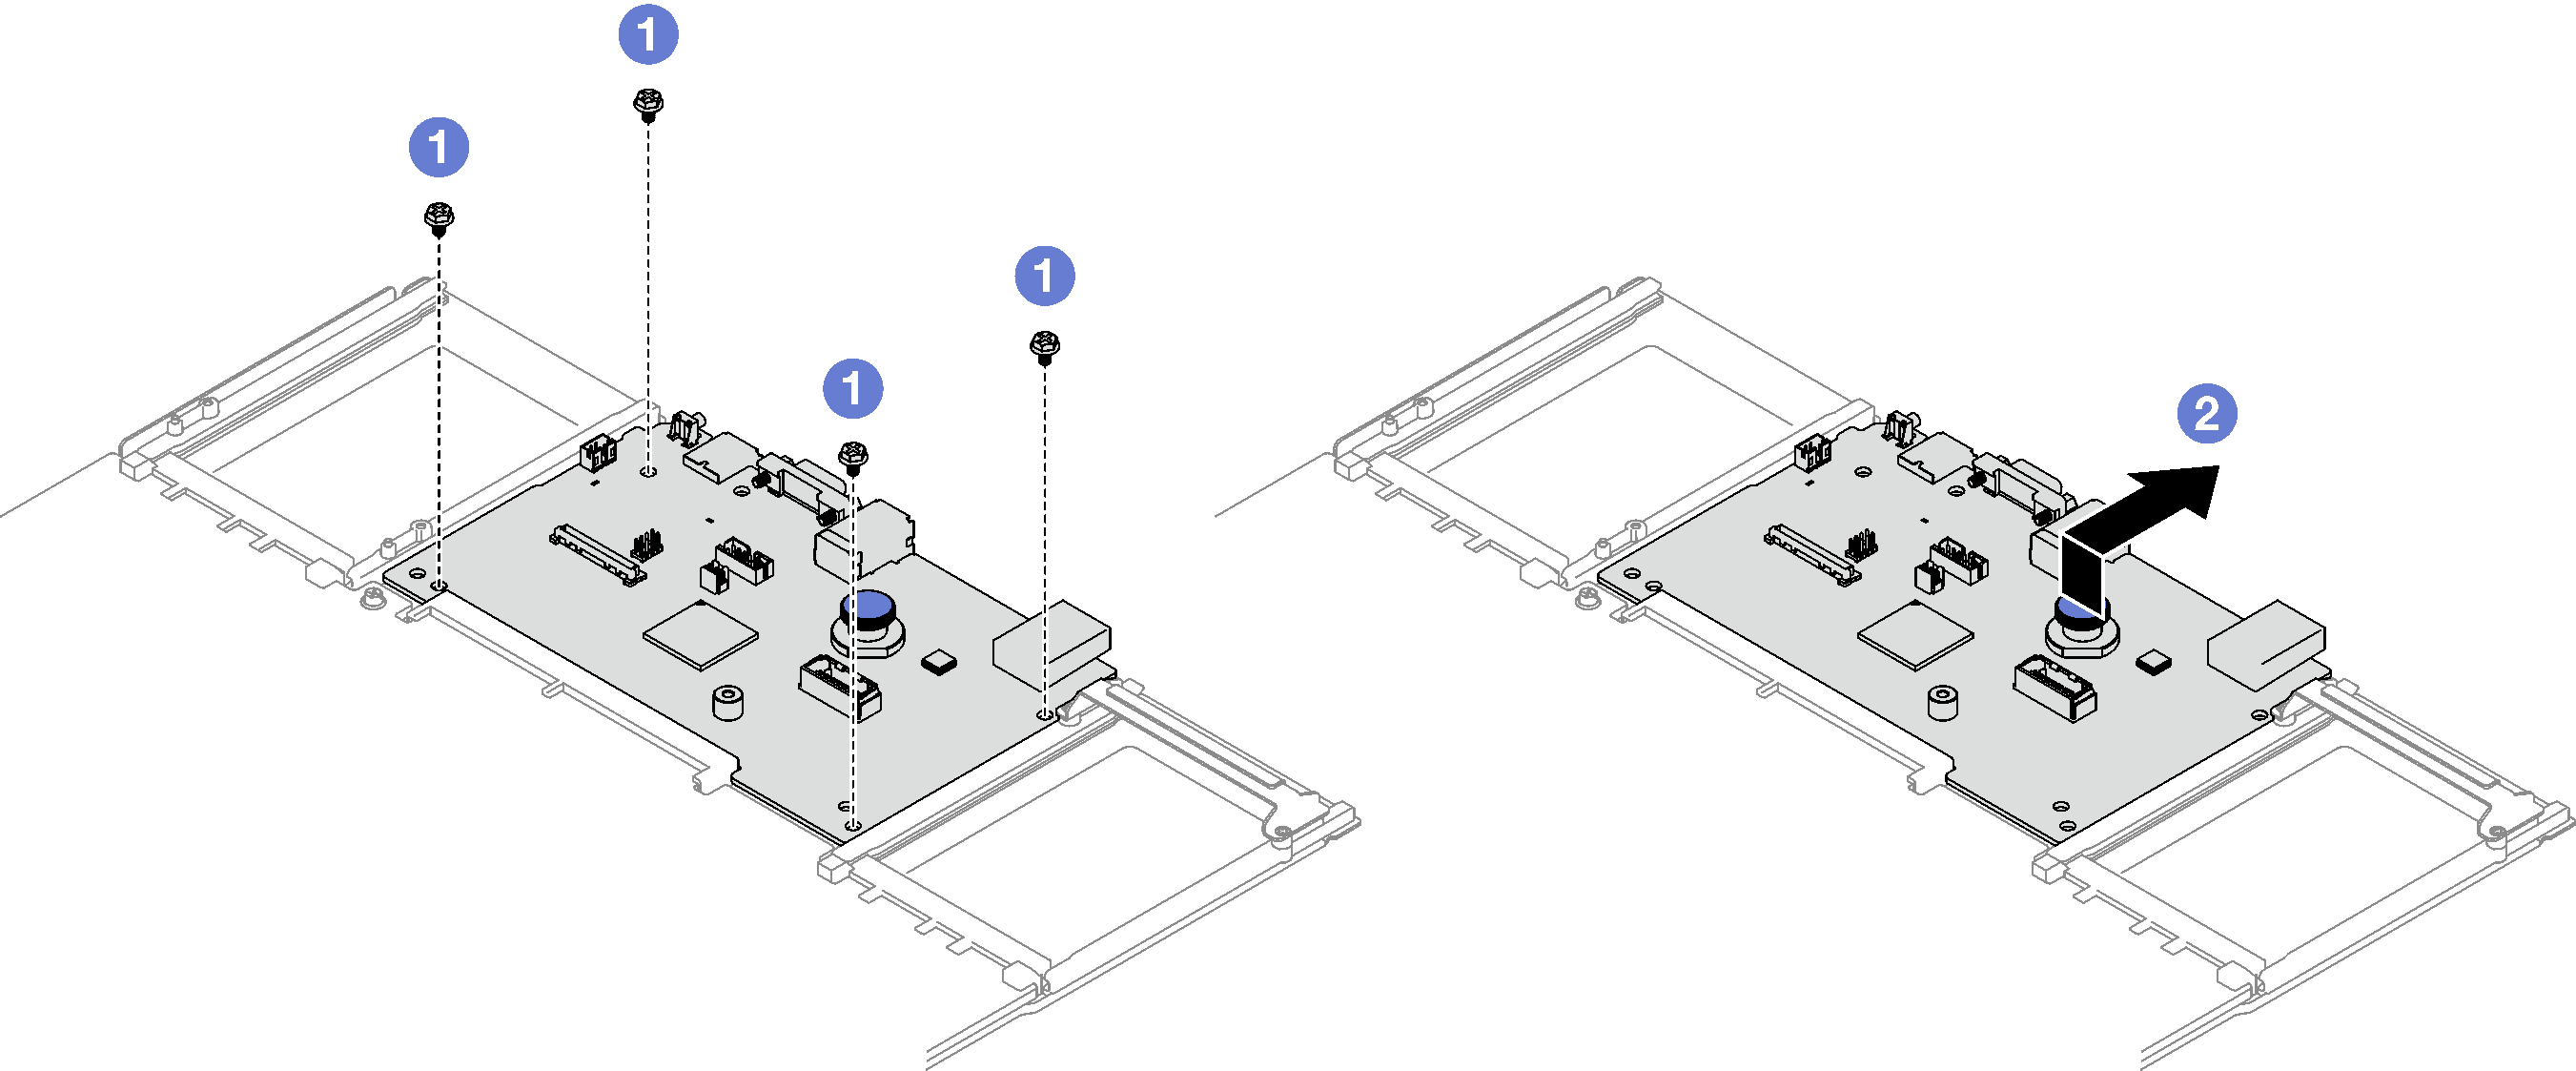
Refer to local environmental, waste or disposal regulations to ensure compliance.
Procedure
- Remove the following components as illustrated:
- Five guide pins (with 7mm wrench)
- Two low-profile screws (with PH2 screwdriver)
- One plunger (with PH2 screwdriver)
- Two cable guides
Figure 2. Component removal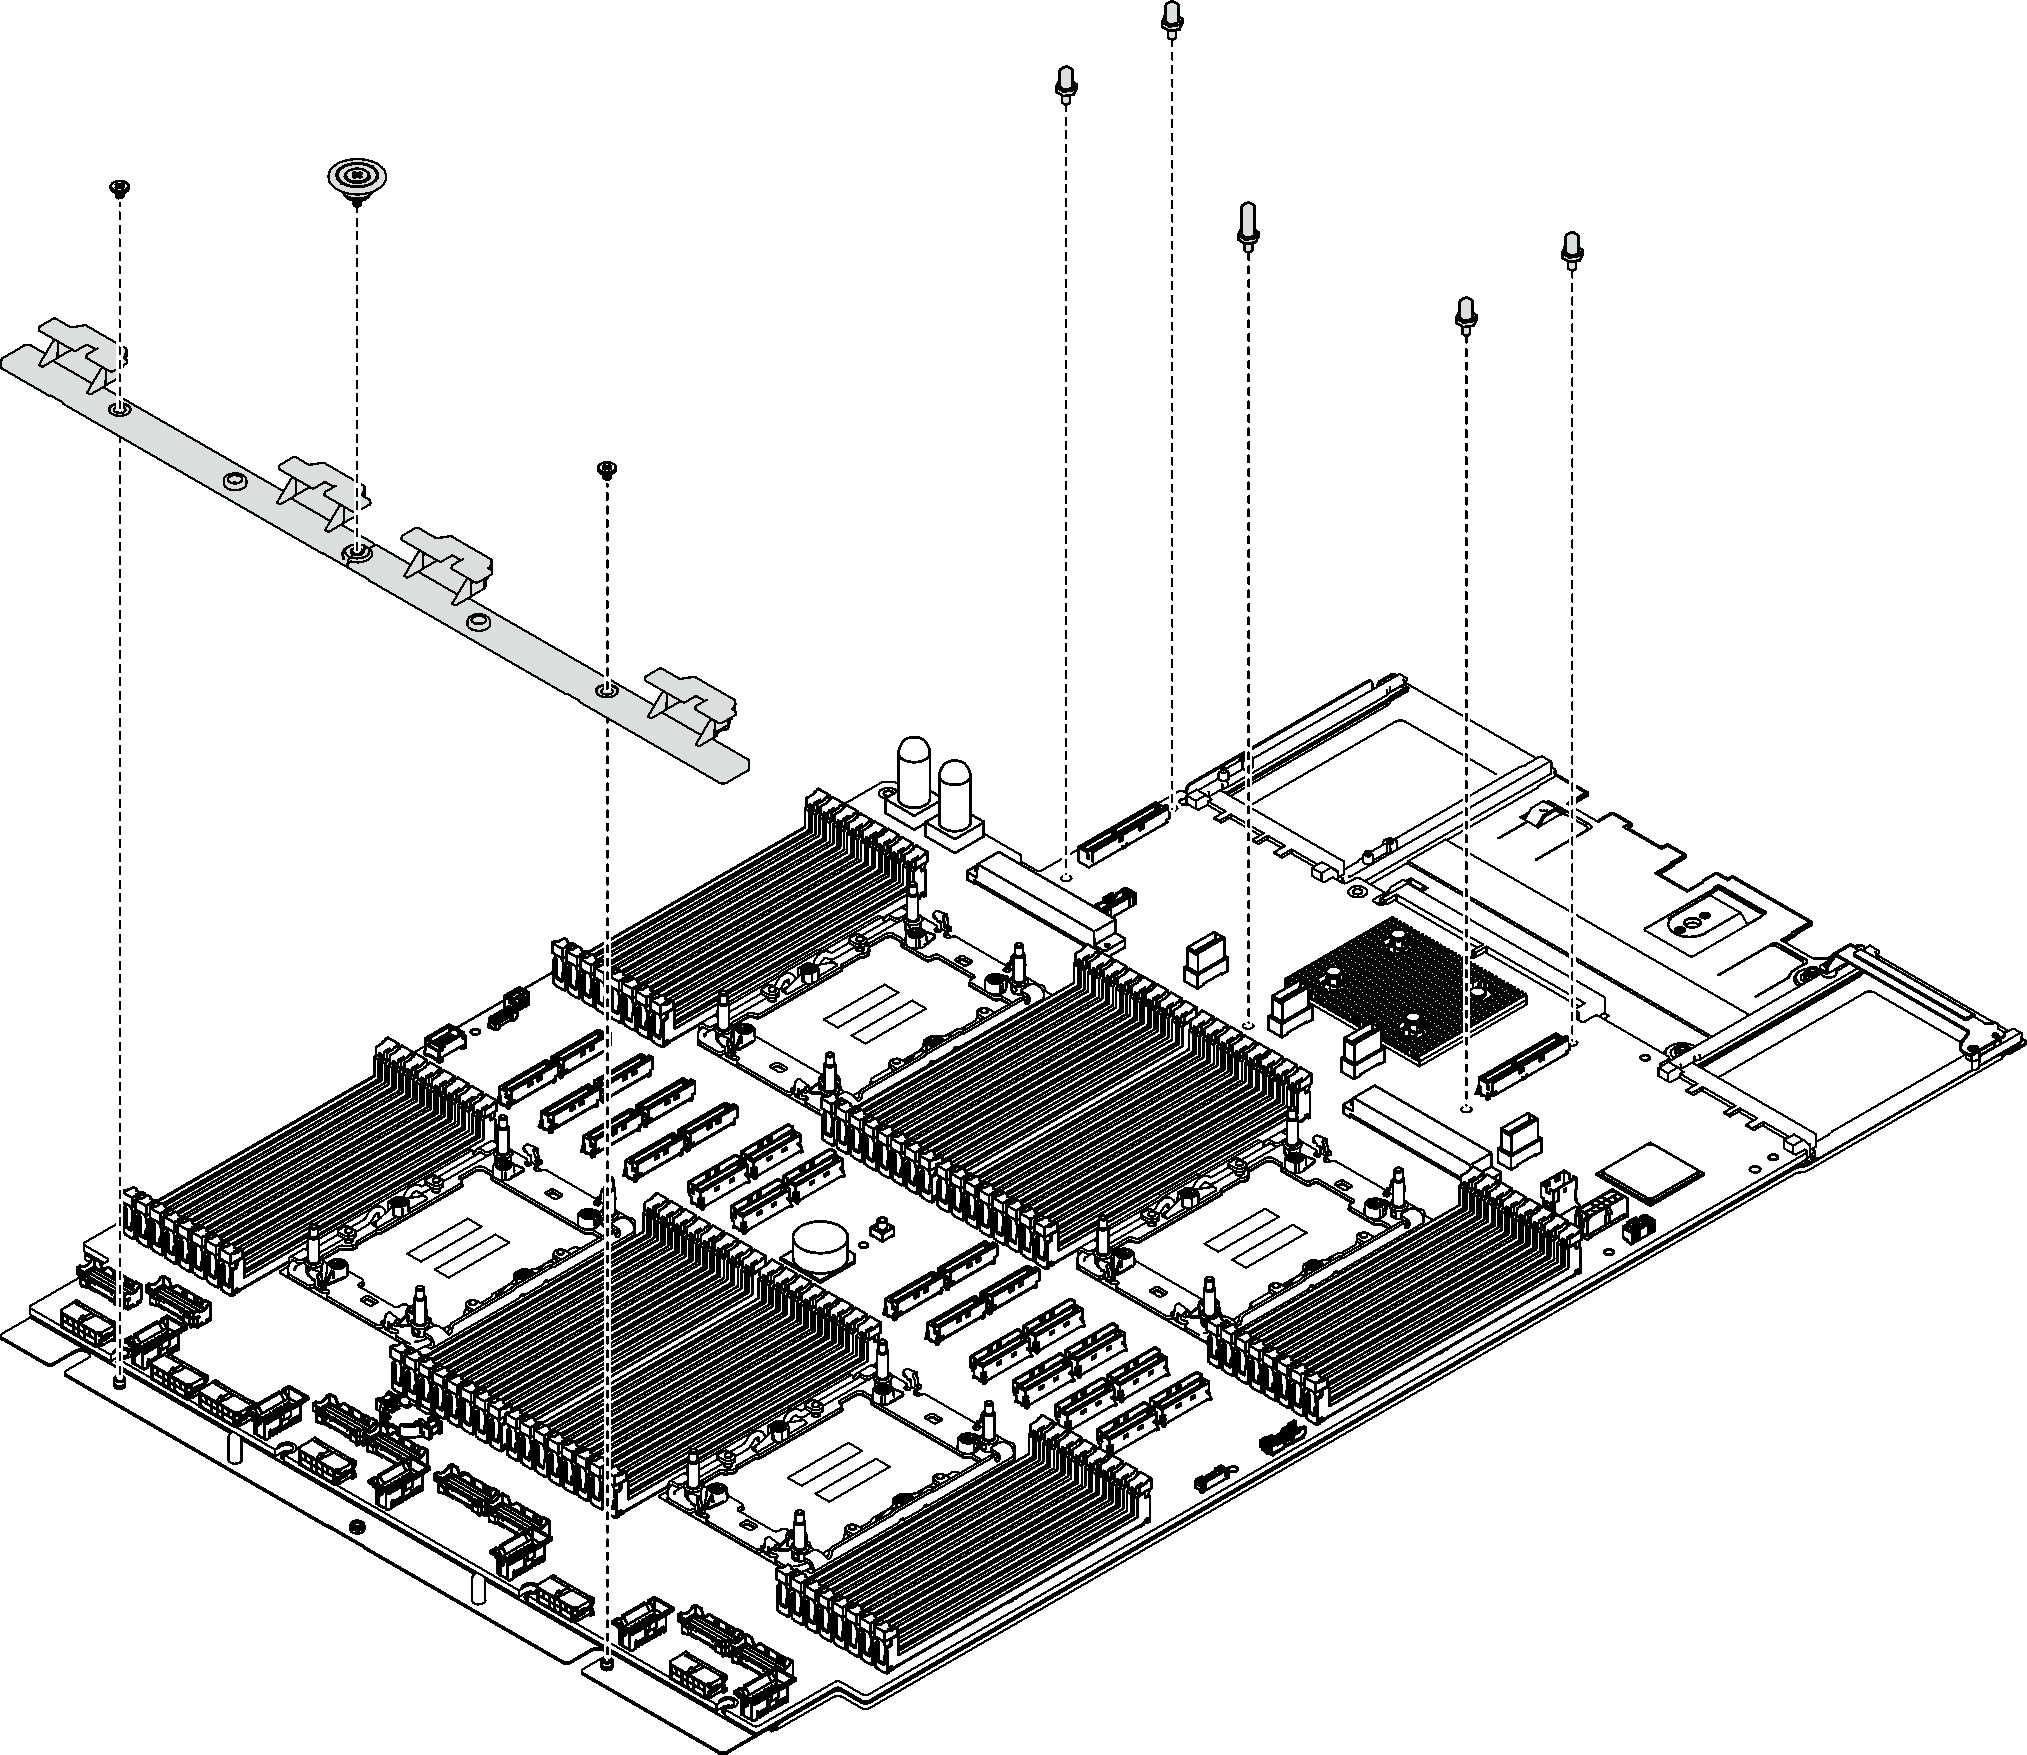
- Remove the following screws as illustrated:
- Four low-profile screws (with PH2 screwdriver)
- Ten slotted screws (with PH1 screwdriver)
Figure 3. Screw removal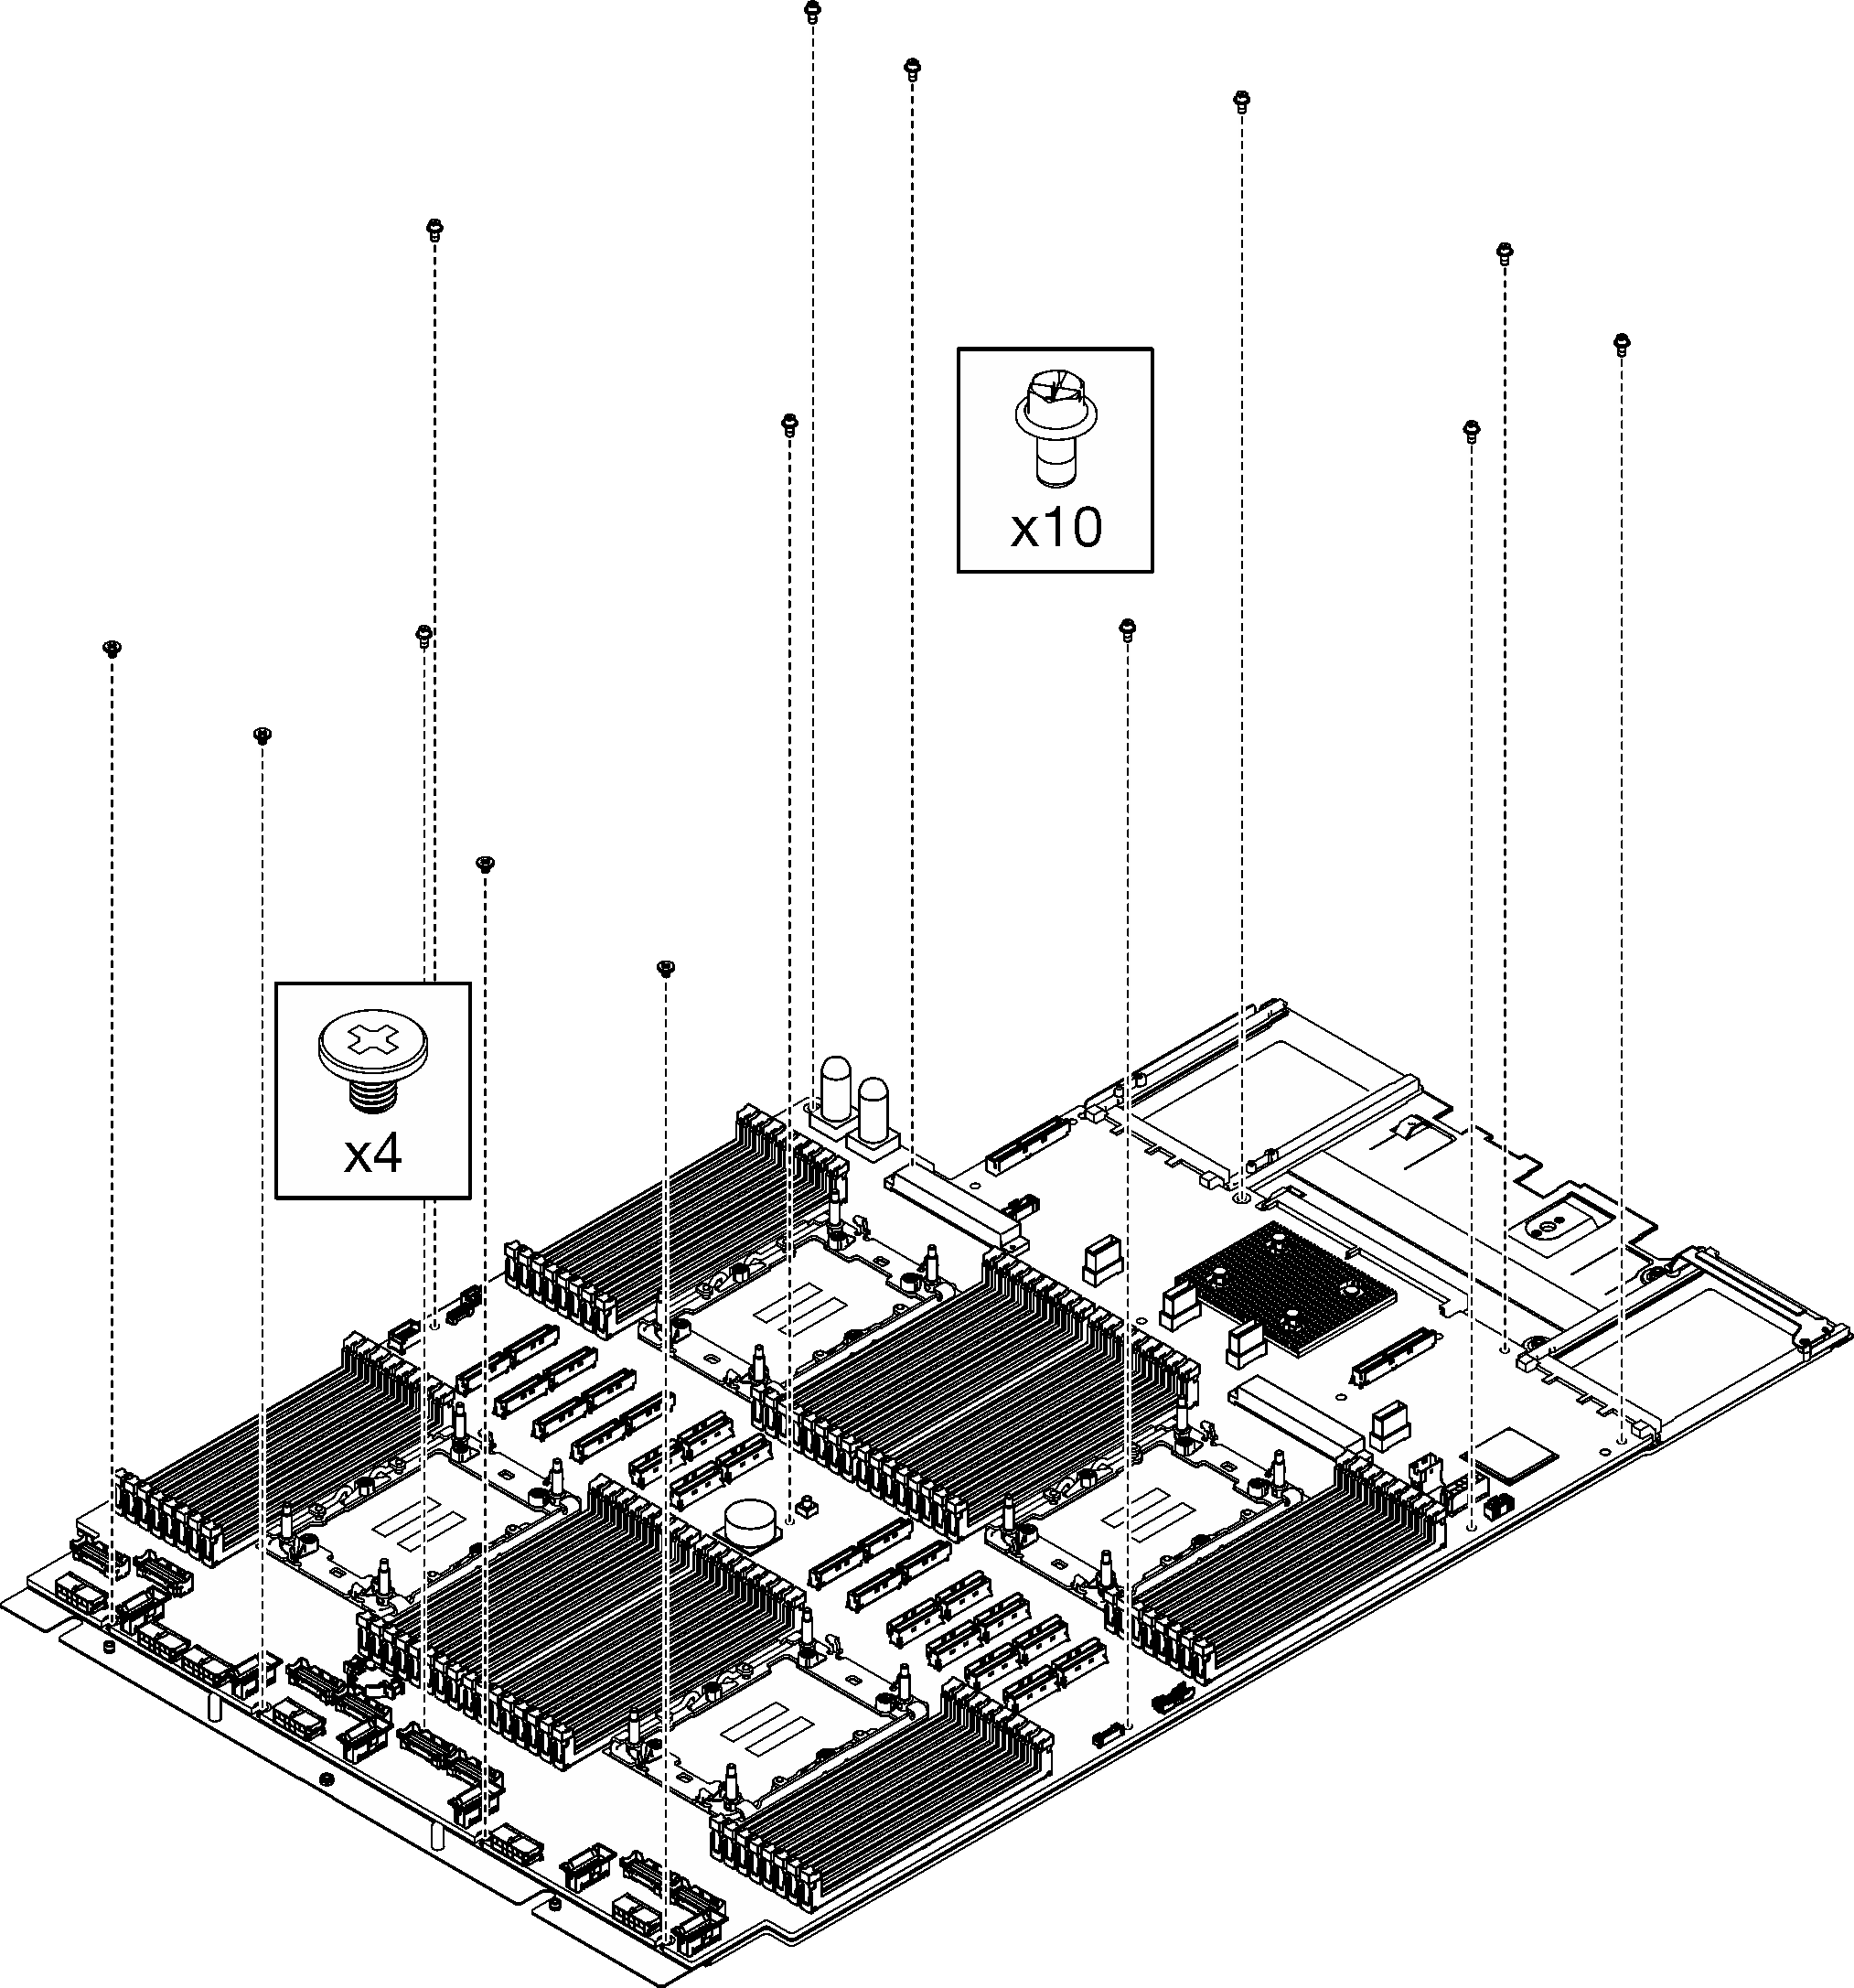
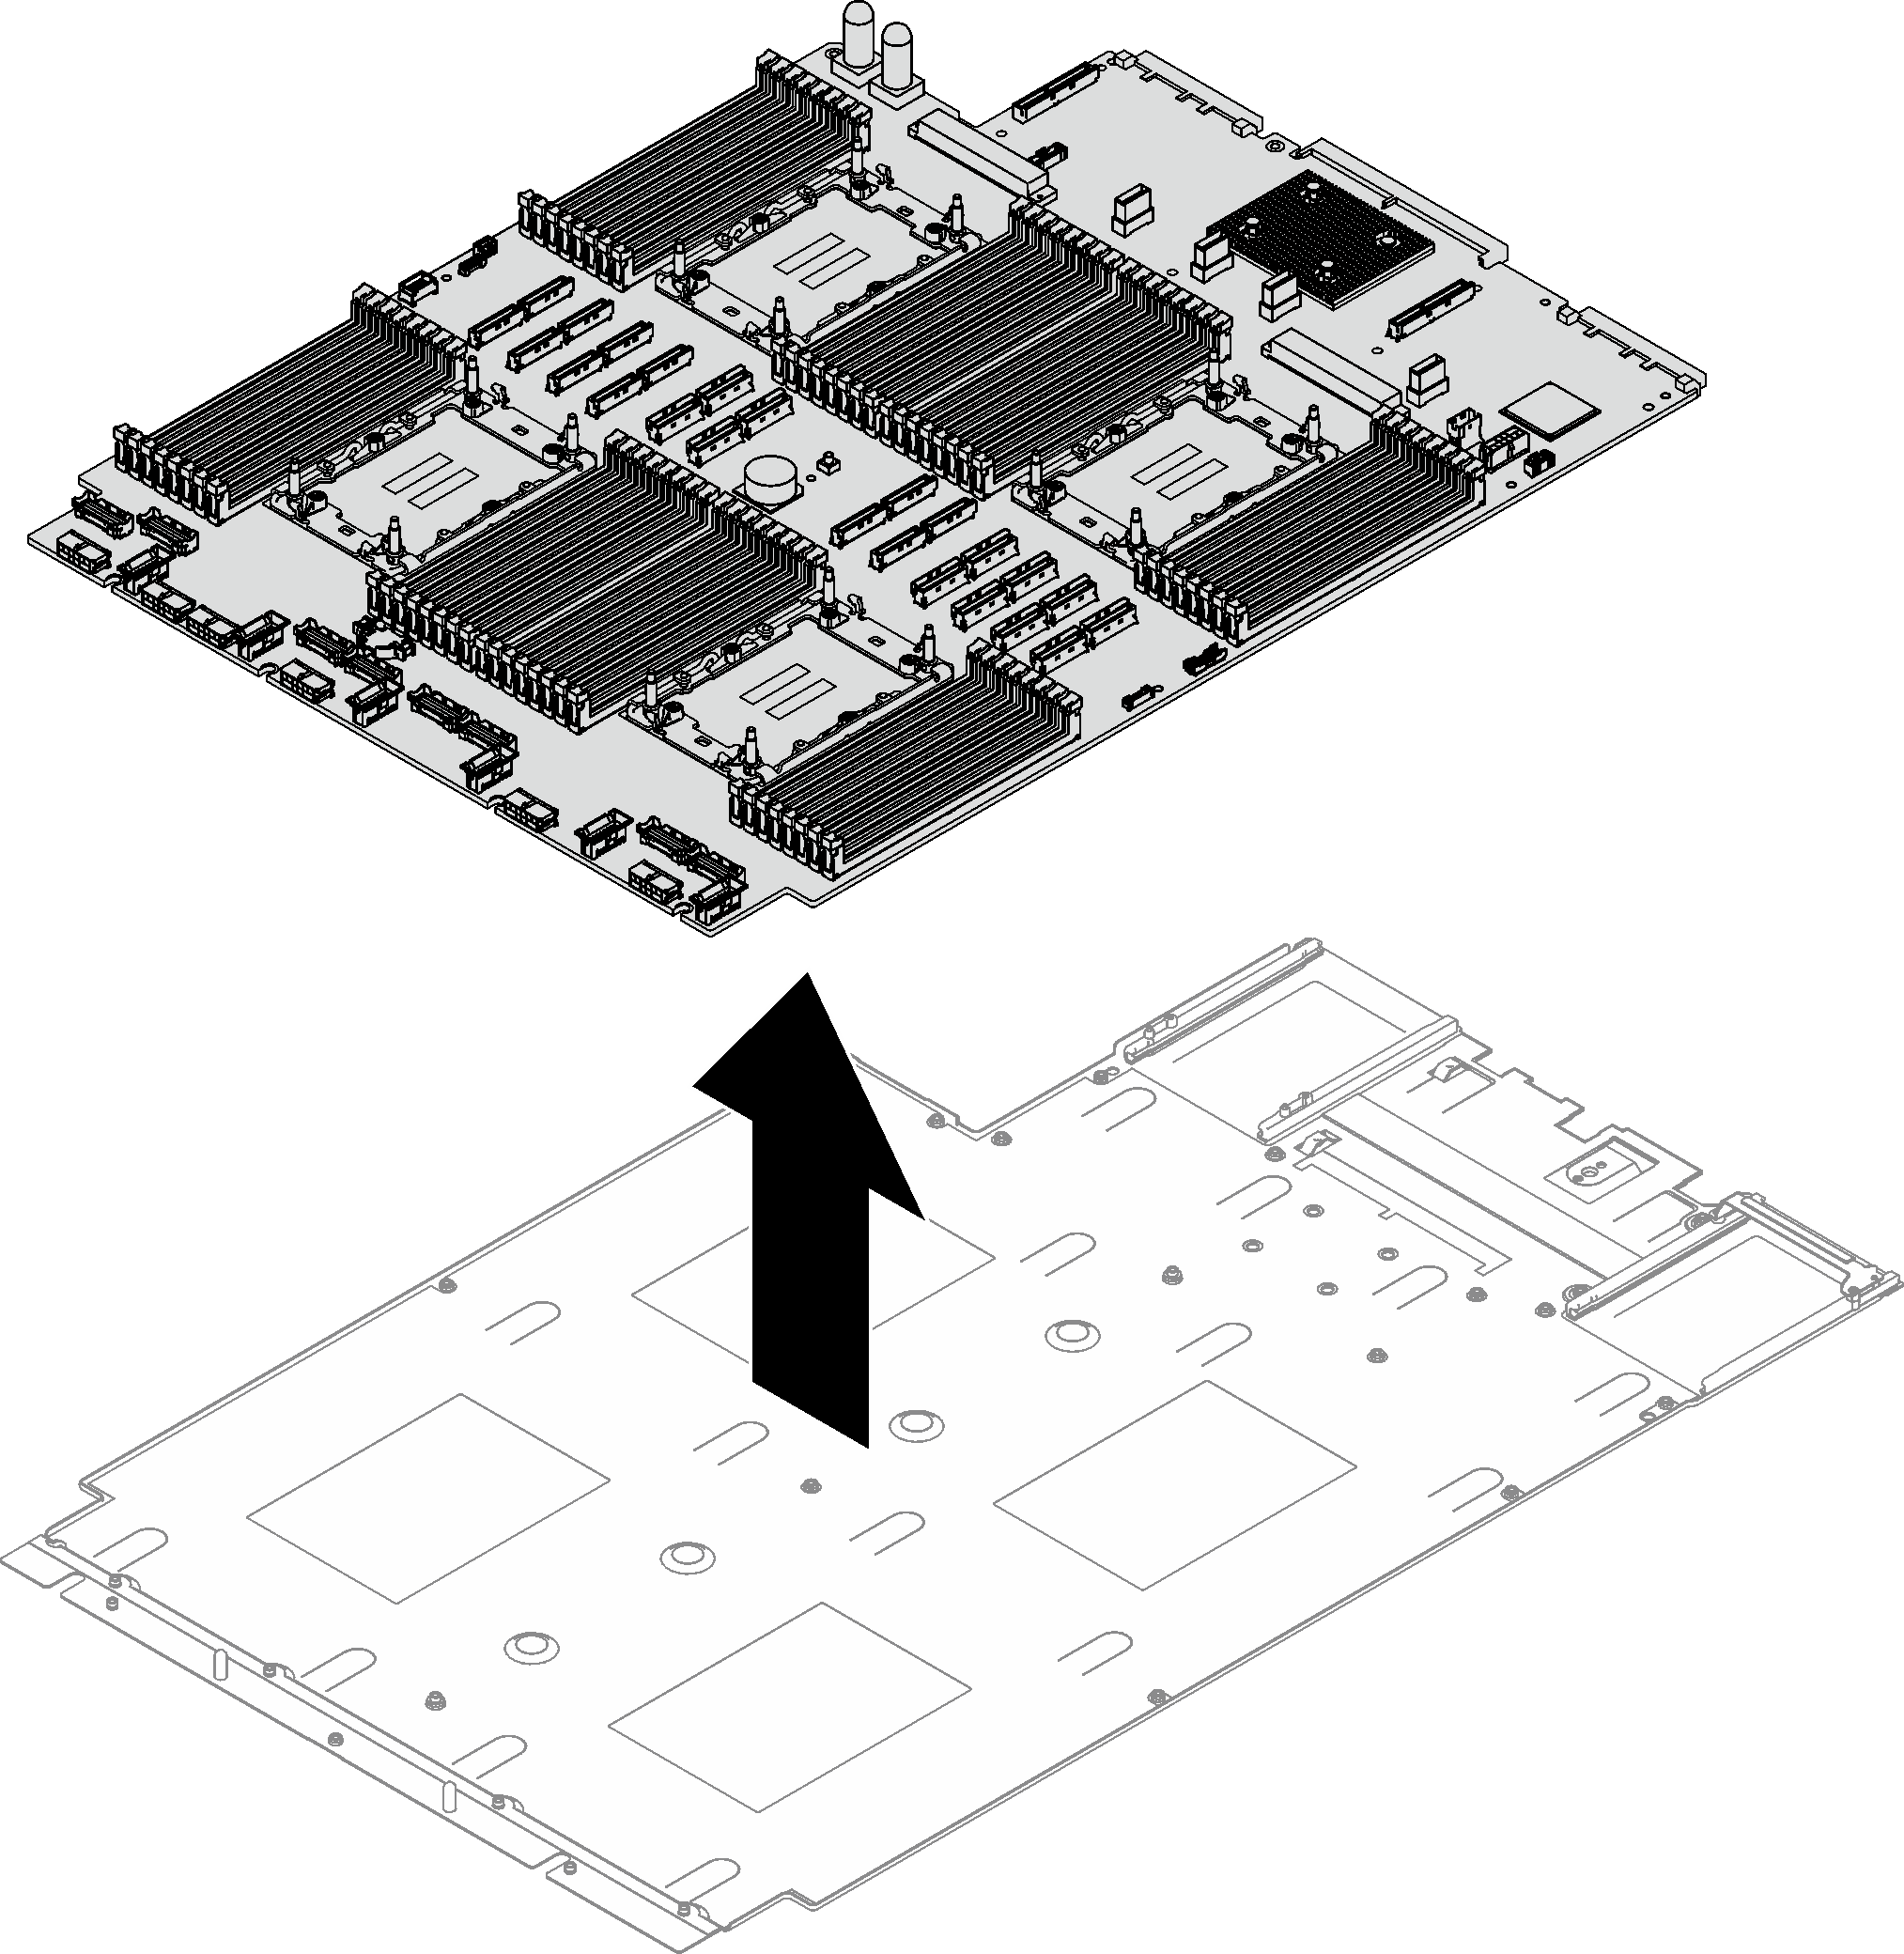
- Separate the processor board from the supporting sheet metal.Figure 4. Processor board disassembly
After you finish
After disassembling the system board assembly, recycle the unit in compliance with local regulations.
Give documentation feedback