Installing the non-hot-swap power supply
This procedure applies only to 4U server models with non-hot-swap power supplies.
Statement 8
CAUTION
Never remove the cover on a power supply or any part that has the following label attached.
Hazardous voltage, current, and energy levels are present inside any component that has this label attached. There are no serviceable parts inside these components. If you suspect a with one of these parts, contact a service technician.
To install a non-hot-swap power supply on 4U server models with non-hot-swap power supplies, complete the following steps.
- Remove the air duct.
- Remove the heat sink (see Removing the microprocessor and heat sink).
- Position the power supply in the chassis so that the screw holes in the power supply are aligned with the corresponding holes in the rear of the chassis.
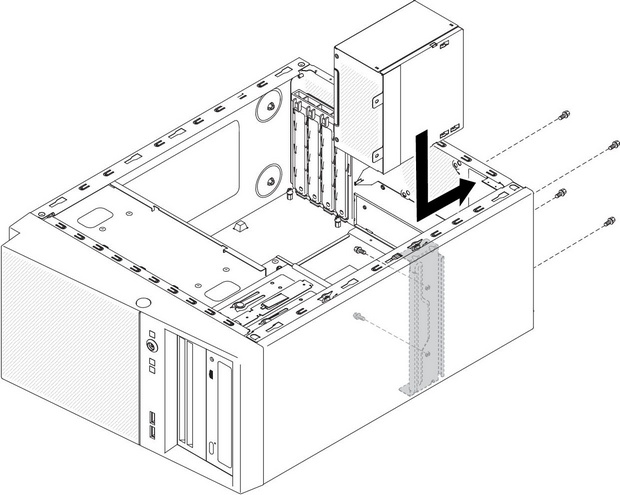 NoteMake sure the top and the bottom of the power supply align with the upper and lower tabs on the opening.
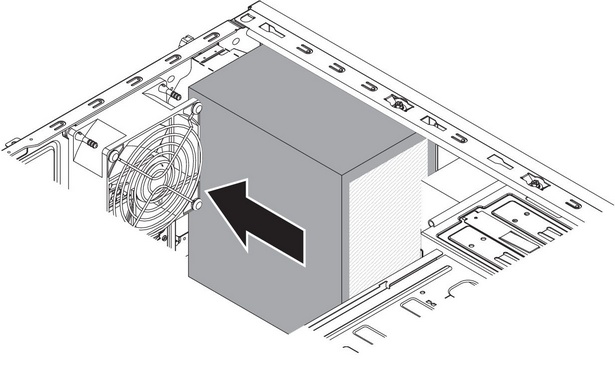
- Install the screws that secure the power supply to the chassis.
- Install the air duct.
If you have other devices to install, do so now. Otherwise, go to Completing the installation.
Give documentation feedback