Replacing a hot-swap power supply
Use this information to replace a hot-swap power supply.
Make sure the devices you are installing are supported. For a list of supported optional devices for the server, see the Lenovo ServerProven website.
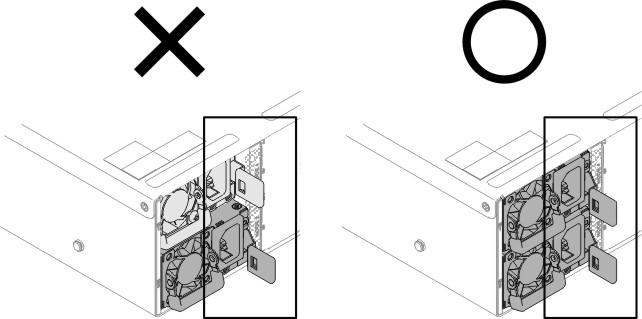
Do not install two power supply units with different wattages. Related information is available from the following:
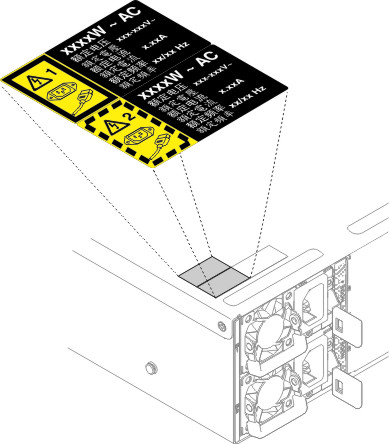
Read the label on top cover for maximum wattage output of installed power supply units. Only replace the existing units with those with the same wattage as marked on the label.
Check the rear of the node to make sure there’s no length difference between the two installed units. If there’s visible difference in length, it means the two units come with different wattages, and one of them have to be replaced. Also, error message PSU_Mismatch would appear in this case.
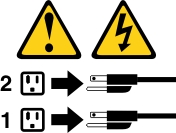
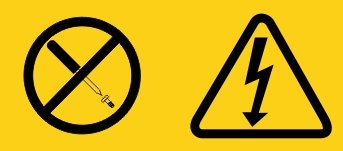
Hazardous voltage, current, and energy levels are present inside any component that has this label attached. There are no serviceable parts inside these components. If you suspect a problem with one of these parts, contact a service technician.
Read the safety information in Safety and Installation guidelines.
To replace or install a hot-swap power supply, complete the following steps.
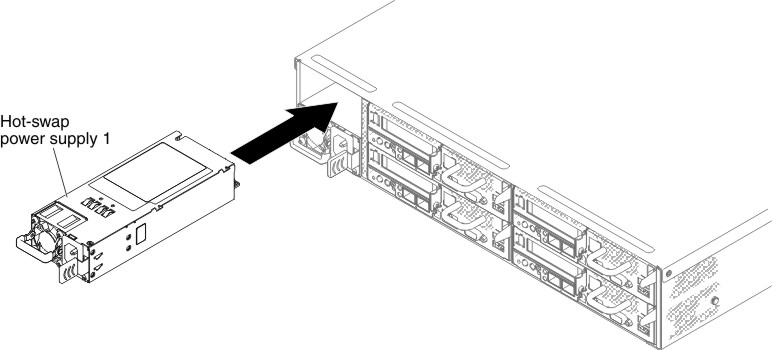
- Slide the hot-swap power supply into the bay until the release latch clicks into place.ImportantDuring normal operation, each power-supply bay must contain either a power supply or power-supply filler panel for proper cooling.Figure 1. Hot-swap power supply installation