Installing a solid state drive
Use this information to install a 1.8-inch hot-swap solid state drive (SSD).
You can install up to two 1.8-inch solid state drives (SSDs) in each drive bay, if a Flex System flash kit is installed in the bay.
The compute node supports using RAID 0 or RAID 1 when two solid state drives of the same interface type are installed. See Configuring a RAID array for information about RAID configuration.
Before you remove a 1.8-inch hot-swap solid state drive, read Safety and Installation guidelines.
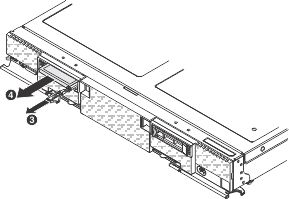
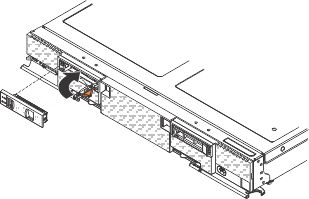
To install a solid state drive, complete the following steps:
See Configuring a RAID array for information about RAID configuration.
Give documentation feedback

