Creating a partition
Use the information in this topic to create a scalable complex partition.
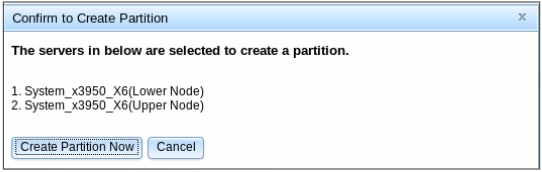
In the Unassigned nodes section of the Scalable Complex page, select the checkbox that corresponds to the nodes that you want to add to your partition. A Confirm to Create Partition window opens consisting of the nodes previously selected, (as shown in the following illustration). Click the Create Partition Now button to create the partition. You will receive a confirmation message indicating the partition is successfully created. Click the Refresh button to see the new partition status if the page does not automatically refresh. Once the partition is created the status of all partitions and any unassigned nodes is displayed. Power to the server can be turned on or off using the Power Actions button and the partition can be removed or the mode of operation for the partition can be changed using the Partition Actions button.
Note
- To add a partition all power to the server must be turned off.
- The Create Partition button is grayed out until a node is selected.
- If you select the Node check box, all nodes are automatically included and marked as checked.
- Firmware versions of the nodes within the scalable complex must be the same.
Note
Nodes in the partition mode of operation perform as one single system sharing resources.
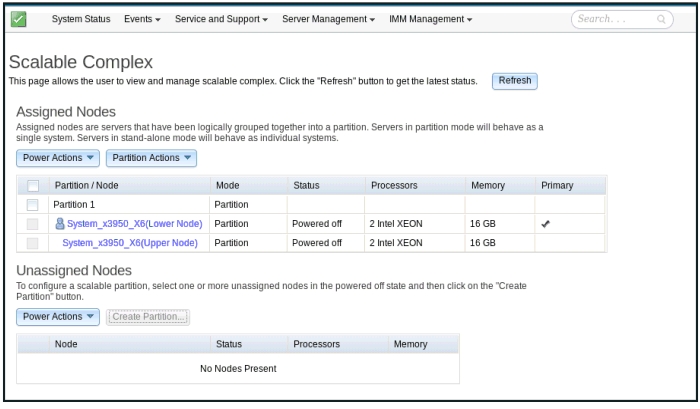
After the partition is created you will see a window similar to the following illustration displaying the status of all partitions and unassigned nodes.
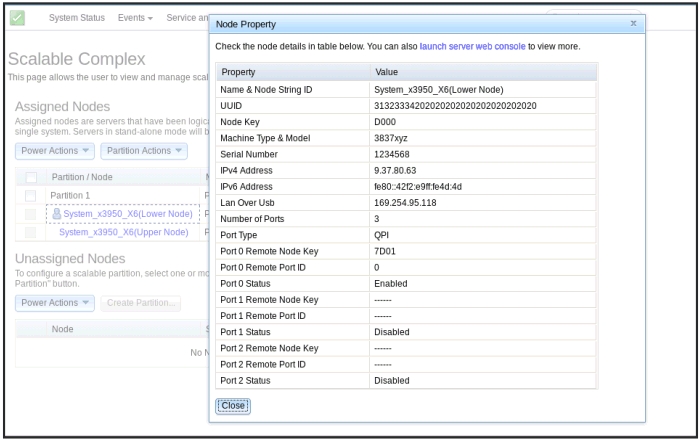
The details for a node are accessed by clicking on an individual node in the partition. The Node Property window is displayed (as shown in the following illustration).
Give documentation feedback