Remove an I/O expansion adapter
Use this information to remove an I/O expansion adapter.
Before you remove the I/O expansion adapter, complete the following steps:
Read Installation Guidelines to ensure that you work safely.
- If the compute node is installed in a chassis, remove it (see Remove a compute node for instructions).
- Carefully lay the compute node on a flat, static-protective surface.
Remove the compute node cover (see Remove the compute node cover for instructions).
To remove an I/O expansion adapter, complete the following steps:
Figure 1. I/O expansion adapter removal
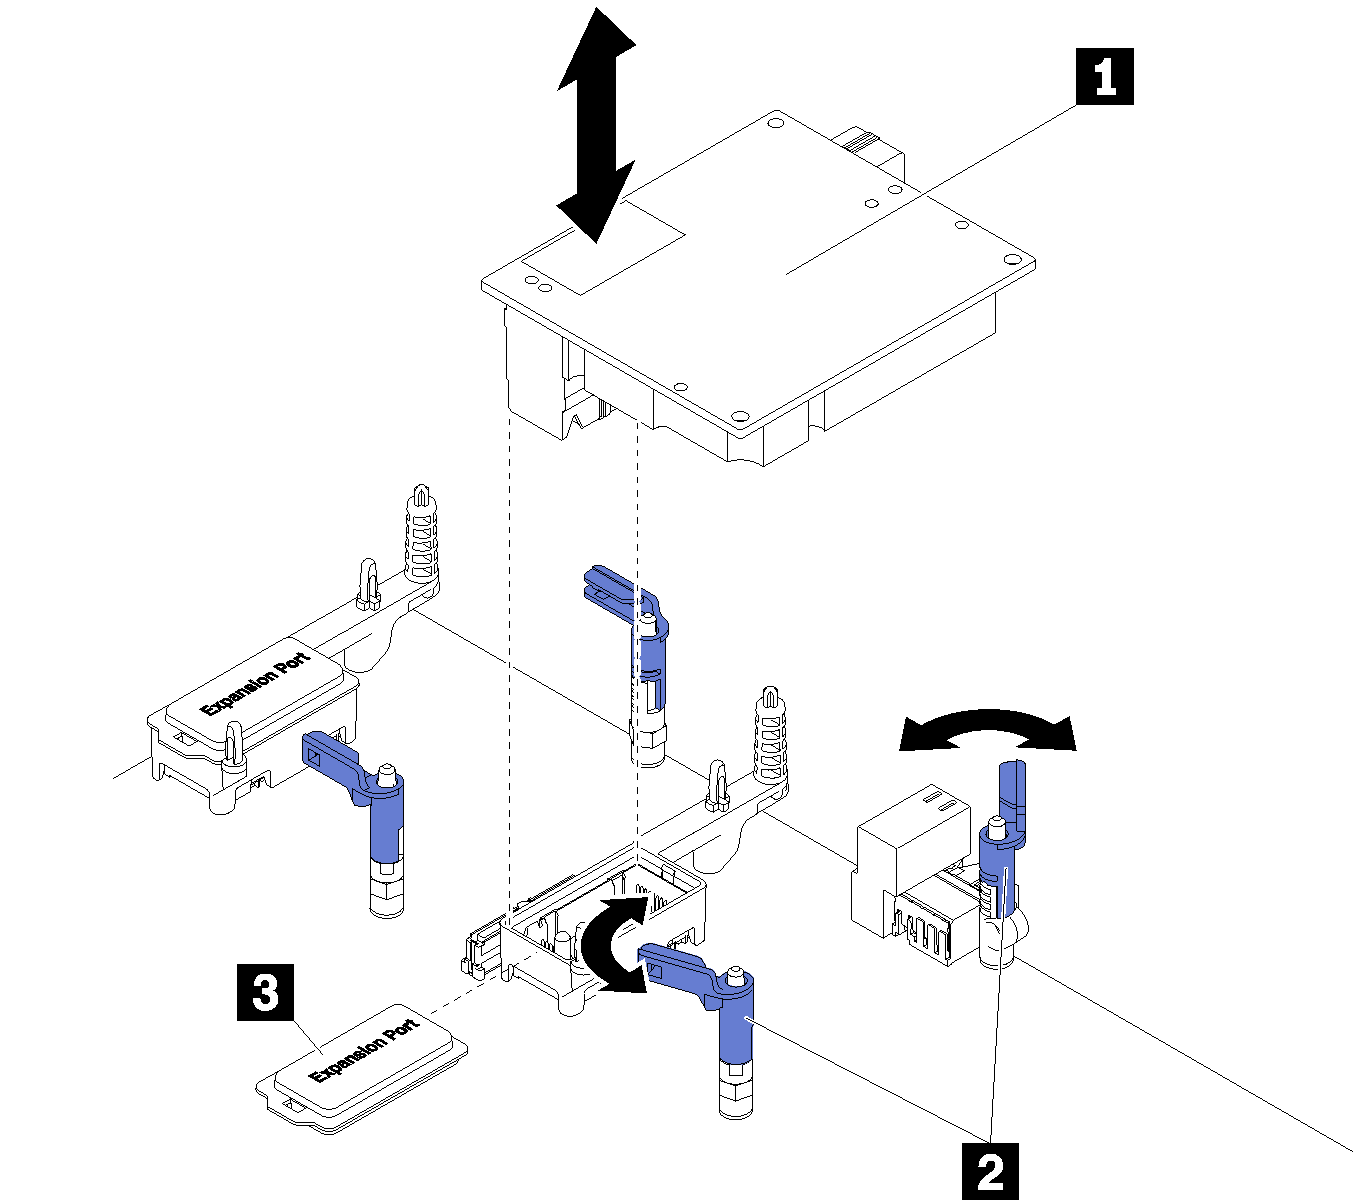
| 1 I/O expansion adapter | 3 Expansion cover |
| 2 Retention clips |
If you are instructed to return the I/O expansion adapter, follow all packaging instructions, and use any packaging materials for shipping that are supplied to you.
Demo video
Give documentation feedback