Install the serial port module
Use this information to install the serial port module.


If the slot is covered with a slot bracket, open the retention latch and remove the slot bracket from the chassis. Store the bracket in case that you later remove the serial port module and need the bracket to cover the place.
Touch the static-protective package that contains the new serial port module to any unpainted surface on the outside of the server. Then, take the new serial port module out of the package and place it on a static-protective surface.
To install the serial port module, complete the following steps:
Watch the procedure
A video of this procedure is available at YouTube.
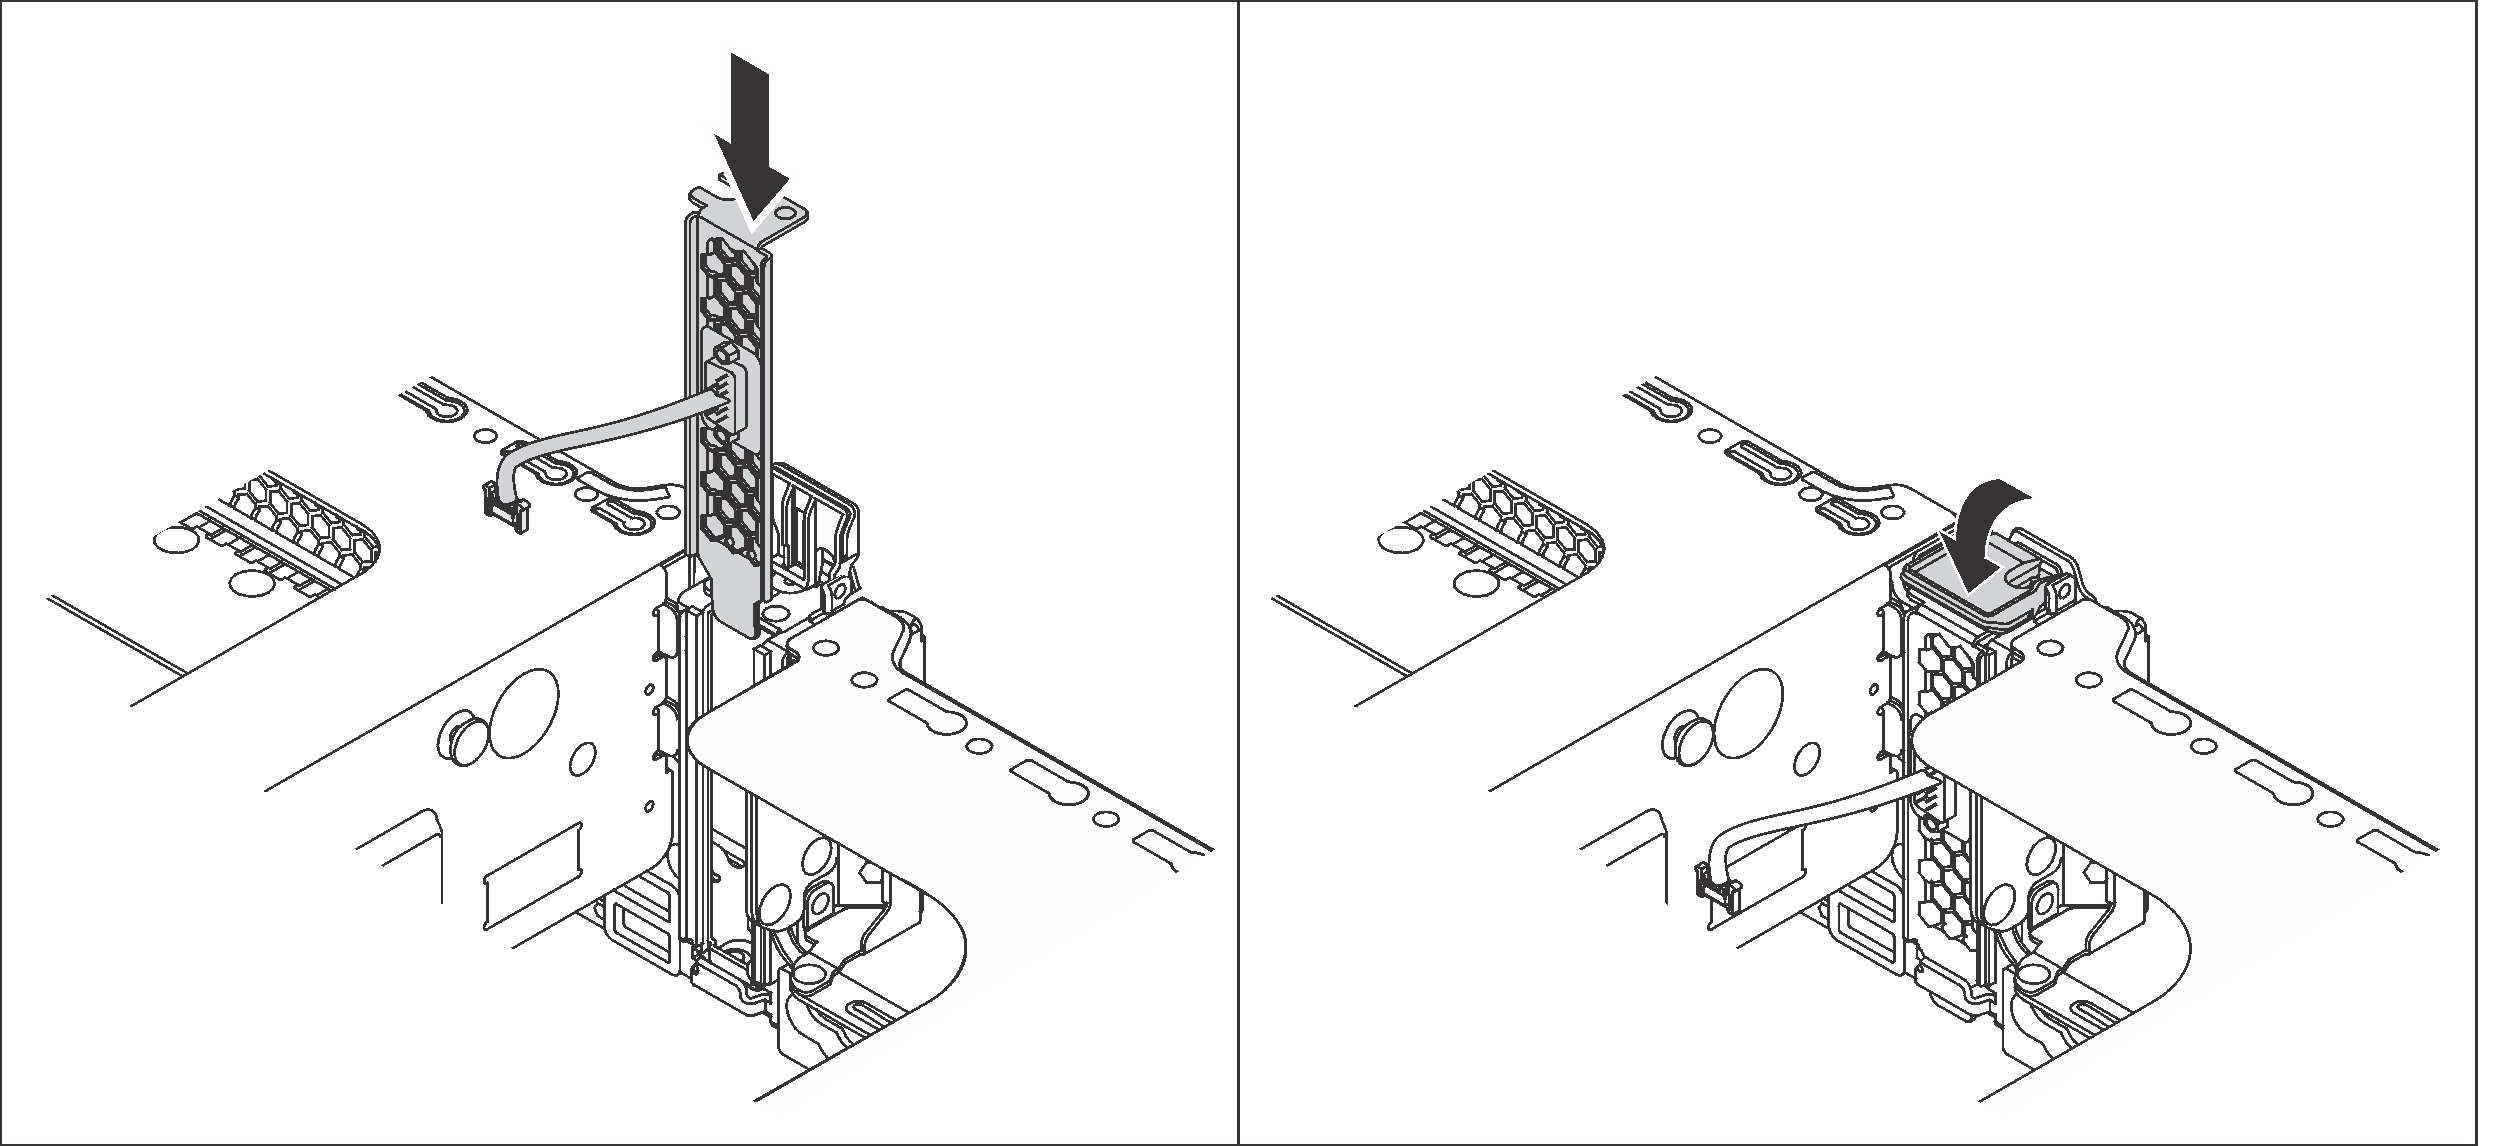
- Install the serial port module into the chassis and close the retention latch to secure it in position.Figure 1. Serial port module installation
For Linux operating system:
Open the ipmitool and enter the following command to disable the Serial over LAN (SOL) feature:
-I lanplus -H IP -U USERID -P PASSW0RD sol deactivate
For Microsoft Windows operating system:
Open the ipmitool and enter the following command to disable the SOL feature:
-I lanplus -H IP -U USERID -P PASSW0RD sol deactivate
Open Windows PowerShell and enter the following command to disable the Emergency Management Services (EMS) feature:
Bcdedit /ems no
Restart the server to ensure that the EMS setting takes effect.