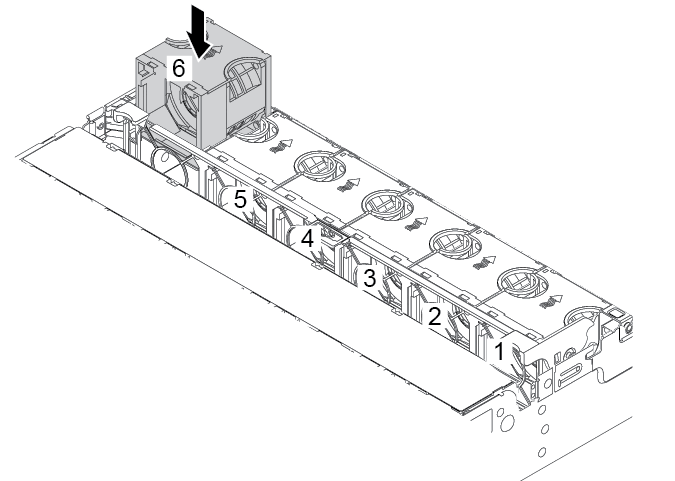
Install a system fan
Use this information to install a system fan.
About this task

Hazardous energy present. Voltages with hazardous energy might cause heating when shorted with metal, which might result in spattered metal, burns, or both.

Read Installation Guidelines to ensure that you work safely.
When installing a hot-swap fan without powering off the server, do not touch the system fan cage. With power on, complete the replacement within 30 seconds to ensure proper operation.
Prevent exposure to static electricity, which might lead to system halt and loss of data, by keeping static-sensitive components in their static-protective packages until installation, and handling these devices with an electrostatic-discharge wrist strap or other grounding system.
When there is only one processor installed, six system fans are needed if a middle drive cage, rear drive cage, or riser 3 is installed.
Procedure
