安裝空氣擋板
請依照本節中的指示安裝空氣擋板。
關於此作業
S033
注意
含有高壓電。高壓電流在遇到金屬短路時可能會產生熱能,導致金屬液化、燃燒或兩者同時發生。
S017

注意
附近有危險的活動風扇葉片。手指和身體其他部位應保持距離。
程序
註
圖示的空氣擋板是標準空氣擋板。GPU 空氣擋板的安裝方法亦同。
- (選用)如果安裝了效能散熱槽或是直接水冷模組 (DWCM),請安裝空氣擋板填充板以填補散熱槽和空氣擋板之間的空隙。註
- 如果已經使用 DWCM 取代效能散熱槽,請確保將聚酯薄膜貼附到標準空氣擋板填充板的外部,如下所示。
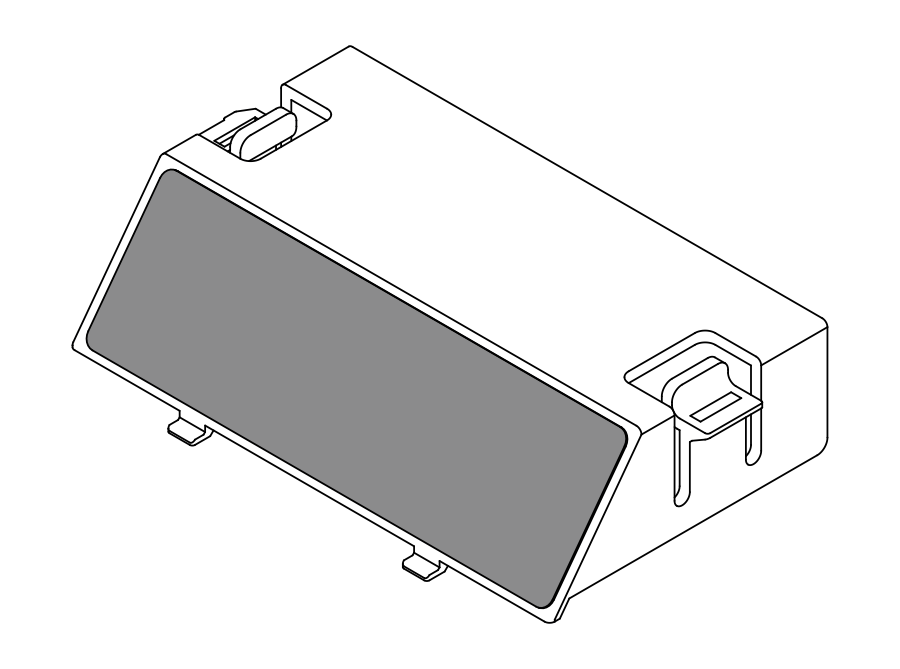
下圖顯示的空氣擋板上下倒置。
圖 1. 安裝空氣擋板填充板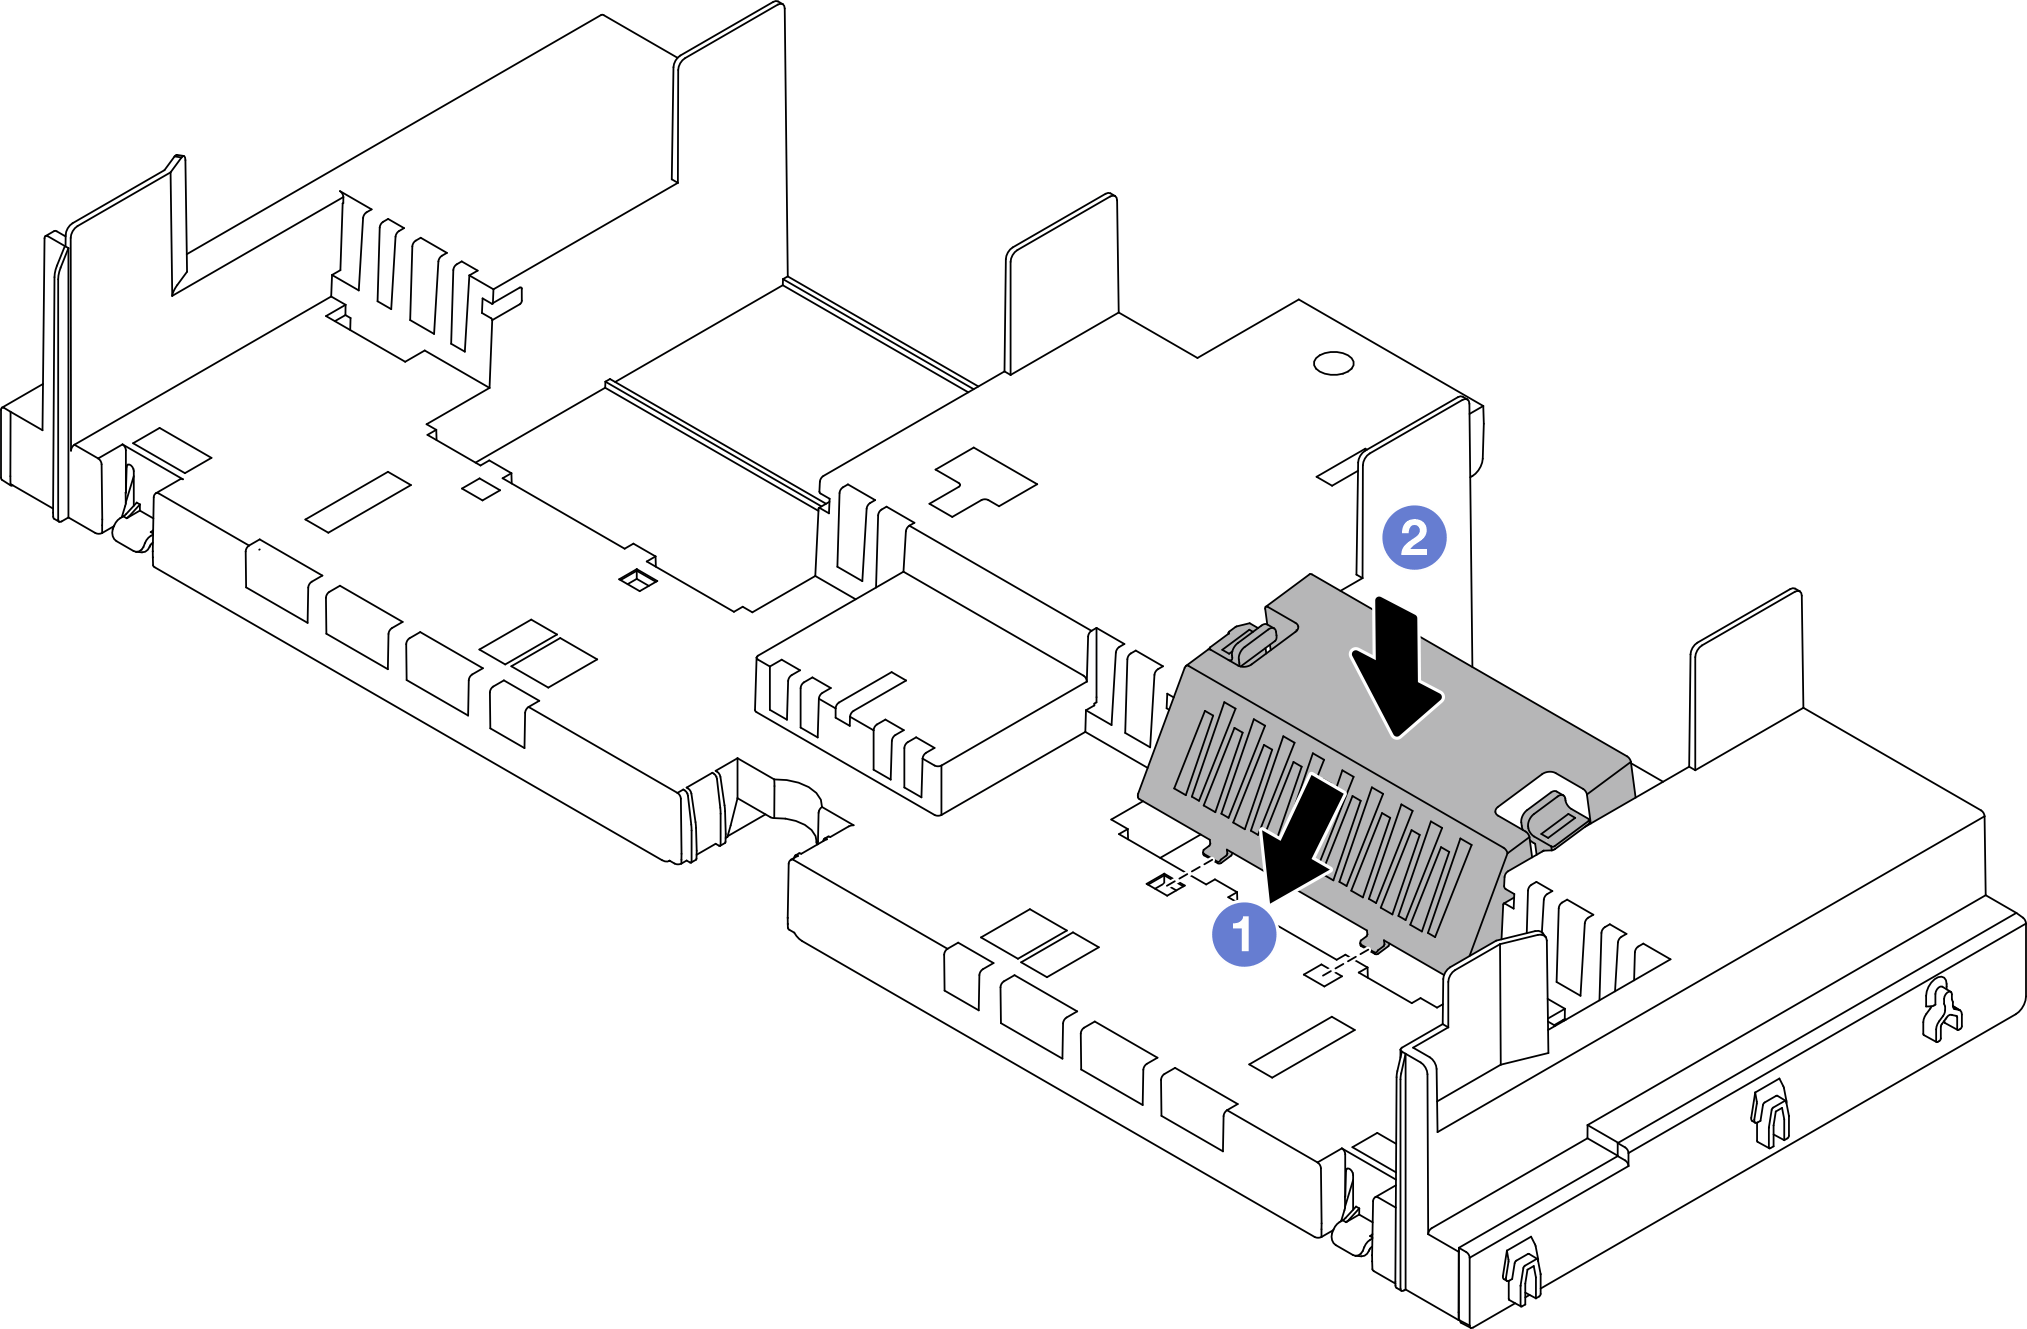
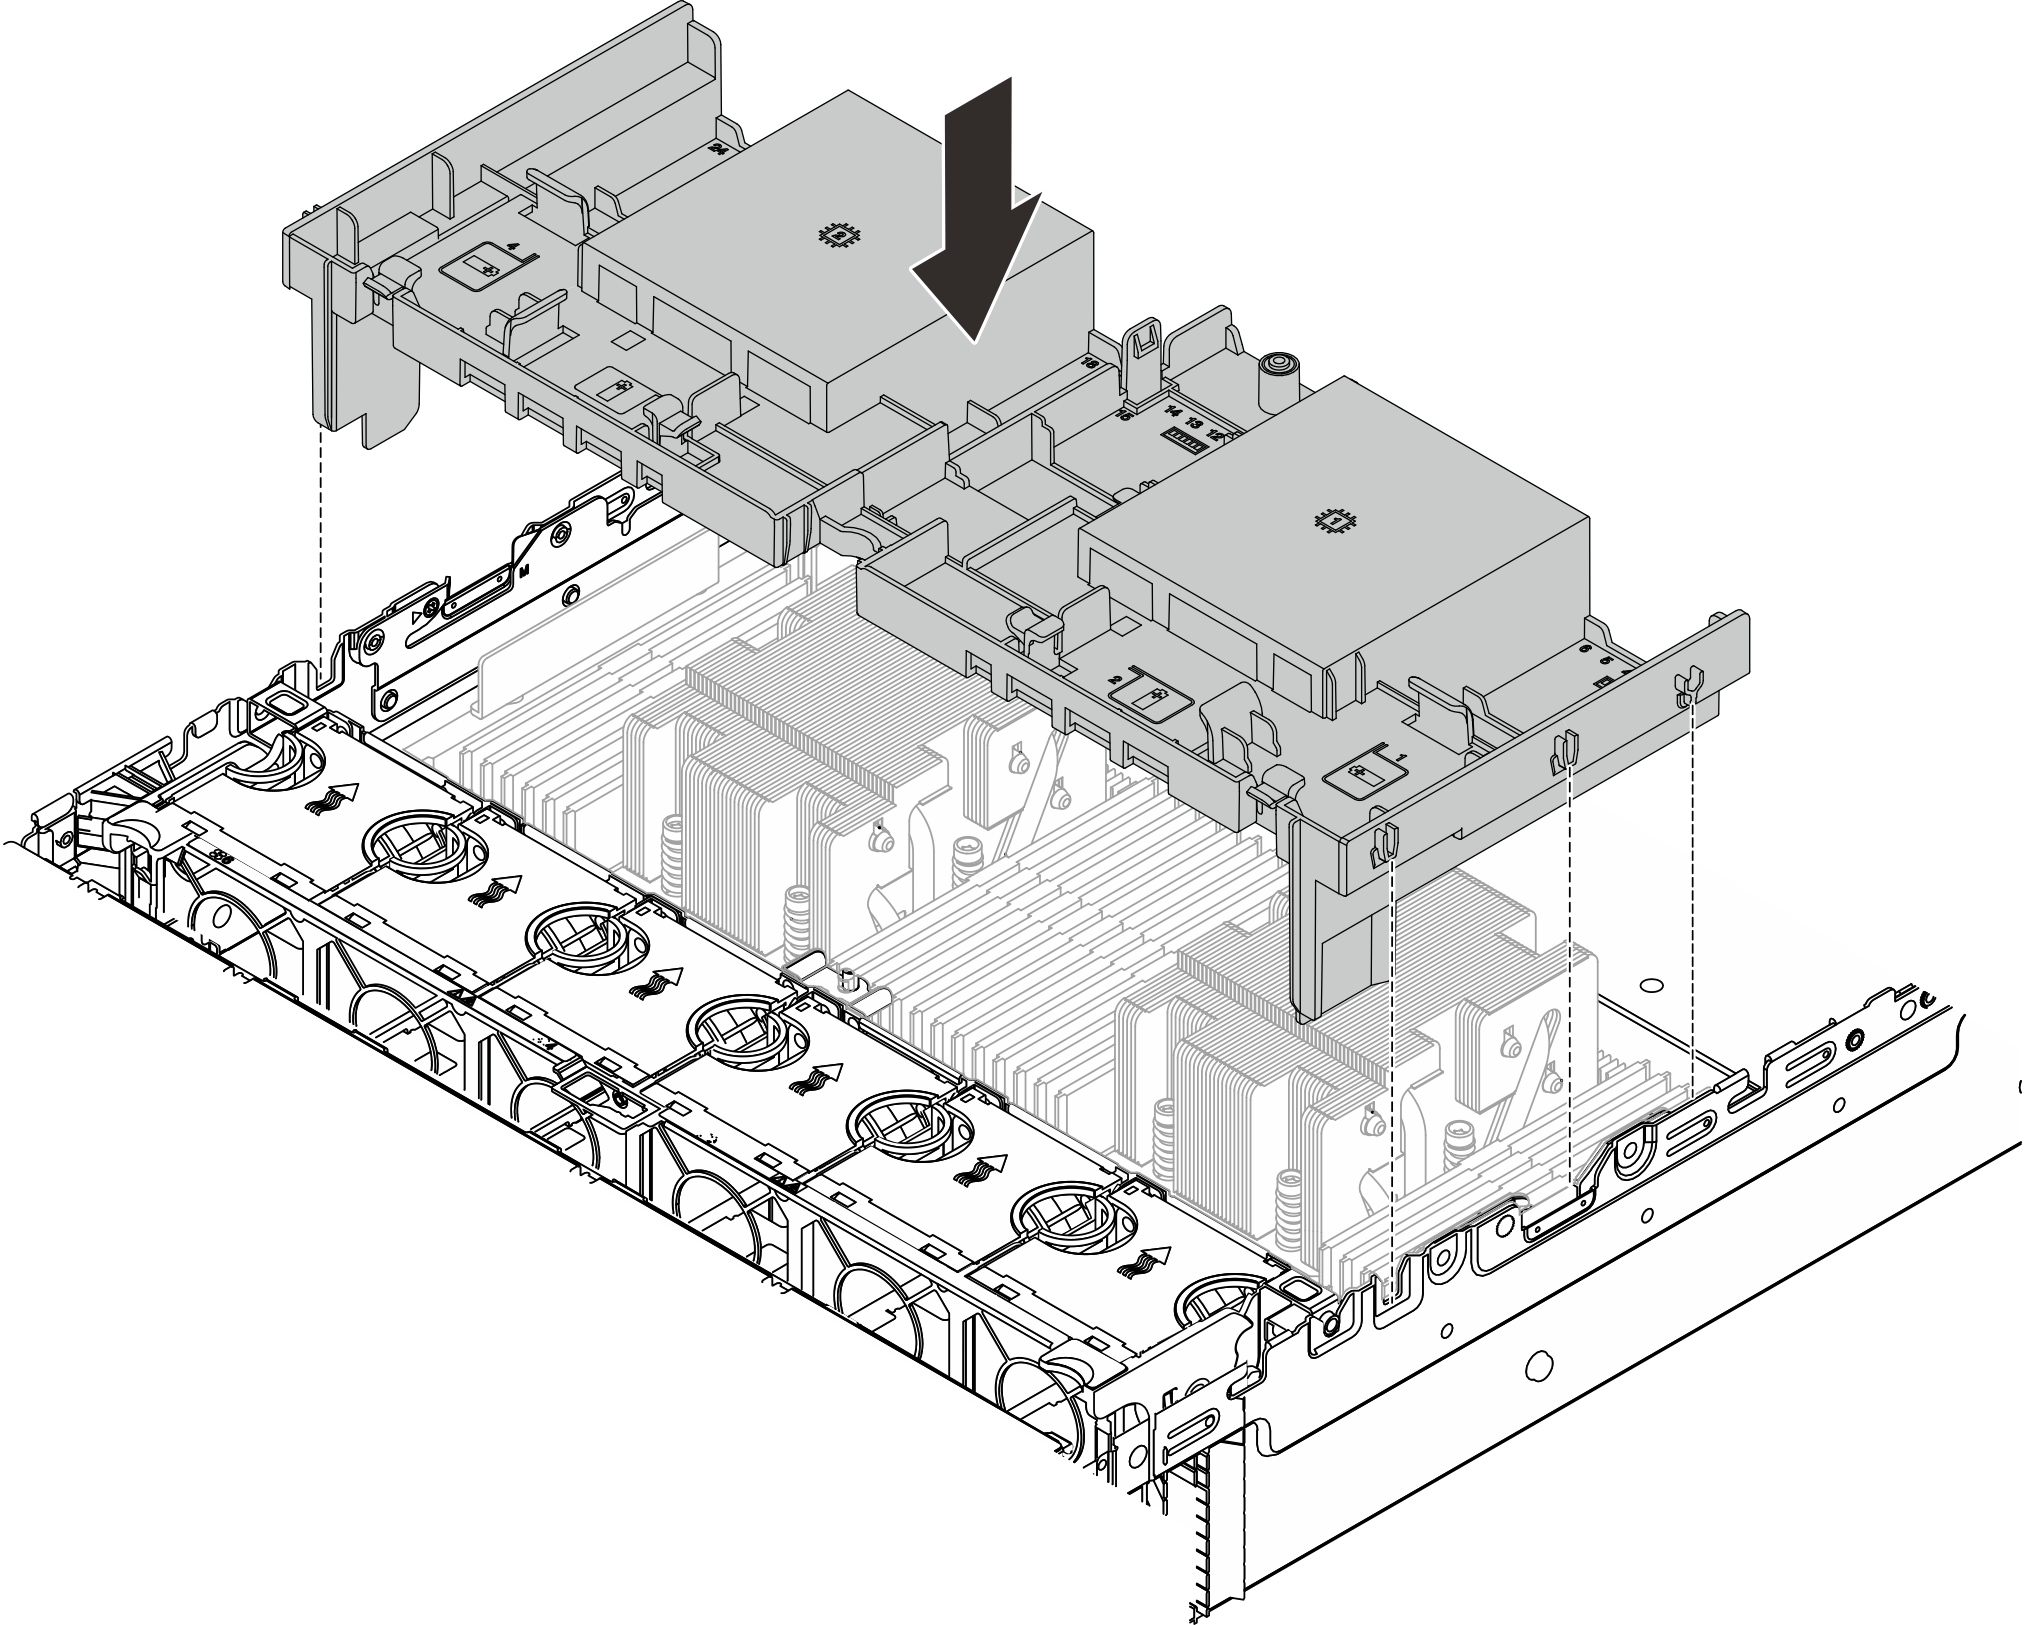
- 將空氣擋板兩側的卡榫對齊機箱兩側的對應插槽。再將空氣擋板放入機箱並下壓,直到空氣擋板牢牢固定為止。圖 2. 安裝空氣擋板
在您完成之後
如果已拔掉 RAID 快閃記憶體電源模組的纜線,請重新連接。請參閱內部纜線佈線。
如果已拔掉 M.2 背板的纜線,請重新連接。請參閱內部纜線佈線。
如果您已經卸下 GPU 配接卡,請將它裝回。請參閱安裝 GPU 配接卡。
完成零件更換請參閱完成零件更換。
示範影片
提供意見回饋