Install the server into the rails
Follow instructions in this section to install ST250 V2 into the rails.
S002
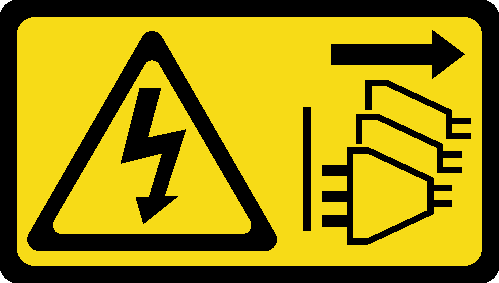
CAUTION
The power-control button on the device and the power switch on the power supply do not turn off the electrical current supplied to the device. The device also might have more than one power cord. To remove all electrical current from the device, ensure that all power cords are disconnected from the power source.
S014

CAUTION
Hazardous voltage, current, and energy levels might be present. Only a qualified service technician is authorized to remove the covers where the label is attached.
S033

CAUTION
Hazardous energy present. Voltages with hazardous energy might cause heating when shorted with metal, which might result in spattered metal, burns, or both.
About this task
Attention
Read the Installation guidelines to ensure that you work safely.
Turn off the server and peripheral devices, and disconnect the power cords and all external cables (see Power off the server).
Procedure
Note
Your system might look slightly different from those shown in the illustrations.
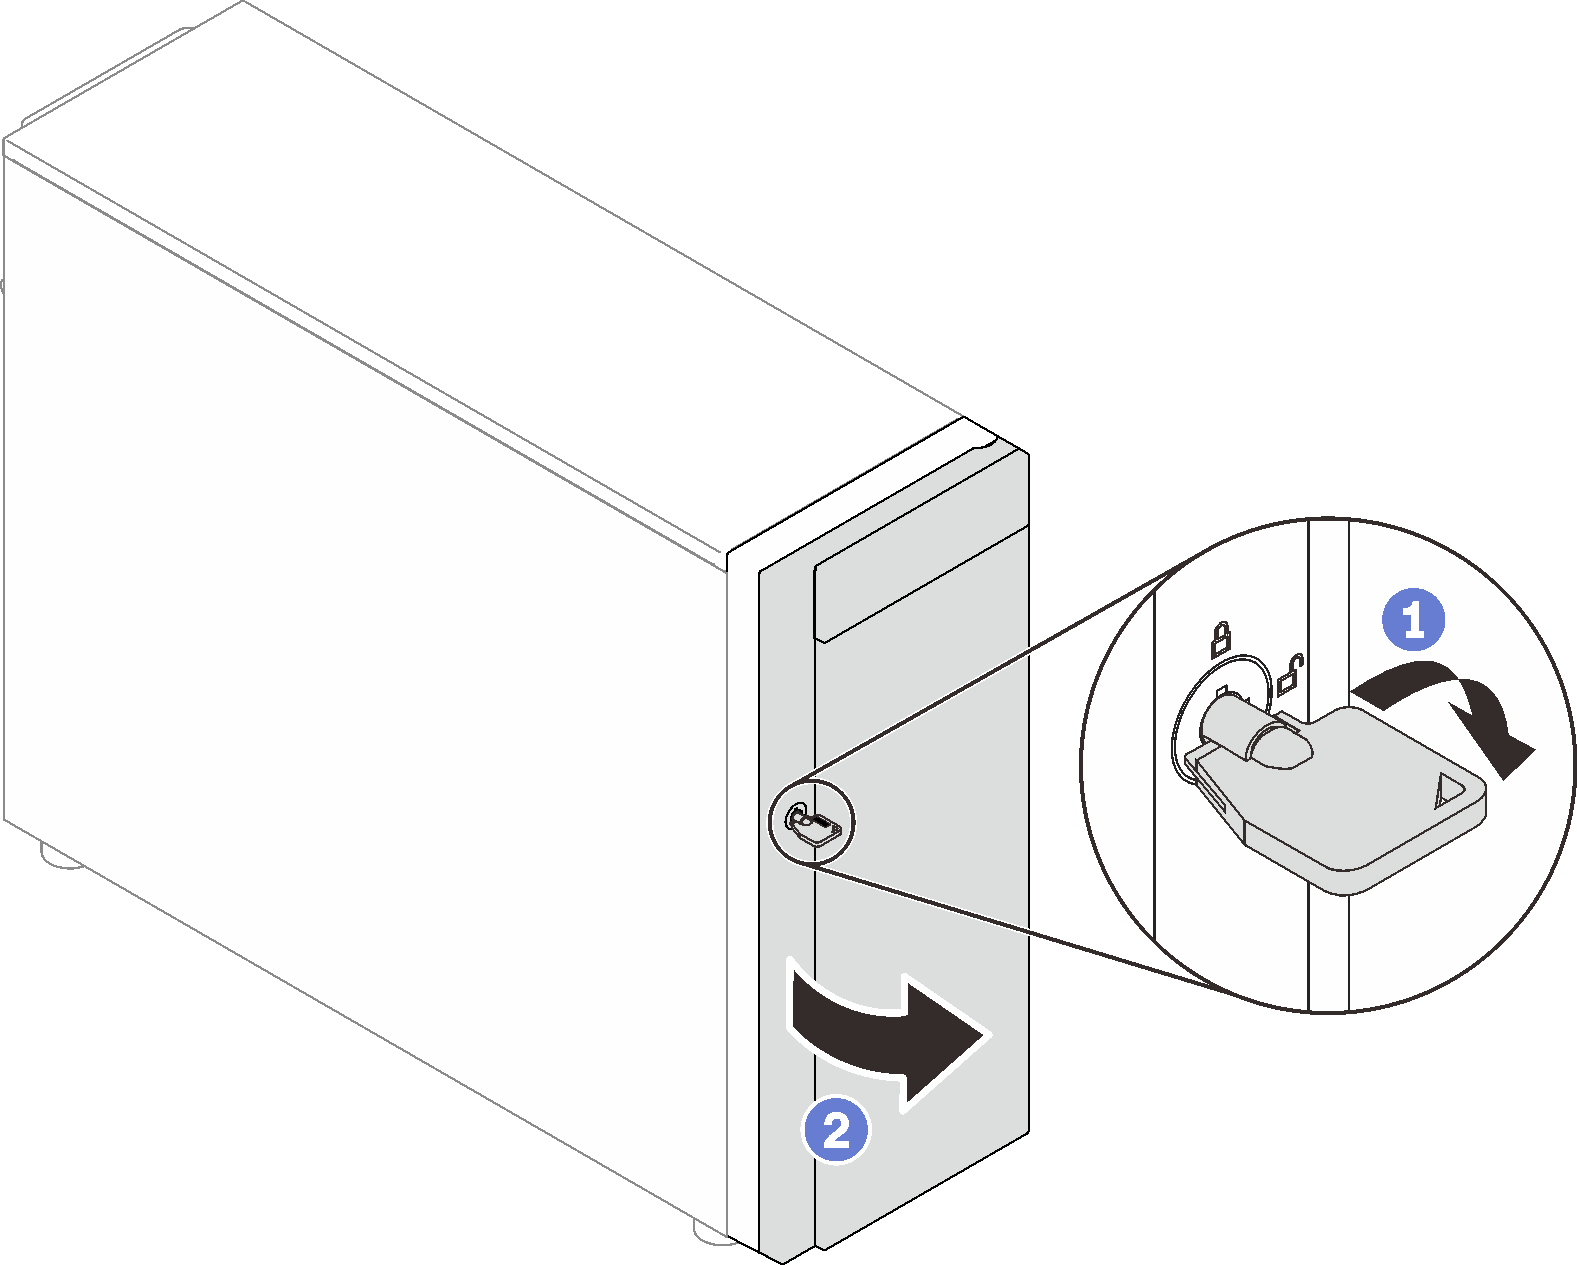
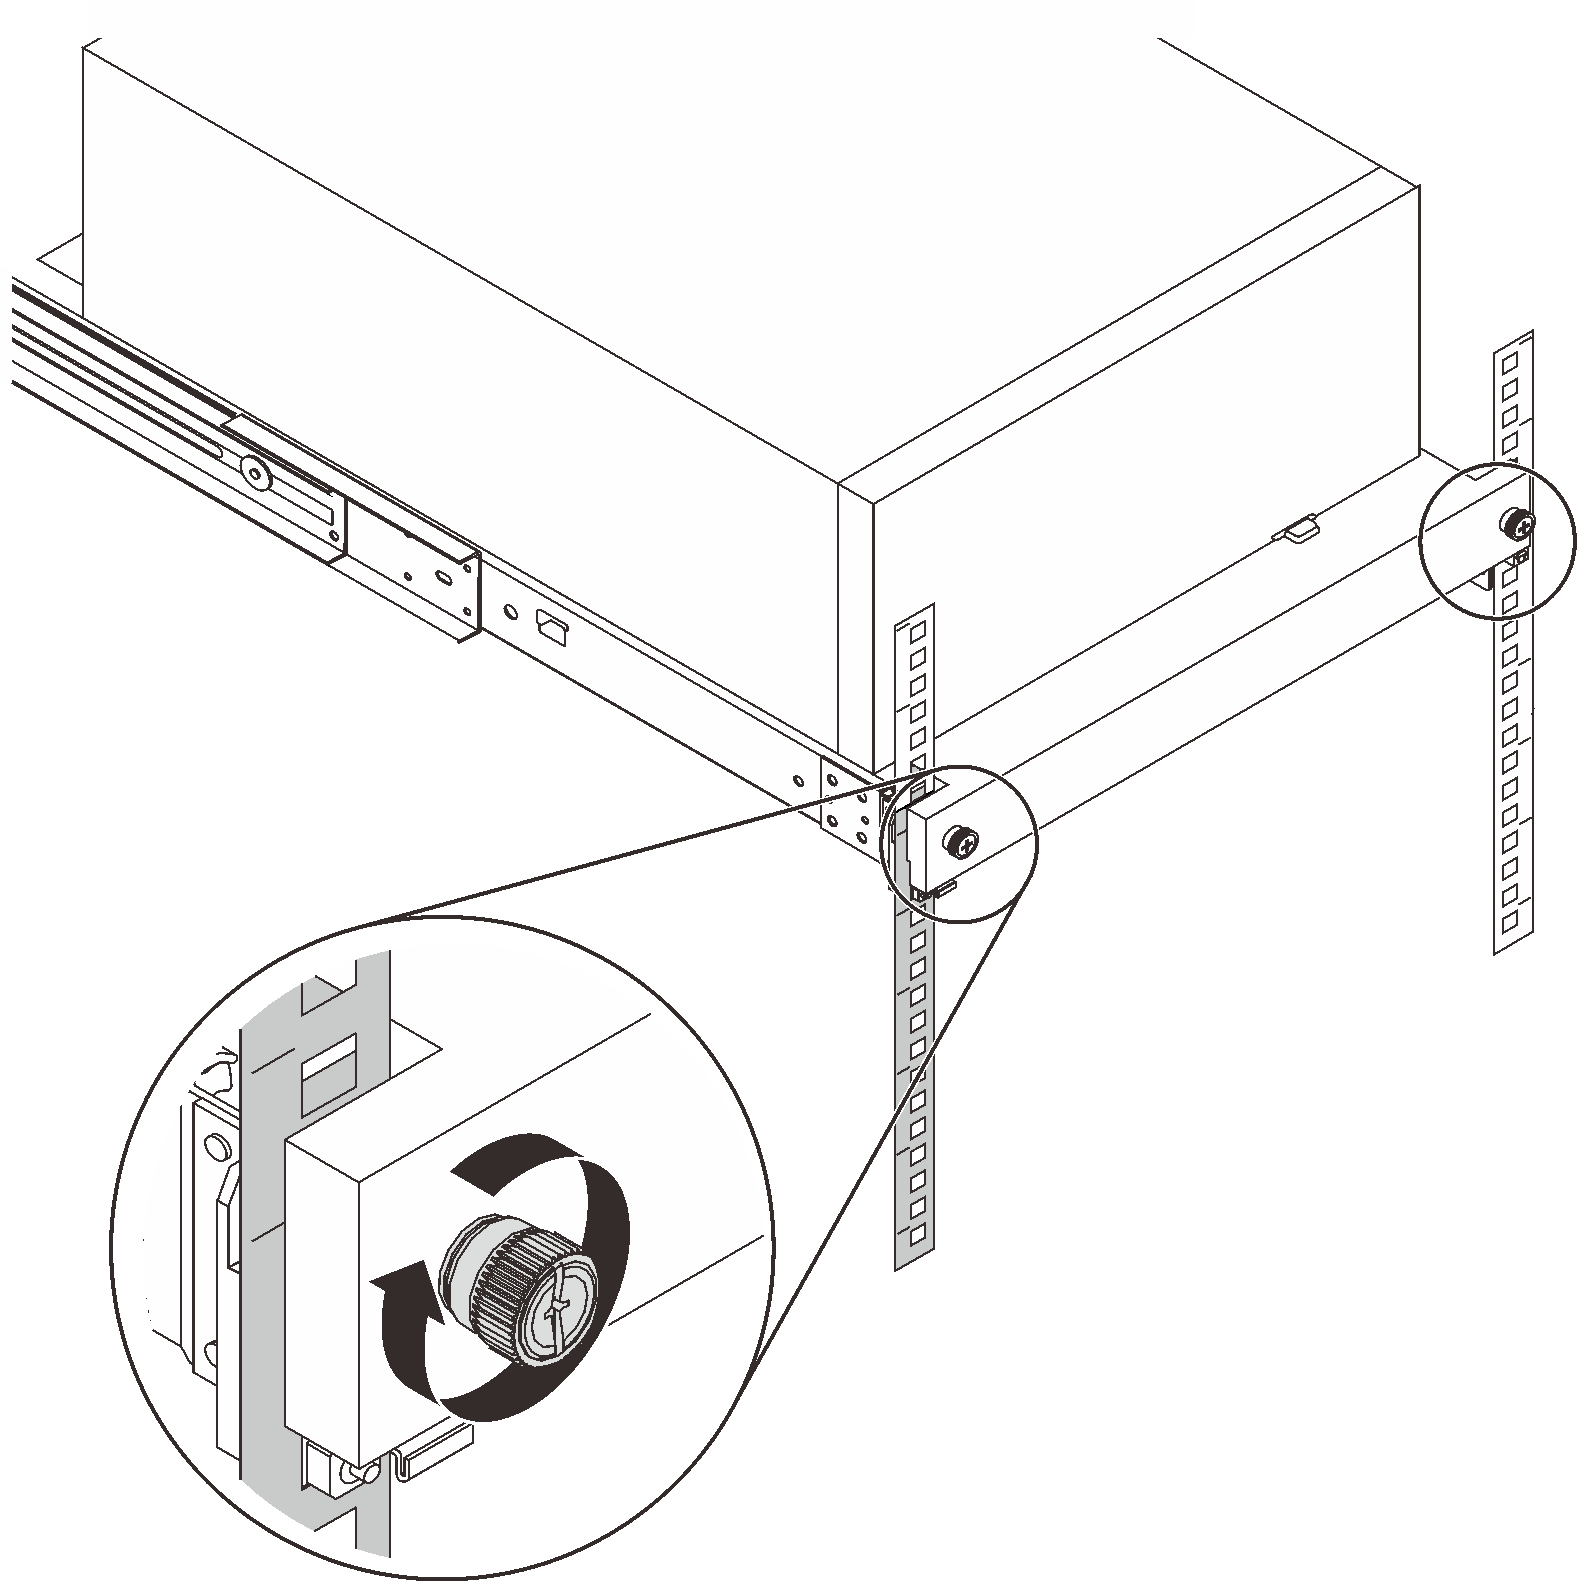
- Unlock ST250 V2 front door.
 Slide and push the key into the corresponding hole on the front door and turn it clockwise to unlock the door.
 Open the front door.
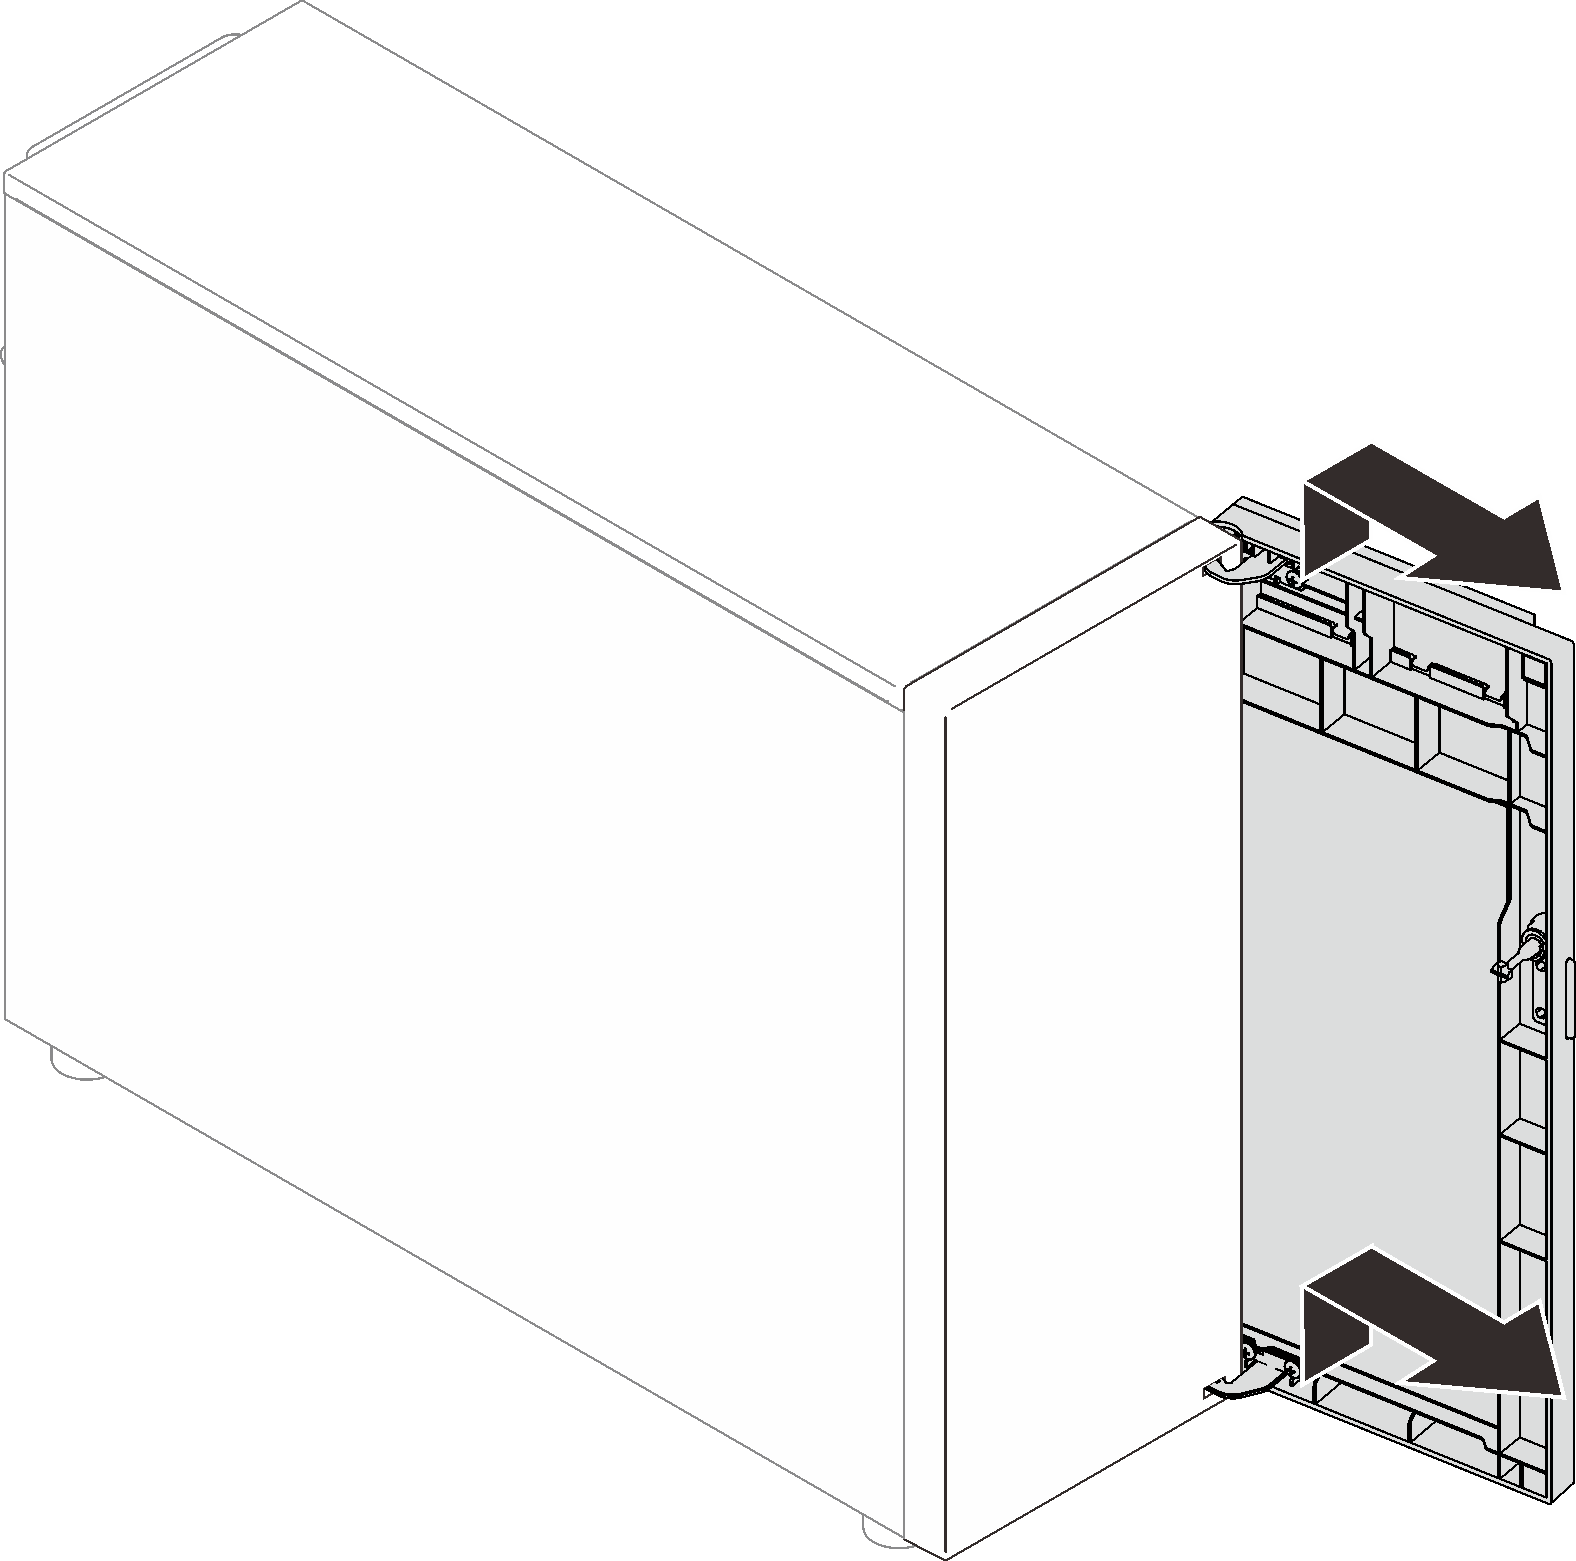
- Lift the front door to detach the hinge, and remove it from the server.
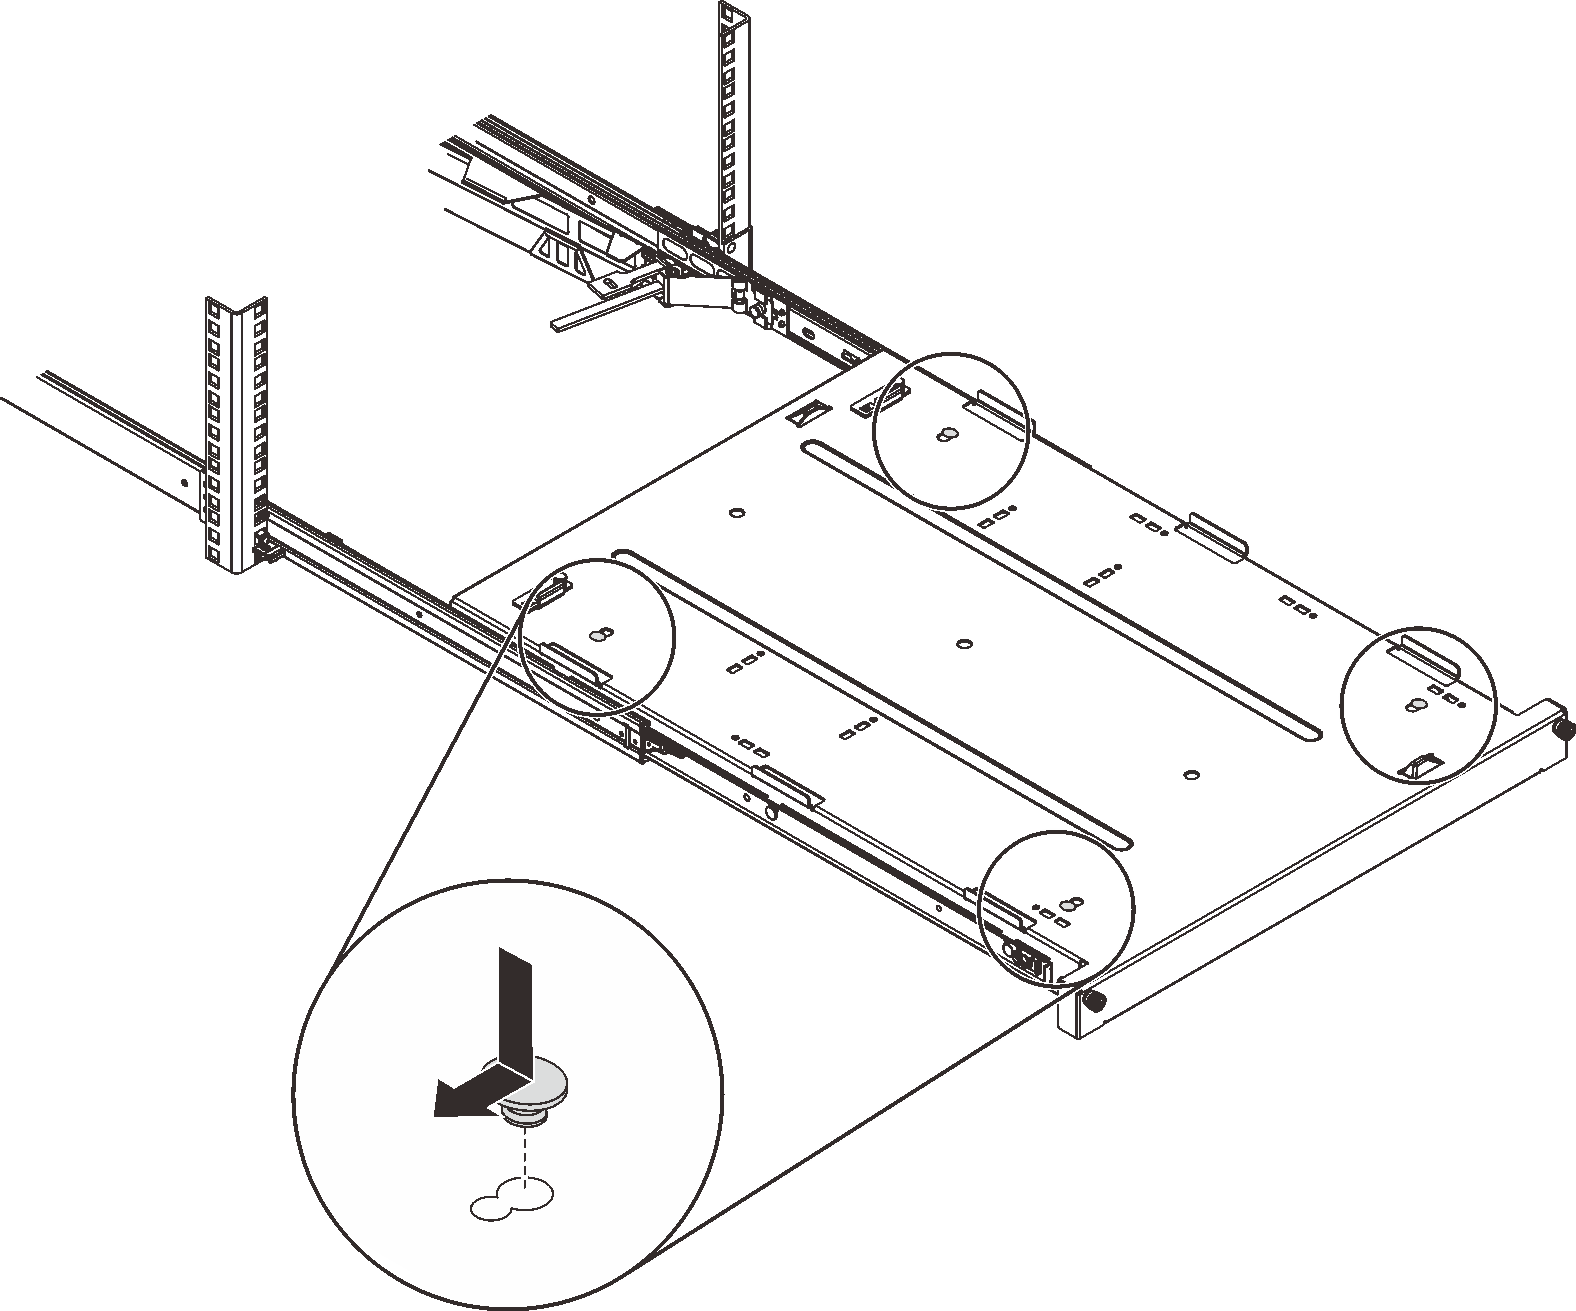
- Install the two brackets as illustrated.
- Install the four rubber safety pads as illustrated.
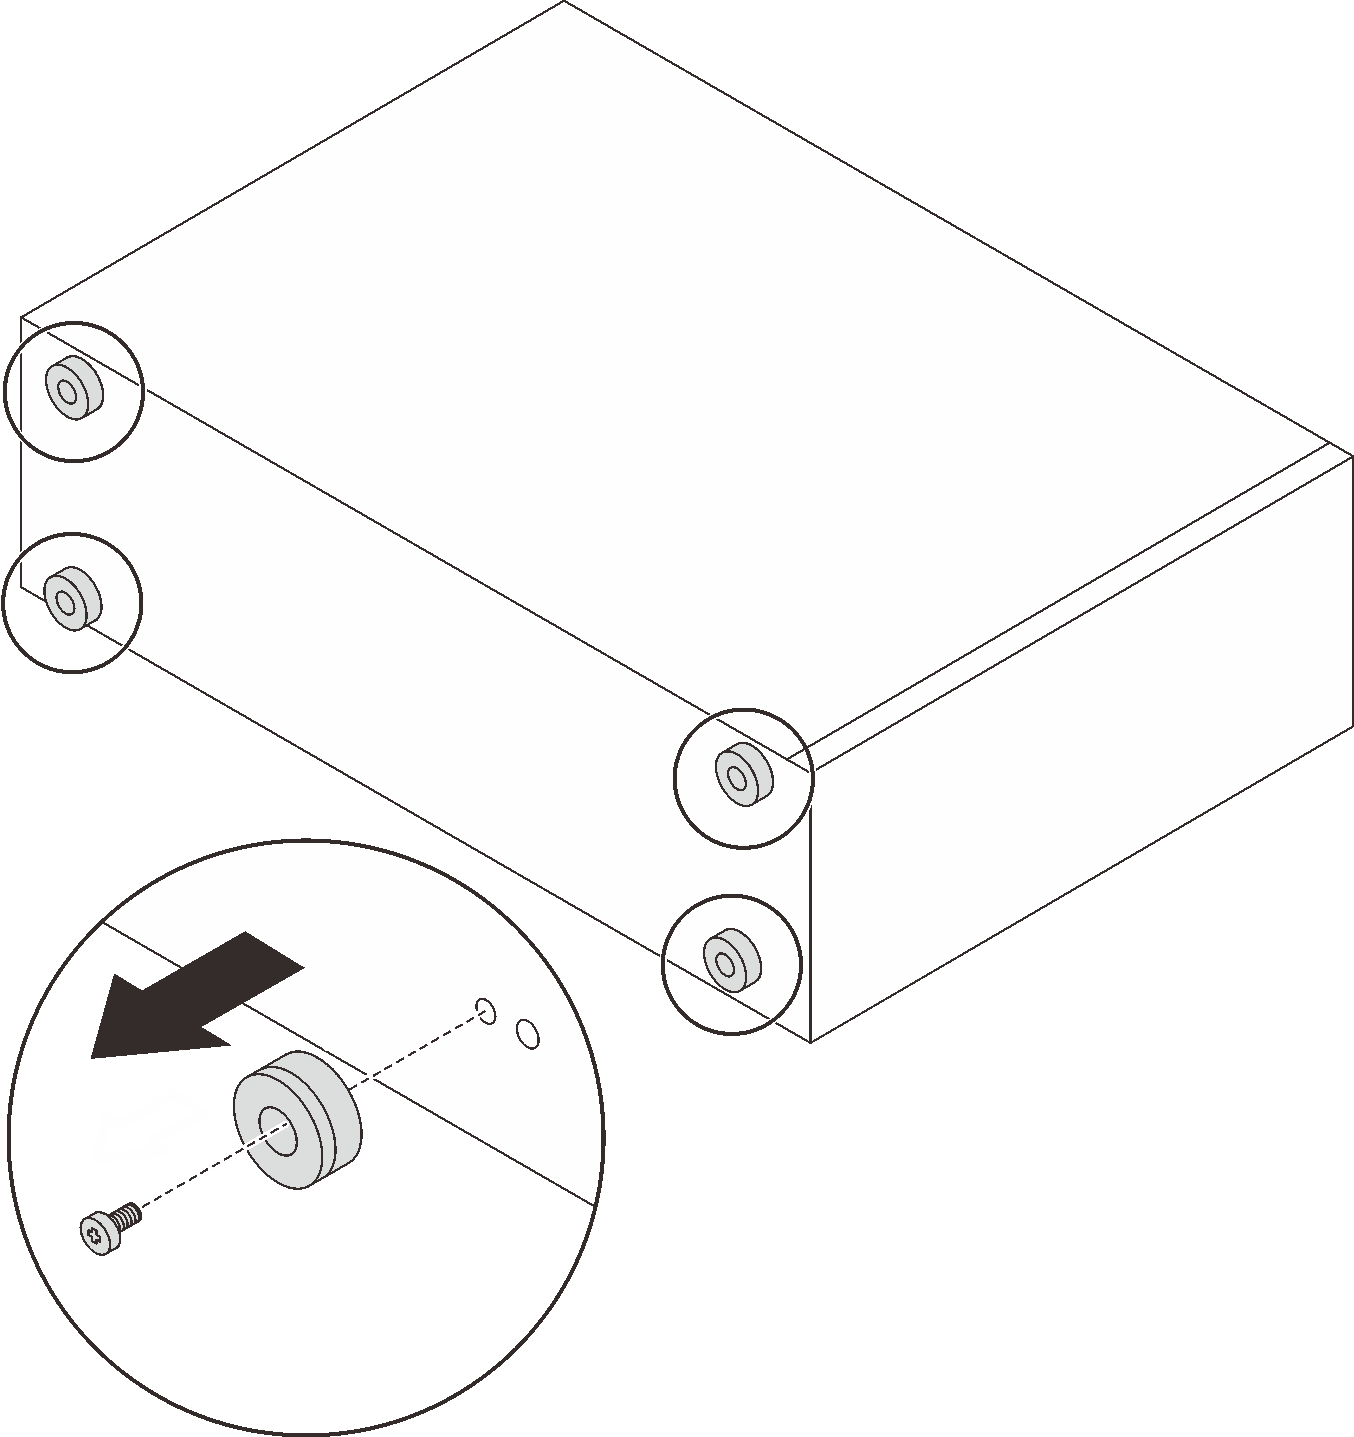
- Remove the four screws and feet from the server.
- Align the server with the brackets and the tab on the front of the tray; then, gently place the server on the tray.
 CAUTIONUse safe practices when lifting the server.
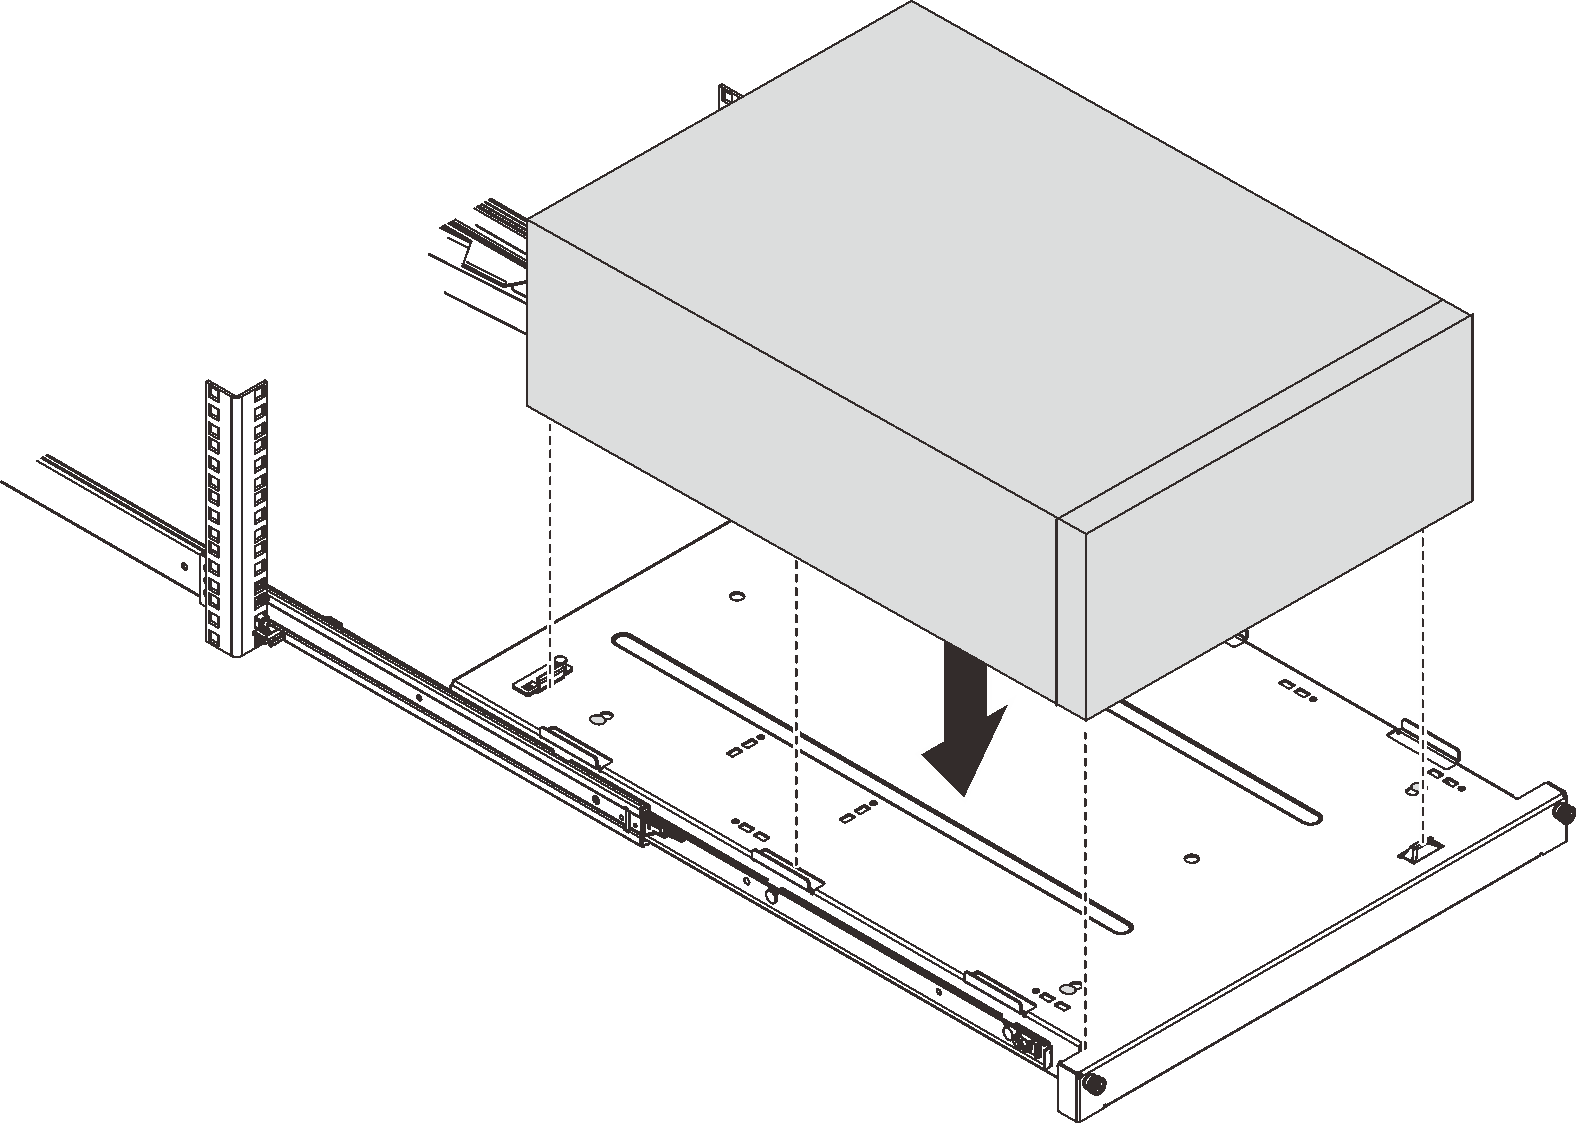
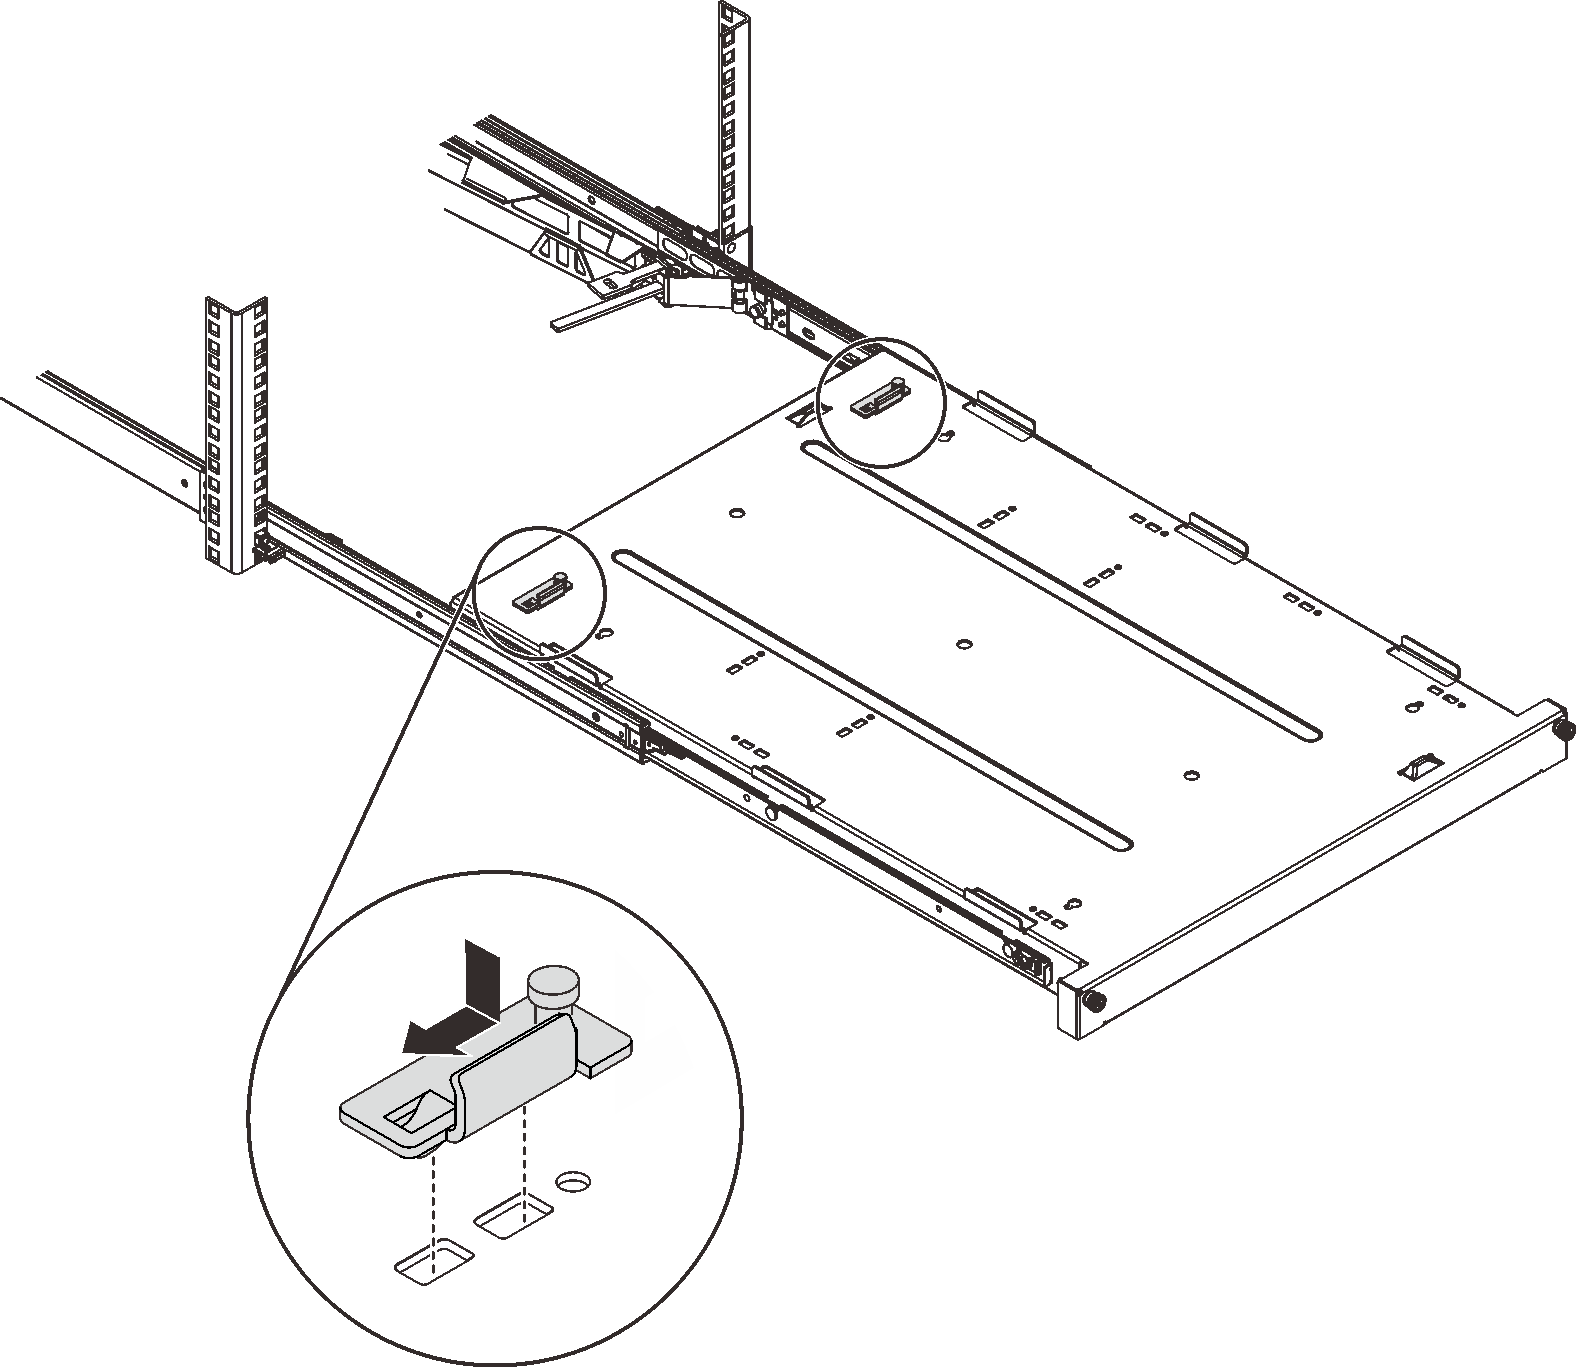
- Install the server into the rack cabinet.
- Lift the rail latches on both sides.
- Gently slide and push the tray into the rack cabinet.
CAUTIONTo avoid hurting yourself, keep your hands from the latch area when the latches approach the outer rail.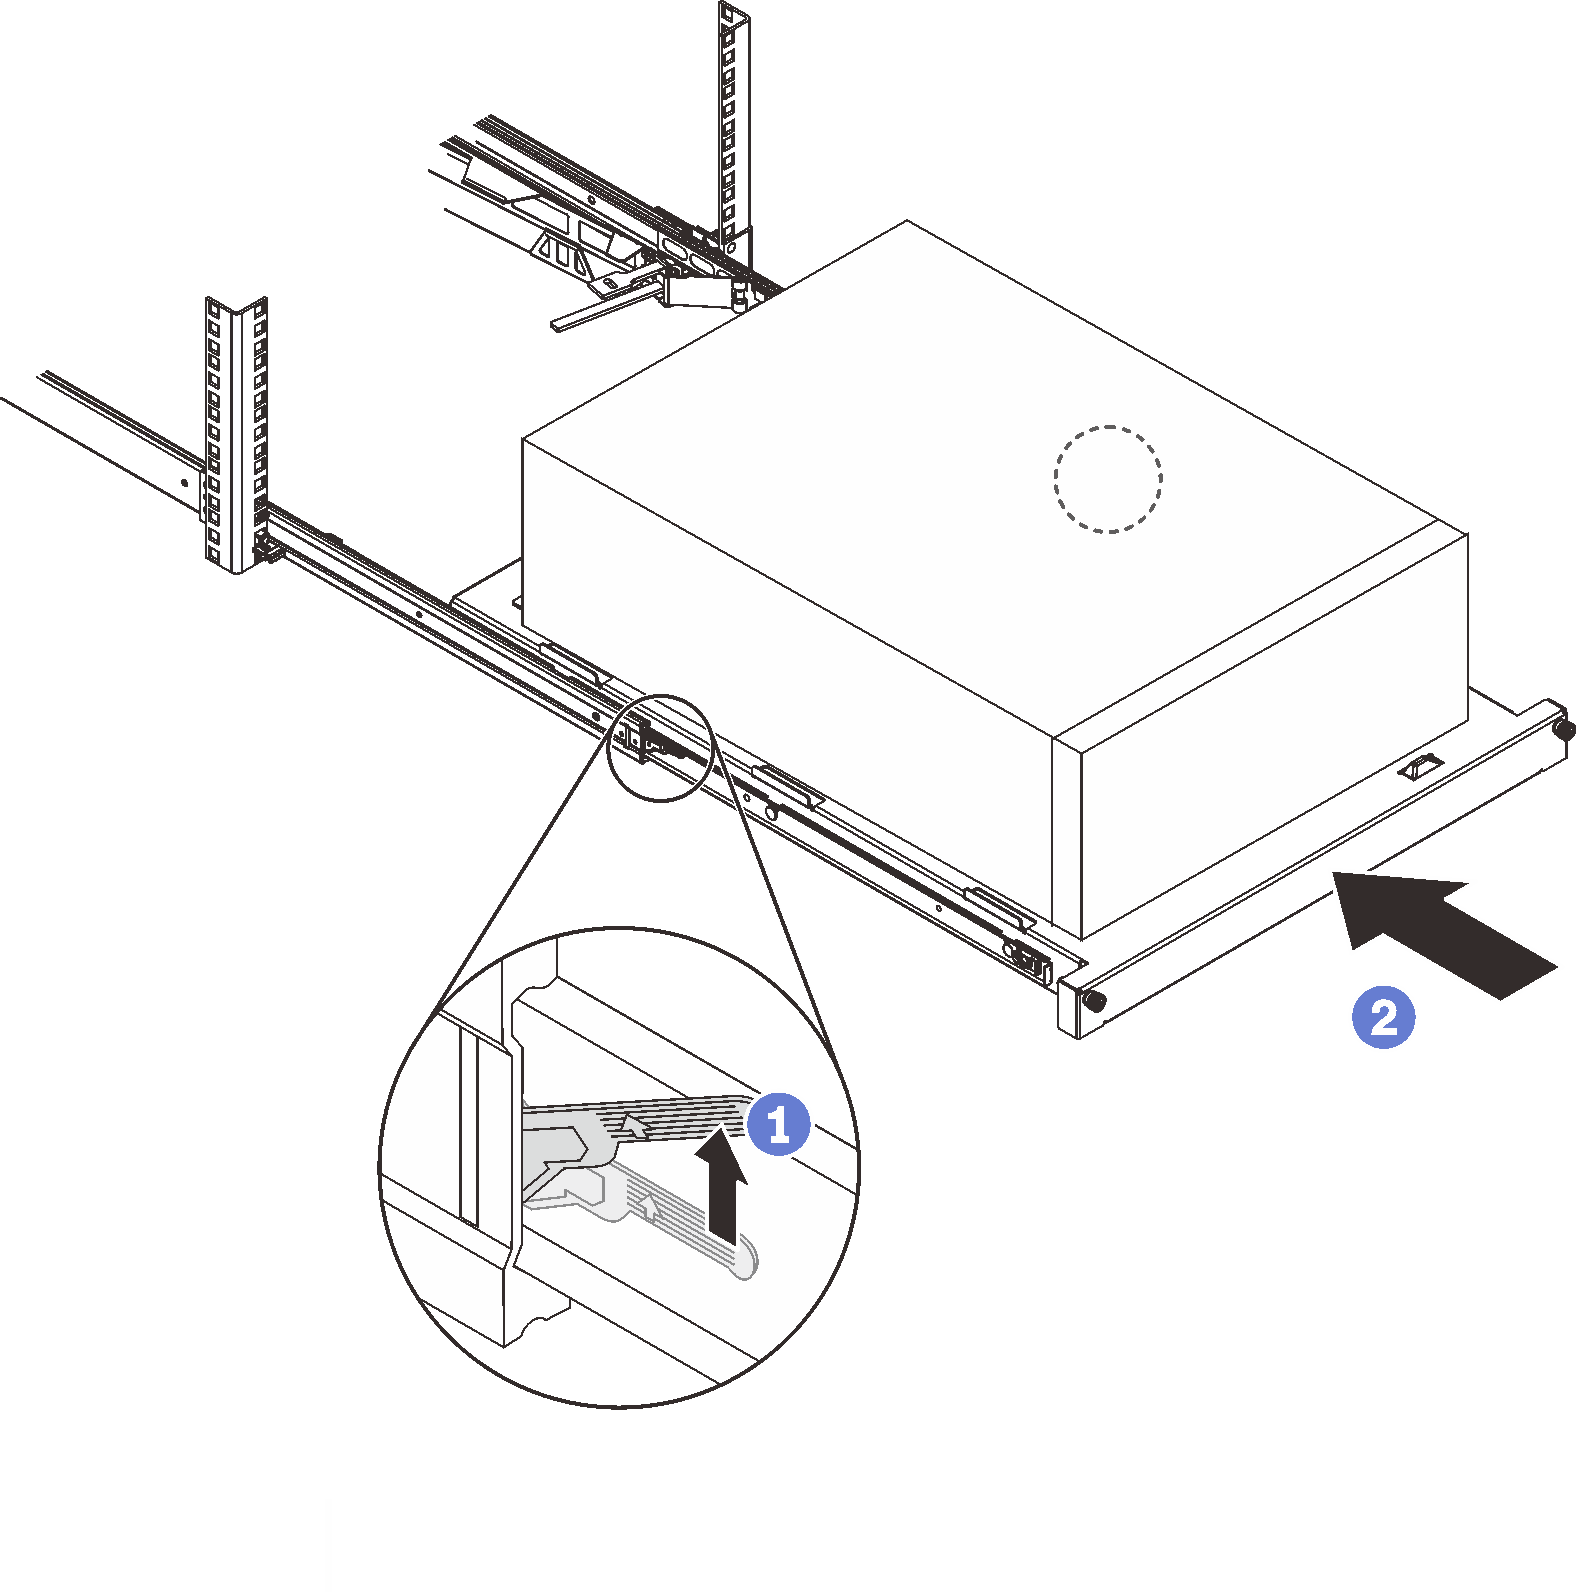
- Secure the tray with two M6 x 16 screws to the front of the rack cabinet.
After this task is completed
Complete the parts replacement. See Complete the parts replacement.
Demo video
Give documentation feedback