Install the 3.5-inch/2.5-inch hot-swap drive backplane
Use this information to install the 3.5-inch/2.5-inch hot-swap drive backplane.


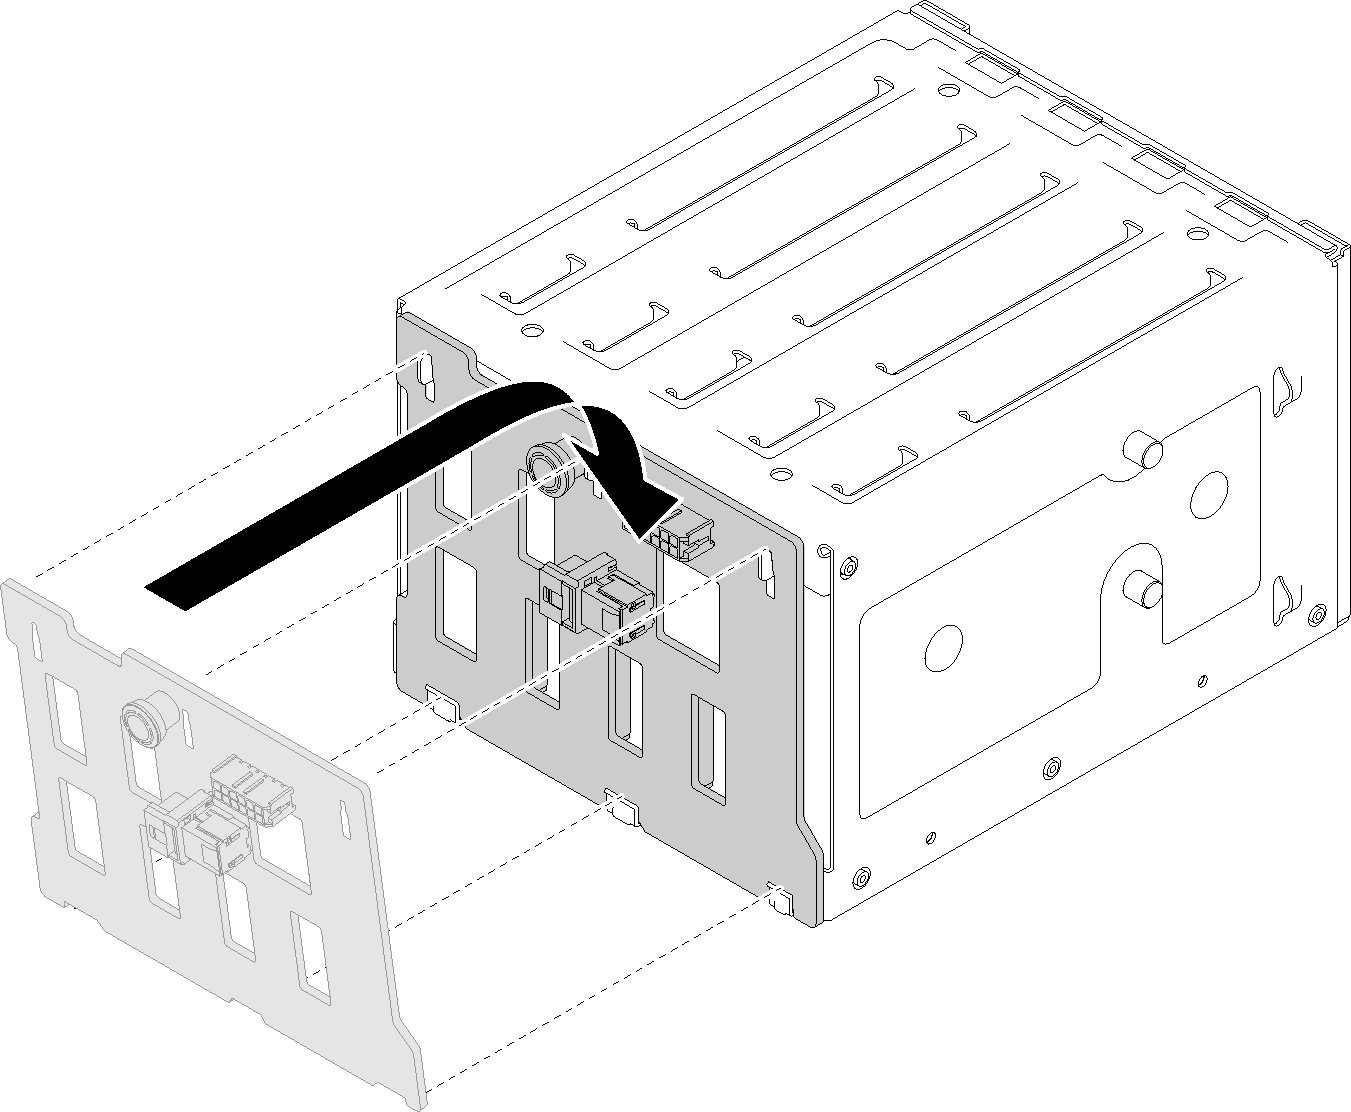
To install a hot-swap drive backplane, complete the following steps:
- While pulling the plunger, slide down the backplane until it is seated at the bottom of the drive cage; then, close the plunger to secure the backplane into position.Figure 1. Hot-swap drive backplane installation
After installing the backplane:
Reinstall all the hot-swap drives and drive bay fillers (if any) into the drive cage (see Install a hot-swap drive or Installing a 2.5-inch SSD into a 3.5-inch drive bay).
Reconnect the cables to the backplane.
Reinstall the system fan (see Install the front system fan).
Complete the parts replacement. See Complete the parts replacement
Demo video
Give documentation feedback