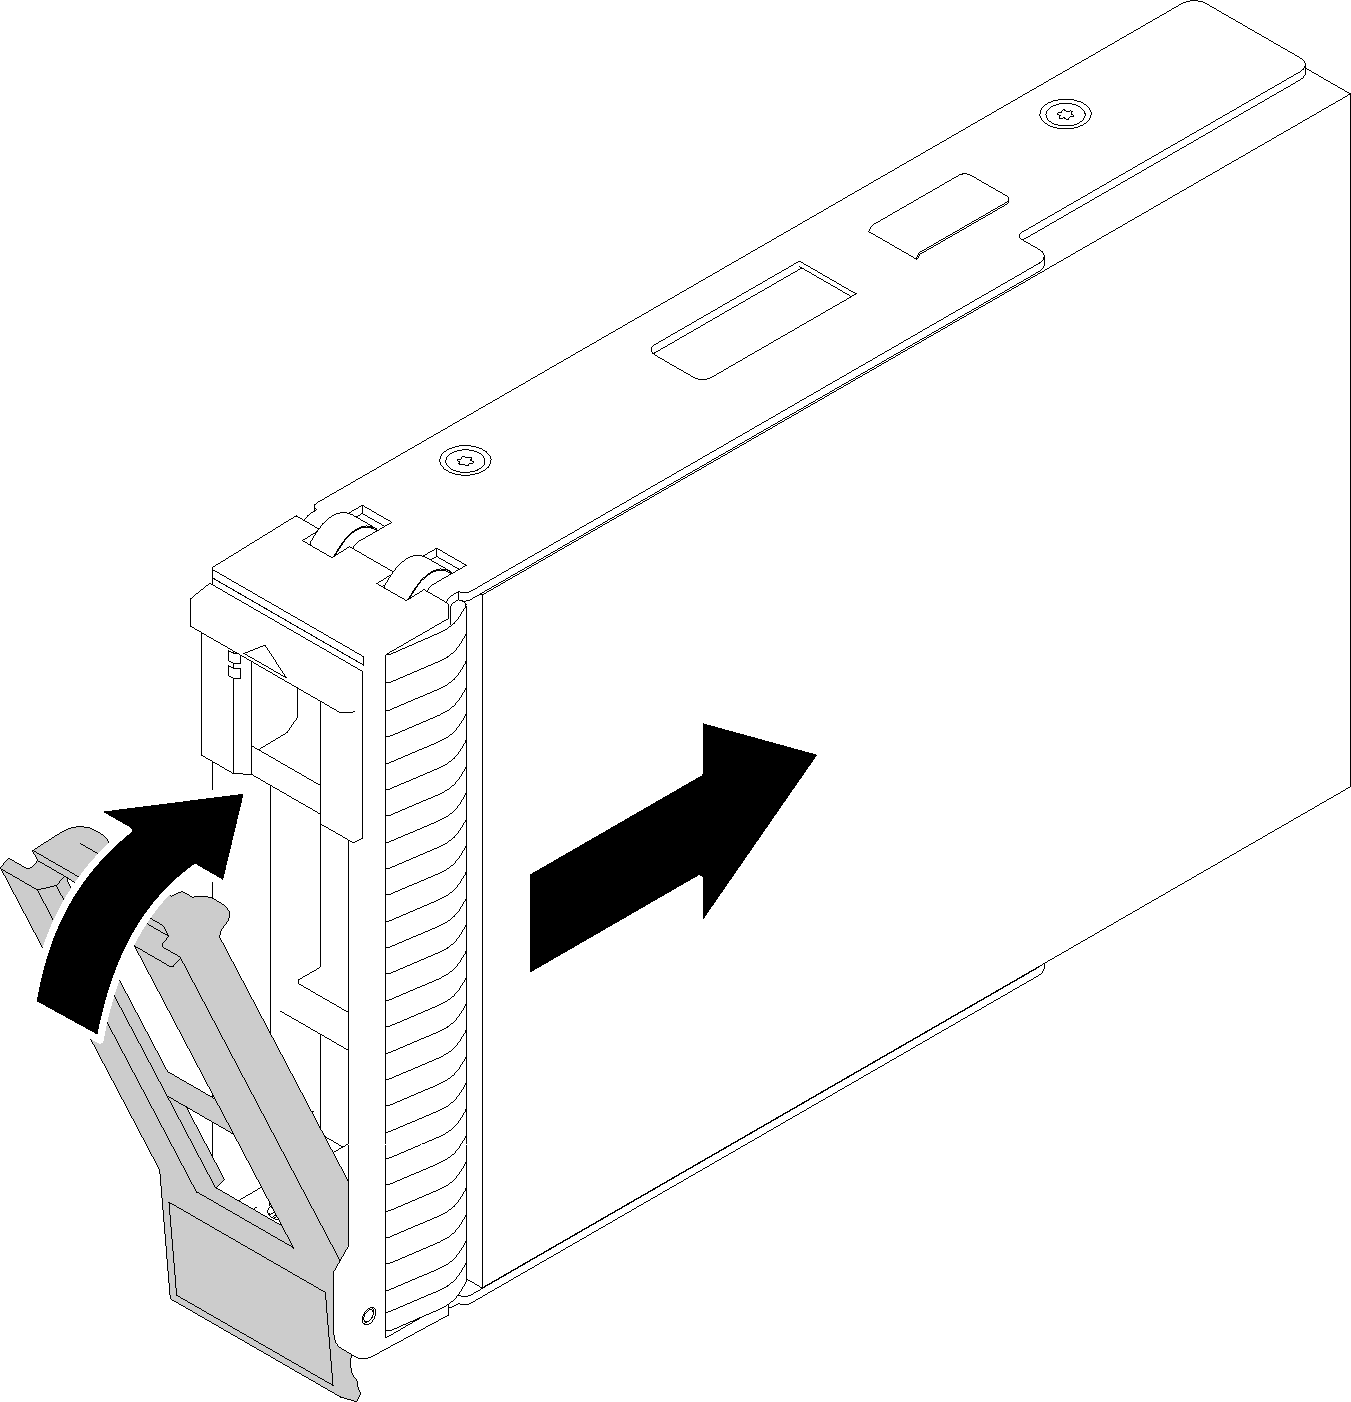
Install a hot-swap drive
Use this information to install a hot-swap drive.
The following notes describe the type of drives that your server supports and other information that you must consider when you install a drive.
- Depending on your server models, your server supports the following drive types:
Solid-state drives
SAS/SATA drives
For a complete list of supported optional devices for the server, see:Lenovo ServerProven website
The drive bays are numbered to indicate the installation order (starting from number “0”). Follow the installation order when you install a drive. See Front view.
The drives in a single RAID array must be the same type, same size, and same capacity.
Before installing a hot-swap drive:
If the drive bay has a drive filler installed, remove it. Keep the drive filler in a safe place for future use.
Touch the static-protective package that contains the new hot-swap drive to any unpainted surface on the outside of the server. Then, take the new hot-swap drive out of the package and place it on a static-protective surface.
To install a hot-swap drive, complete the following steps:
After installing the hot-swap drive:
Continue to install additional hot-swap drives if necessary.
Complete the parts replacement. See Complete the parts replacement.
Use the Lenovo XClarity Provisioning Manager to configure the RAID if necessary. For more information, see:
Demo video


