Install a simple-swap drive
Use this information to install a simple-swap drive.


The following notes describe the type of drives that your server supports and other information that you must consider when you install a drive.
For a complete list of supported optional devices for the server, see:Lenovo ServerProven website
The drive bays are numbered to indicate the installation order (starting from number “0”). Follow the installation order when you install a drive. See Front view.
The drives in a single RAID array must be the same type, same size, and same capacity.
Before installing a simple-swap drive:
If the drive bay has a drive filler installed, remove it. Keep the drive filler in a safe place for future use.
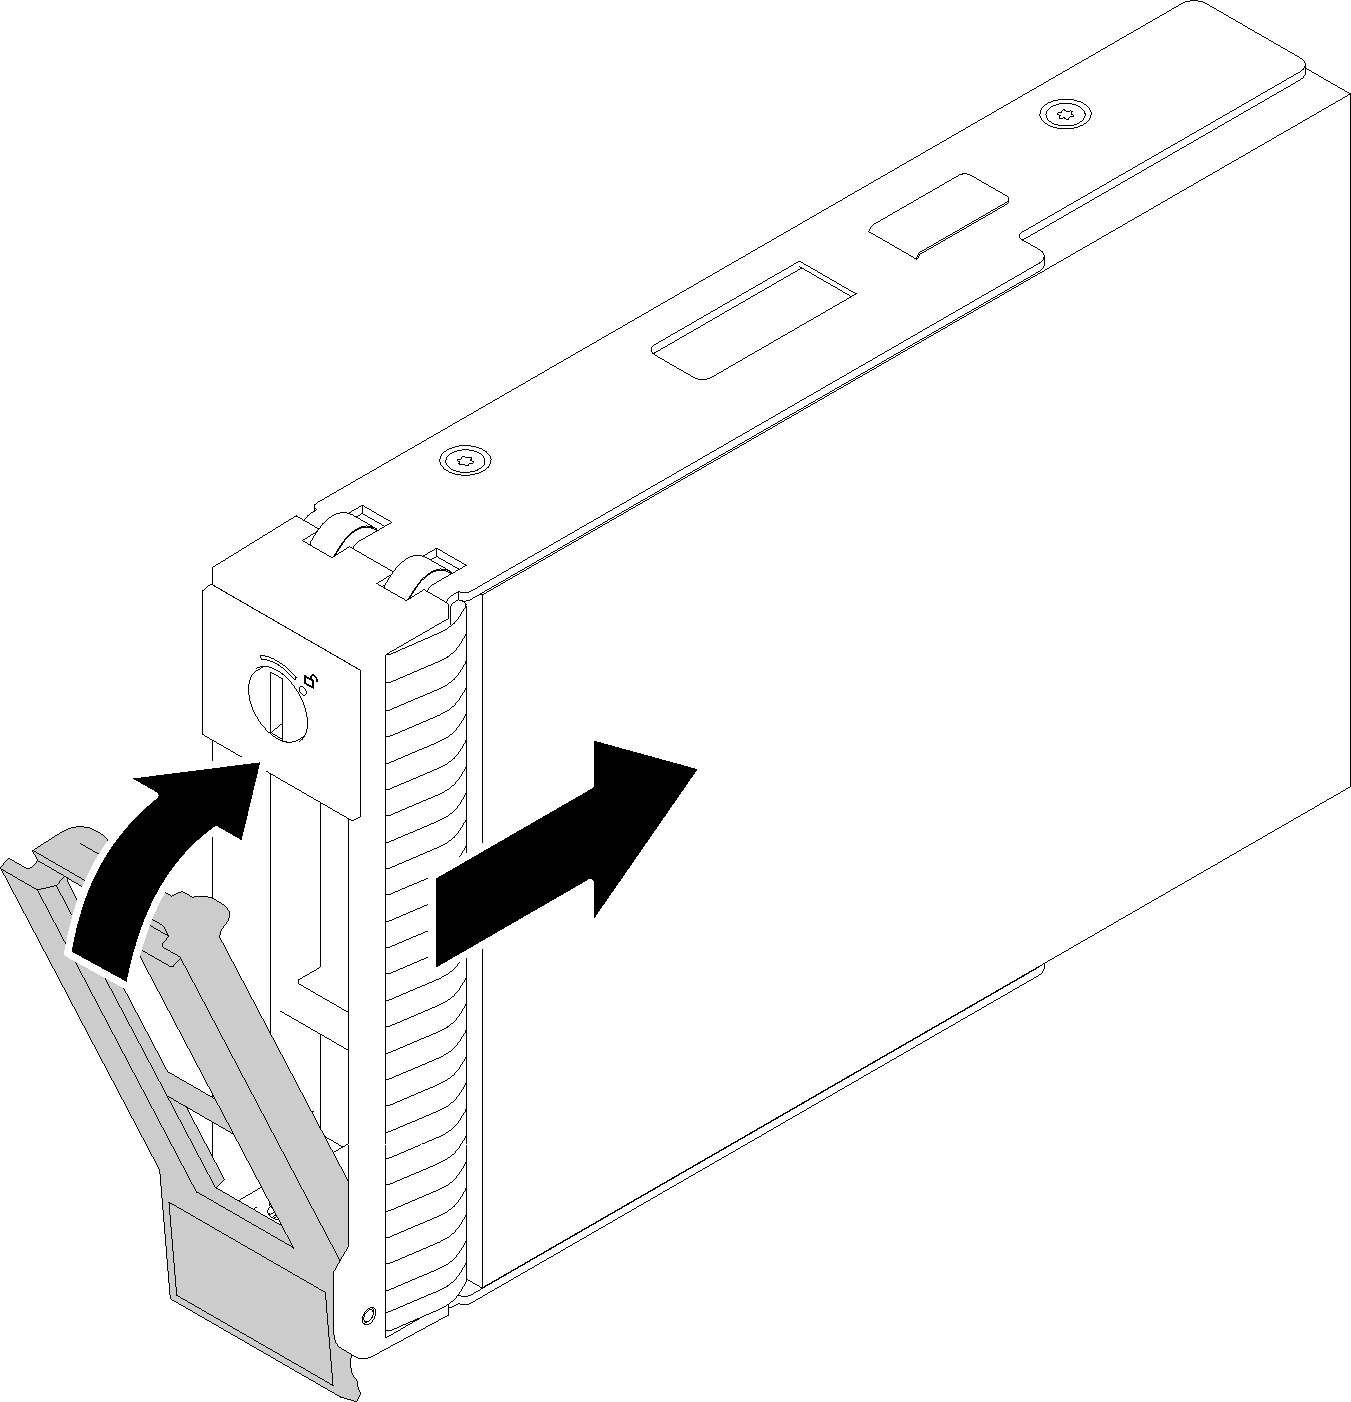
To install a simple-swap drive, complete the following steps:
- Close the tray handle to lock the drive in place.Figure 1. Simple-swap drive installation into drive bay
After installing the simple-swap drive:
Install other drives if necessary.
Complete the parts replacement. See Complete the parts replacement
Check the drive activity LED on the front panel to verify if the drives are operating correctly.
Use the Lenovo XClarity Provisioning Manager to configure the RAID if necessary. For more information, see:
Demo video