Remove the 3.5-inch simple-swap drive backplate
Use this information to remove the 3.5-inch simple-swap drive backplate.


Before removing the simple-swap drive backplate:
If the server is in a rack, remove it from the rack.
Remove any locking device that secures the server cover, such as a Kensington lock or a pad lock.
Remove the server cover (see Remove the server cover).
To remove the simple-swap drive backplate, complete the following steps:
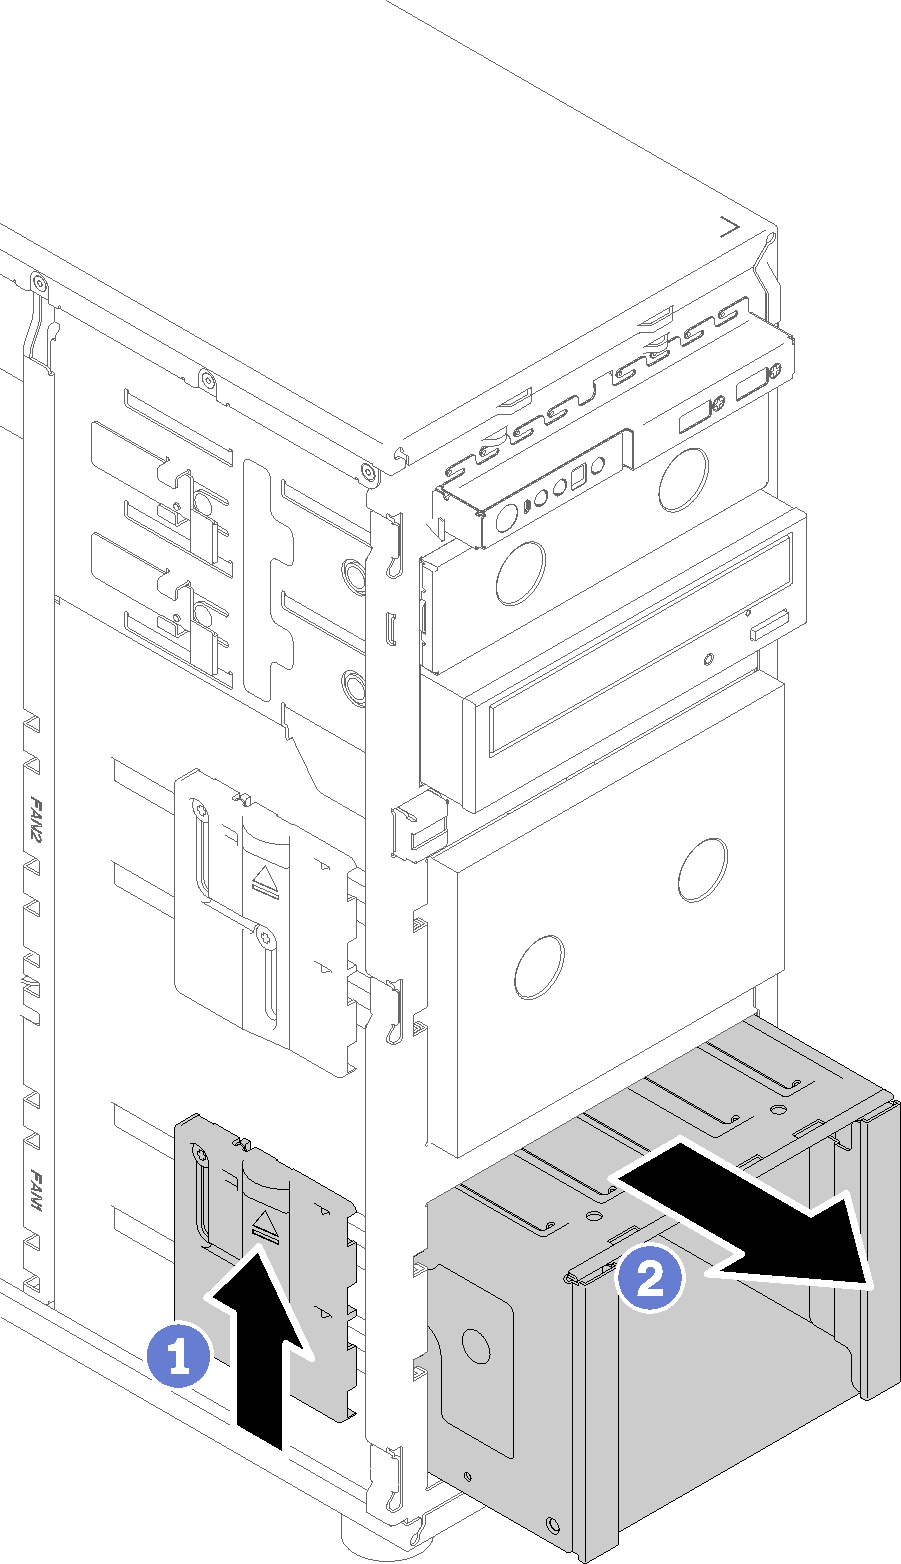
- Lift the release latch and slide the drive cage out of the chassis.NoteDepending on the model, your drive cage might look slightly different from the illustration.Figure 1. Drive cage removal
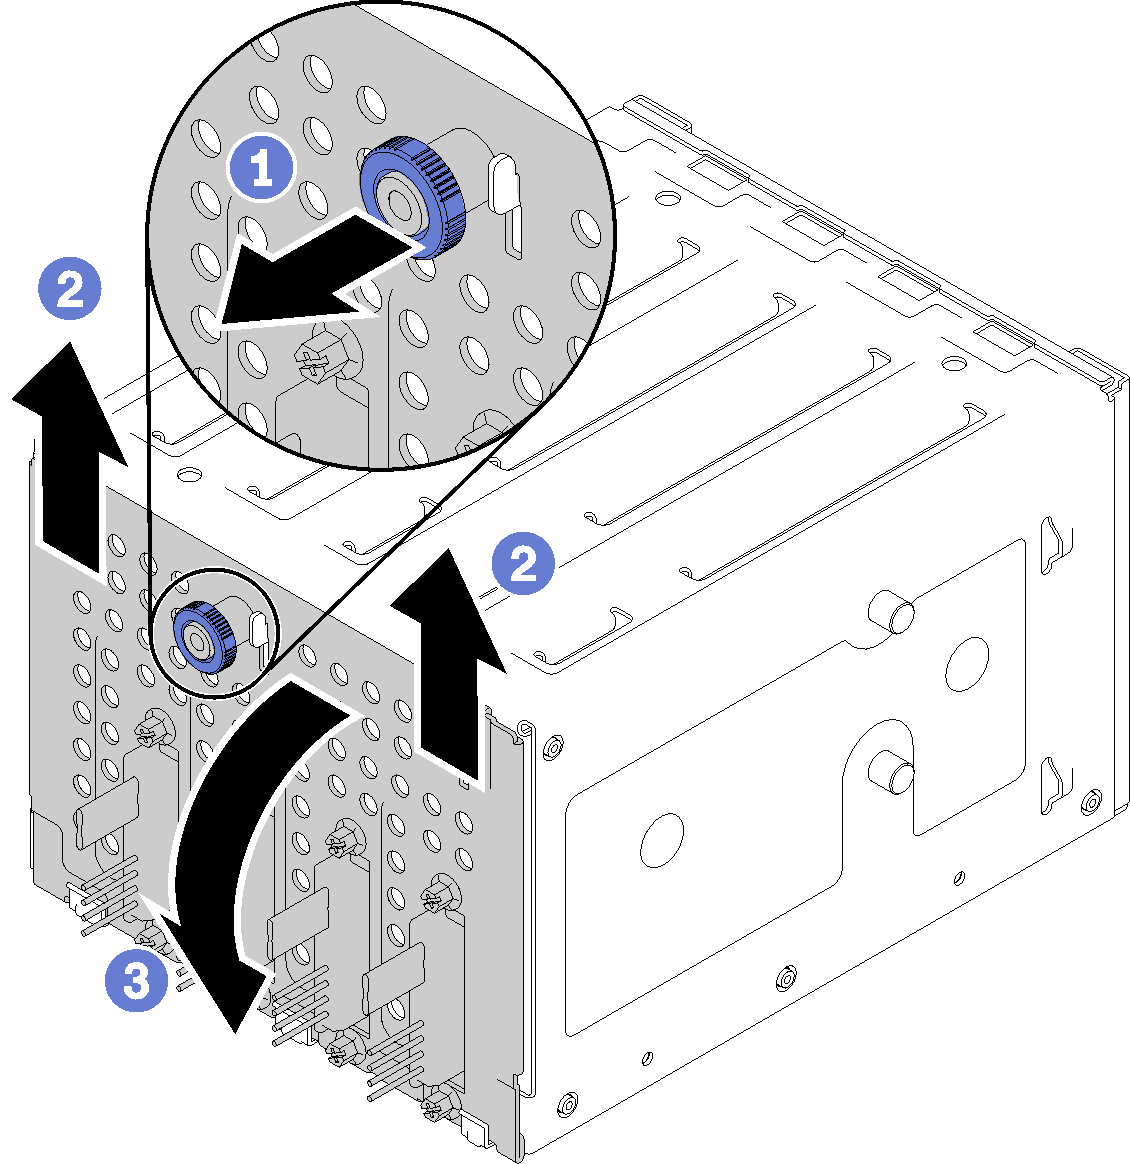
- Slightly lift the backplate to disengage it from the drive cage; then, remove the backplate from the drive cage.Figure 2. Simple-swap drive backplate removal
After removing the simple-swap drive backplate:
If you are instructed to return the defective component, please package the part to prevent any shipping damage. Reuse the packaging the new part arrived in and follow all packaging instructions.
Demo video
Give documentation feedback