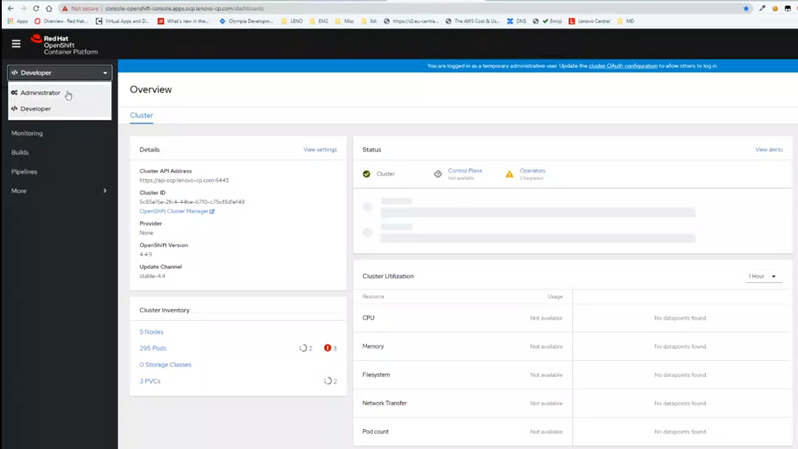
After completing the OCP installation process, you can establish access the web console.
Complete the following steps to complete the OCP installation process and access the OCP web console.
- Establish an SSH session with the Bastion instance.
- Run the following command to install and approve all OCP admin certificates:
You might have multiple Certificate Signing Requests (CSRs). Make sure that you run this command for all CSRs.
$ ./oc get csr -o go-template='{{range .items}}{{if not .status}}{{.metadata.name}}{{"\n"}}{{end}}{{end}}' | xargs ./oc adm certificate approve
- Run the following command to install the OpenShift cluster:
$ ./openshift-install --dir=/root/ocp-44/install wait-for install-complete
- Run the following command to enable access to the cluster when using oc:
$ export KUBECONFIG=/root/ocp-44/install/auth/kubeconfig
- To access the OpenShift web console, use the URL that is listed in the results of the openshift-install command (Step 3).
For more information about using Red Hat OCP, see the following website:
https://cloud.redhat.com/openshift/overview
You must have a Red Hat account to access the site.


