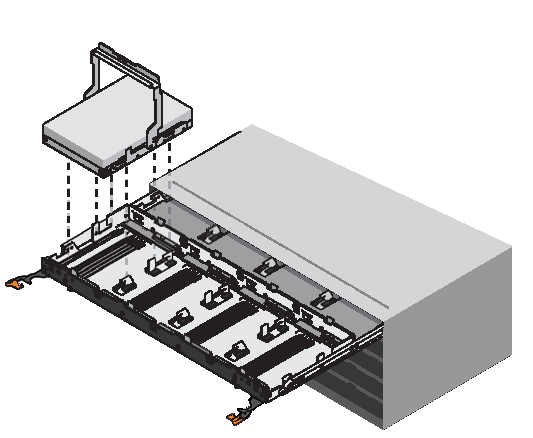
Installing a drive drawer
Installing a drive drawer into a drive shelf entails sliding the drawer into the empty slot, installing the drives, and replacing the front bezel.
Before you begin
- You know where to install each drive.
- You have obtained the following items:
- Replacement drive drawer
- Flashlight
About this task
The video for this task is available at:- From the front of the drive shelf, shine a flashlight into the empty drawer slot, and locate the lock-out tumbler for that slot.
The lock-out tumbler assembly is a safety feature that prevents you from being able to open more than one drive drawer at one time.

1 Lock-out tumbler 2 Drawer guide - Follow these steps to reinstall the drives in the drive drawer:
- Determine which drive to install in each slot by using the notes you made when removing the drives.AttentionPossible loss of data access – You must install each drive in its original location in the drive drawer.

- Align the two raised buttons on each side of the drive with the notches on the drawer.The figure shows the right side view of a drive, showing the location of the raised buttons.
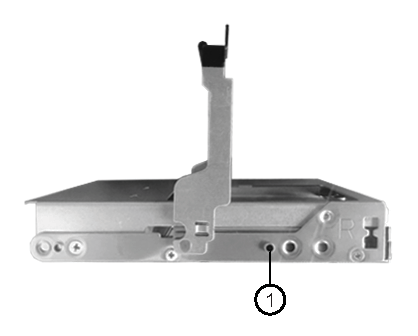
1 Raised button on the right side of the drive. - Lower the drive straight down, and then rotate the drive handle down until the drive snaps into place.
- Determine which drive to install in each slot by using the notes you made when removing the drives.
Give documentation feedback