Removing a drive drawer
After removing the right and left cable chains, you can remove the drive drawer from the drive shelf. Removing a drive drawer entails sliding the drawer part of the way out, recording the locations of the drives, removing the drives, and removing the drive drawer.
Before you begin
- You have removed the right and left cable chains for the drive drawer.
- You have replaced the right and left fan modules.
- You have obtained a permanent marker to note the exact location of each drive as you remove the drive from the drawer.
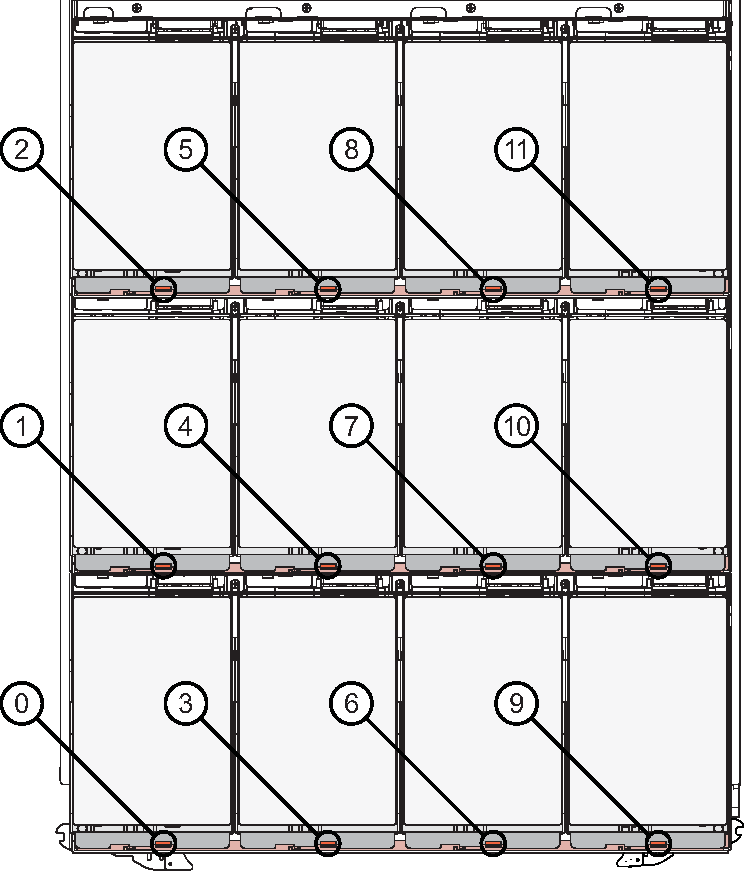
- If any disks have been configured, use a permanent marker to note the exact location of each drive. For example, using the following drawing as a reference, write the appropriate slot number on the top of each drive.
 AttentionPossible loss of data access – Make sure to record the exact location of each drive before removing it.
 - Remove the drives from the drive drawer:
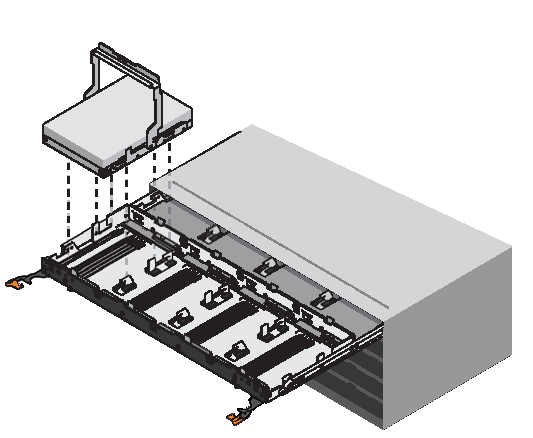
- Gently pull back the orange release latch that is visible on the center front of each drive. The following image shows the orange release latch for each of the drives.
- Use the handle to lift the drive from the drive drawer.
- Gently pull back the orange release latch that is visible on the center front of each drive. The following image shows the orange release latch for each of the drives.
- Follow these steps to remove the drive drawer:
- Locate the plastic release lever on each side of the drive drawer.
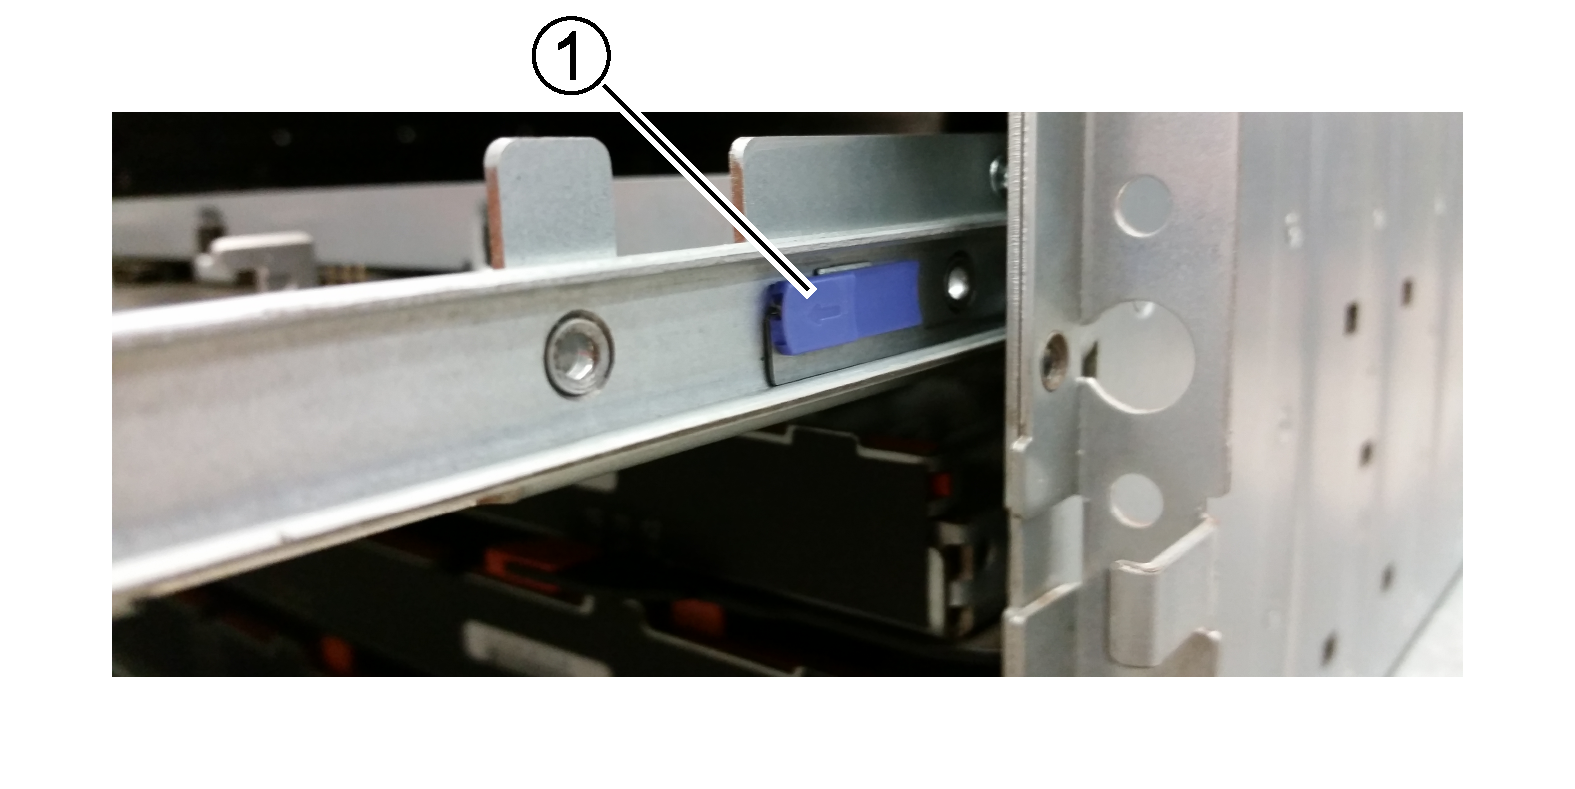
1 Drive drawer release lever
- Locate the plastic release lever on each side of the drive drawer.
Give documentation feedback