Removing the cable chains
Left and right cable chains for each drive drawer in the DM600S drive shelf allow the drawers to slide in and out. Before you can remove a drive drawer, you must remove both cable chains.
Before you begin
- You have stopped host I/O activity and powered off the shelf.
- You have obtained the following items:
- Antistatic protectionAttentionPossible hardware damage – To prevent electrostatic discharge damage to the shelf, use proper antistatic protection when handling shelf components.
- Flashlight
- Antistatic protection
About this task
Each drive drawer has left and right cable chains. The metal ends on the cable chains slide into corresponding vertical and horizontal brackets inside the enclosure, as follows:
- The left and right vertical brackets connect the cable chain to the enclosure's midplane.
- The left and right horizontal brackets connect the cable chain to the individual drawer.
- From the rear of the drive shelf, remove the right fan module, as follows:
- Press the orange tab to release the fan module handle.The figure shows the handle for the fan module extended and released from the orange tab on the left.
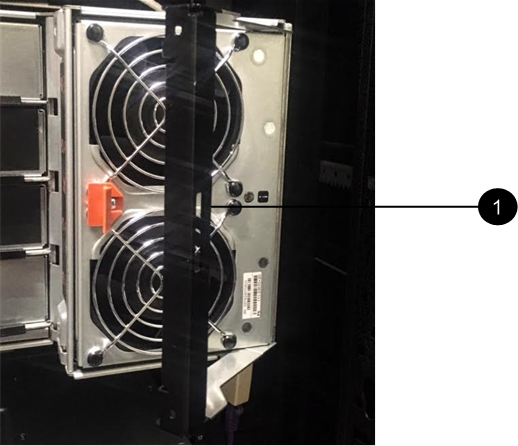
1 fan module handle
- Press the orange tab to release the fan module handle.
- Manually determine which of the five cable chains to disconnect.
The figure shows the right side of the drive shelf with the fan module removed. With the fan module removed, you can see the five cable chains and the vertical and horizontal connectors for each drawer. The callouts for drive drawer 1 are provided.
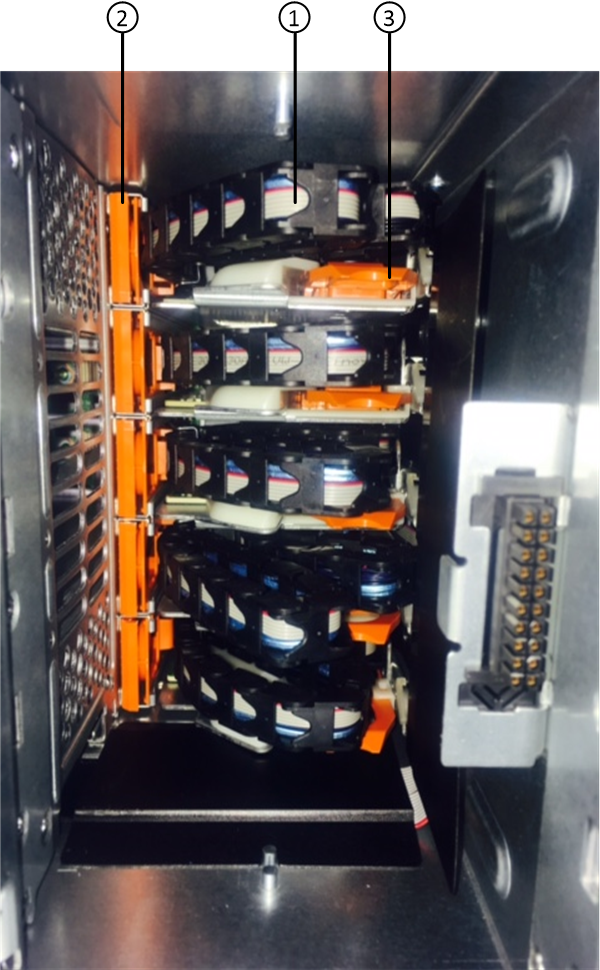
1 Cable chain 2 Vertical connector (connected to the midplane) 3 Horizontal connector (connected to the drive drawer) The top cable chain is attached to drive drawer 1. The bottom cable chain is attached to drive drawer 5.
- Follow these steps to disconnect any of the right cable chains from its corresponding vertical bracket.
- Using a flashlight, locate the orange ring on the end of the cable chain that is connected to the vertical bracket in the enclosure.
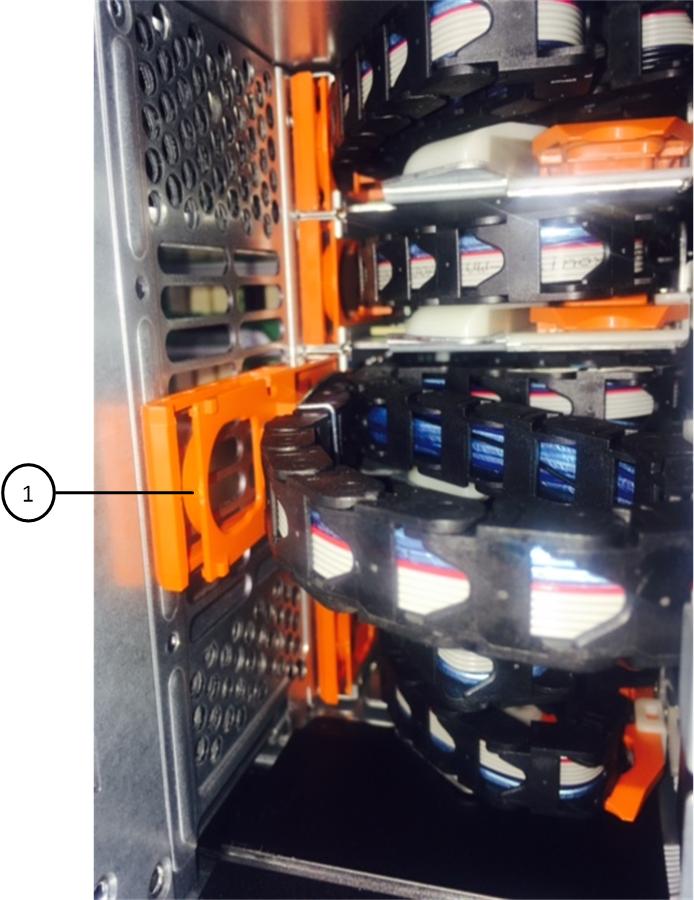
1 Orange ring on the vertical bracket
- Using a flashlight, locate the orange ring on the end of the cable chain that is connected to the vertical bracket in the enclosure.
- Follow these steps to disconnect the other end of the cable chain:
- Using a flashlight, locate the orange ring on the end of the cable chain that is attached to the horizontal bracket in the enclosure.
The figure shows the horizontal connector on the right and the cable chain disconnected and partially pulled out on the left side.
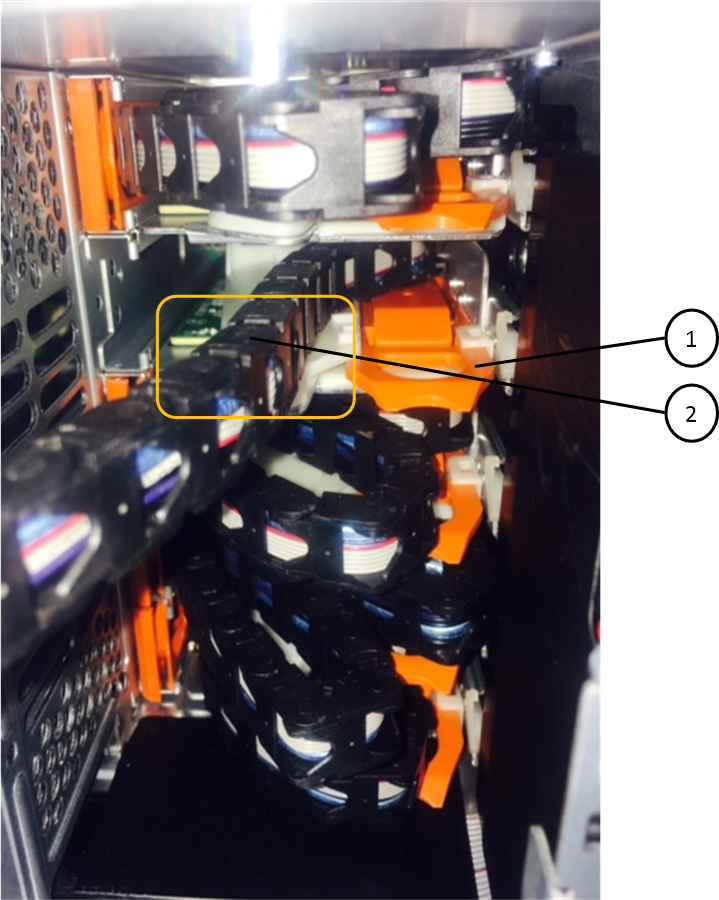
1 Orange ring on horizontal bracket 2 Cable chain
- Using a flashlight, locate the orange ring on the end of the cable chain that is attached to the horizontal bracket in the enclosure.
Give documentation feedback