Install 42U Standard Rack Extension Kit with RDHX
See this topic to learn how to install 42U Standard Rack Extension Kit and RDHX.
Each unit of rack extension kit comes with additional capacity of one unit 0U PDU to each side of the rack.
Each rack cabinet supports up to two units of rack extension kit (one to the front and one to the rear side).
If there is a plan to install baying kit while only one of the adjacent cabinets will be installed with extension, make sure to install the baying kit first (see Install the baying kit). Then, as preparation for this procedure, remove the two screws from the upper and lower part of the cabinet that will be installed with the rack extension kit, and skip to 5.
Figure 1. Removing screws to prepare for extension installation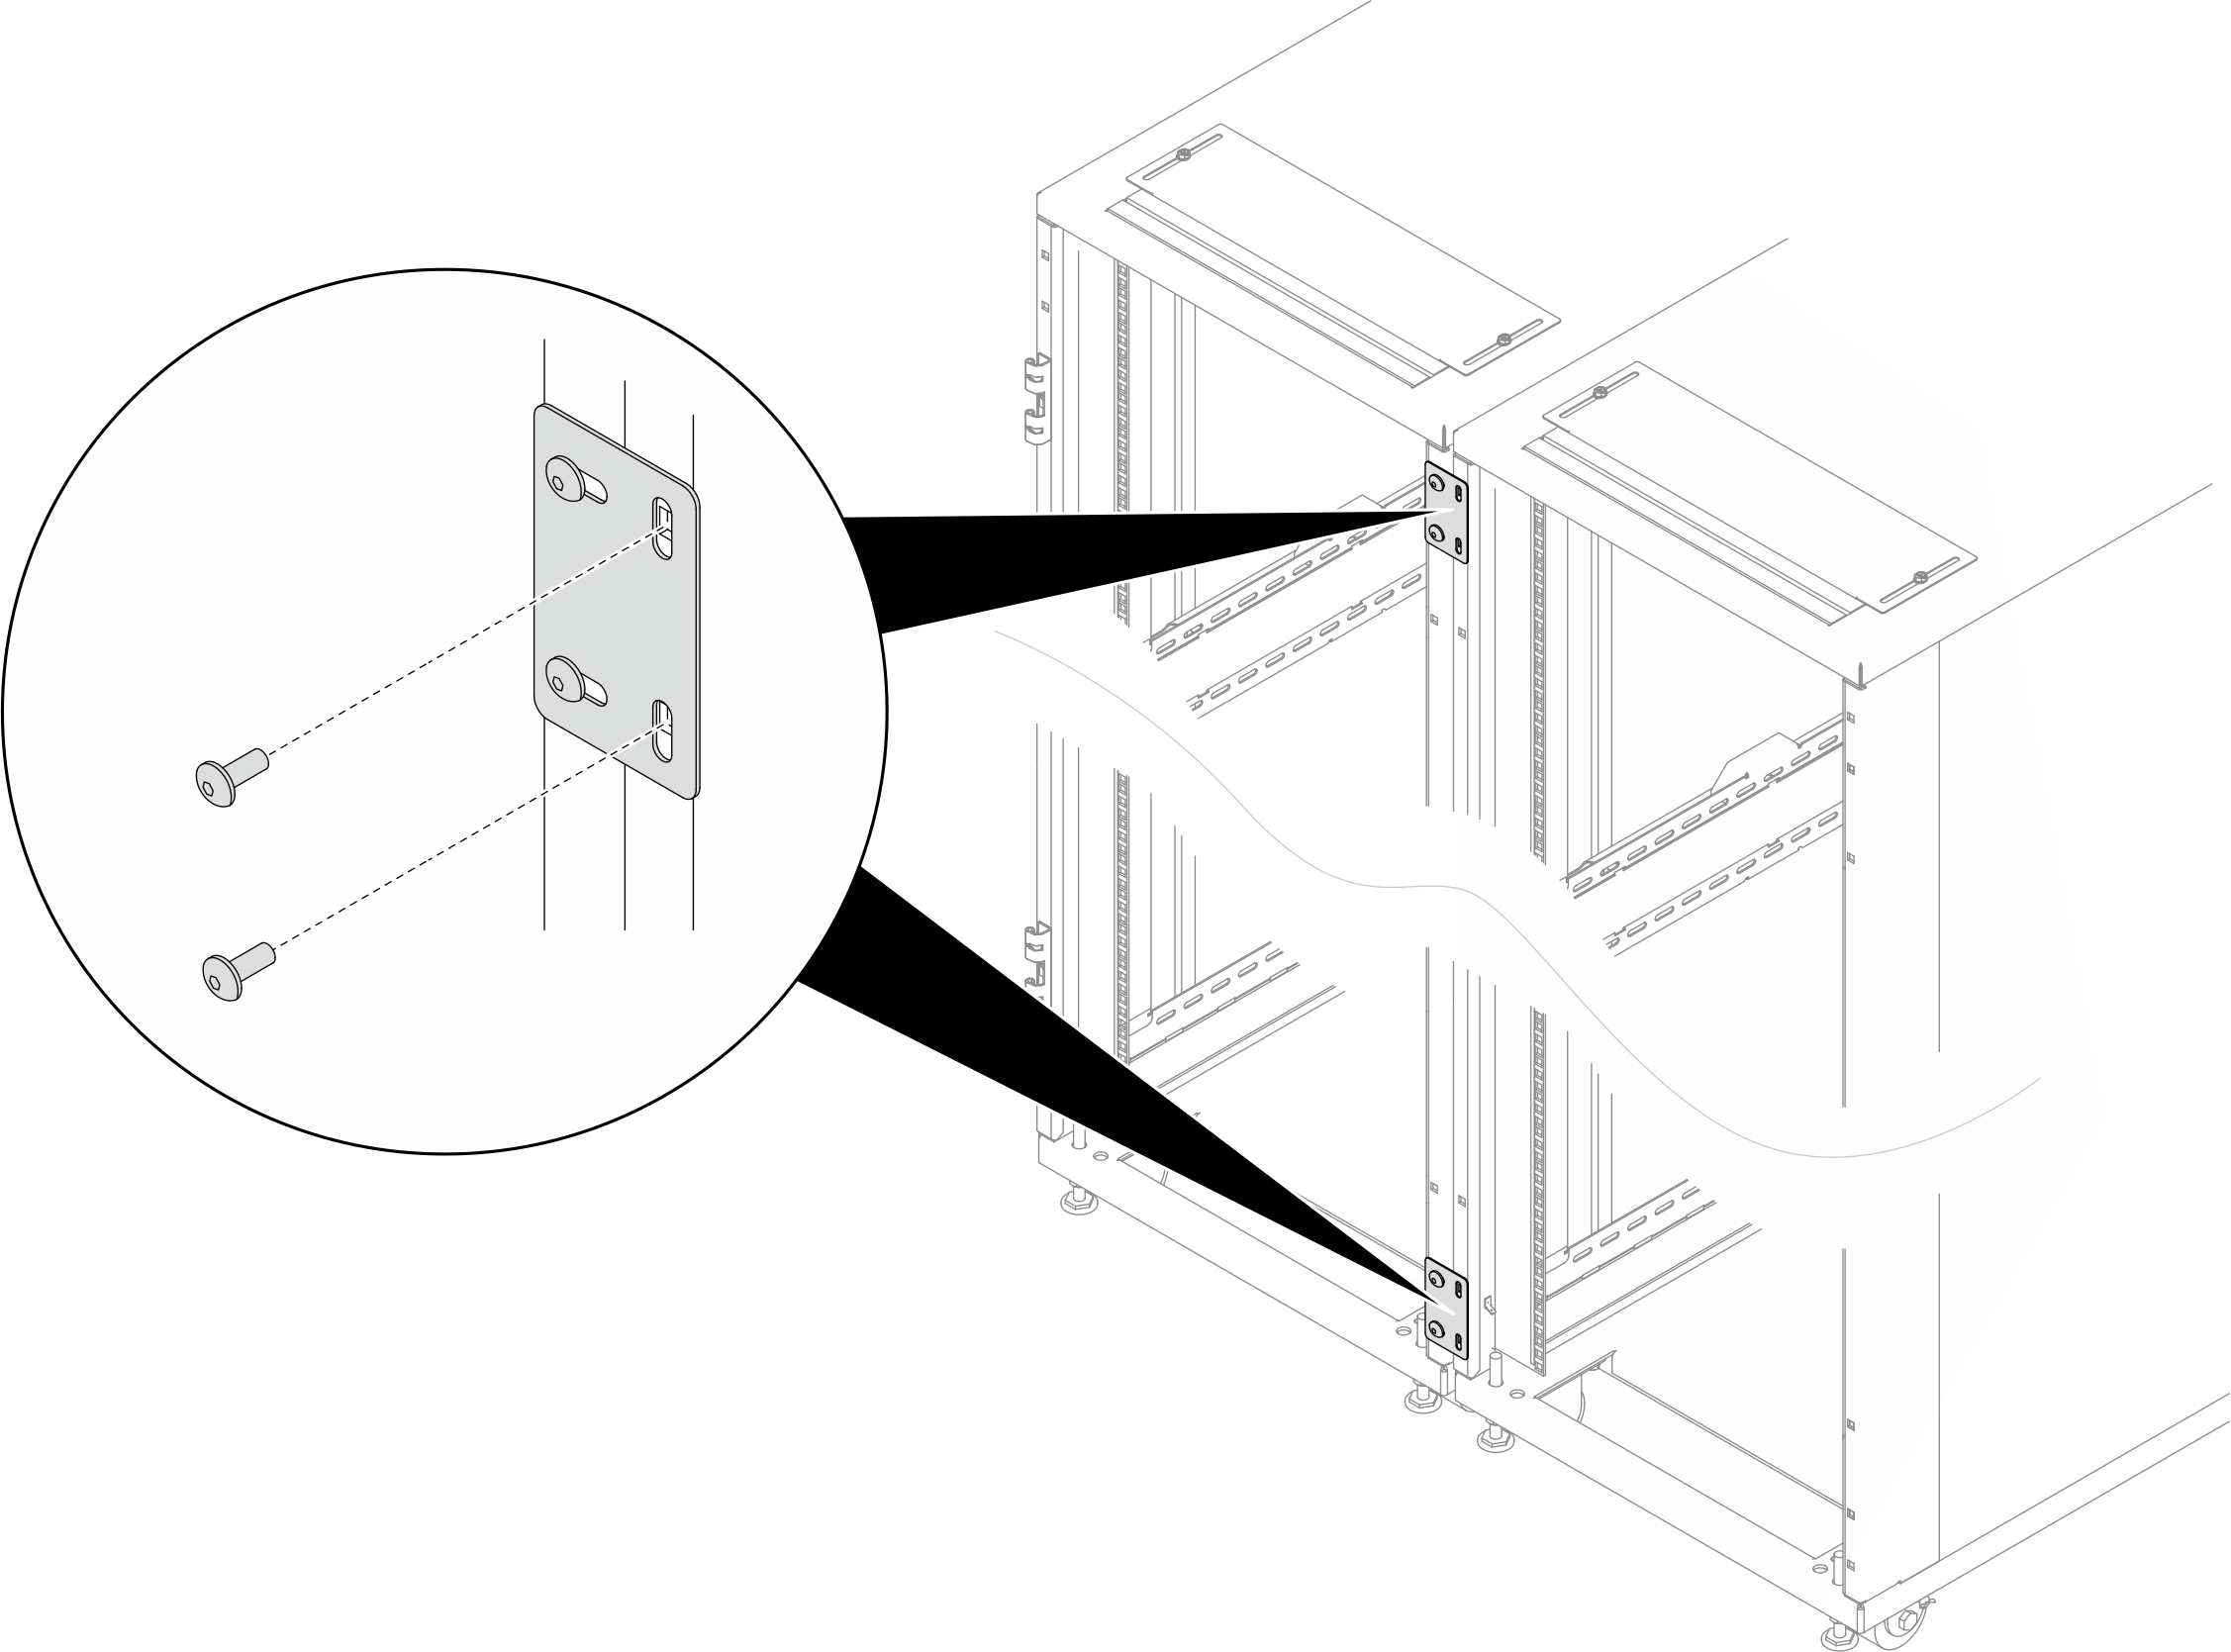
Required tools
One tool with plastic blade/scissors
One Screwdriver with No. 3 Phillips bit
One Nut-driver with holding hex bit 10 mm
One rubber hammer
A utility knife or a pair of scissors is required to unpack the extension kit.
The extension kit comes with a miscellaneous bag, which contains the following components:
Figure 2. Parts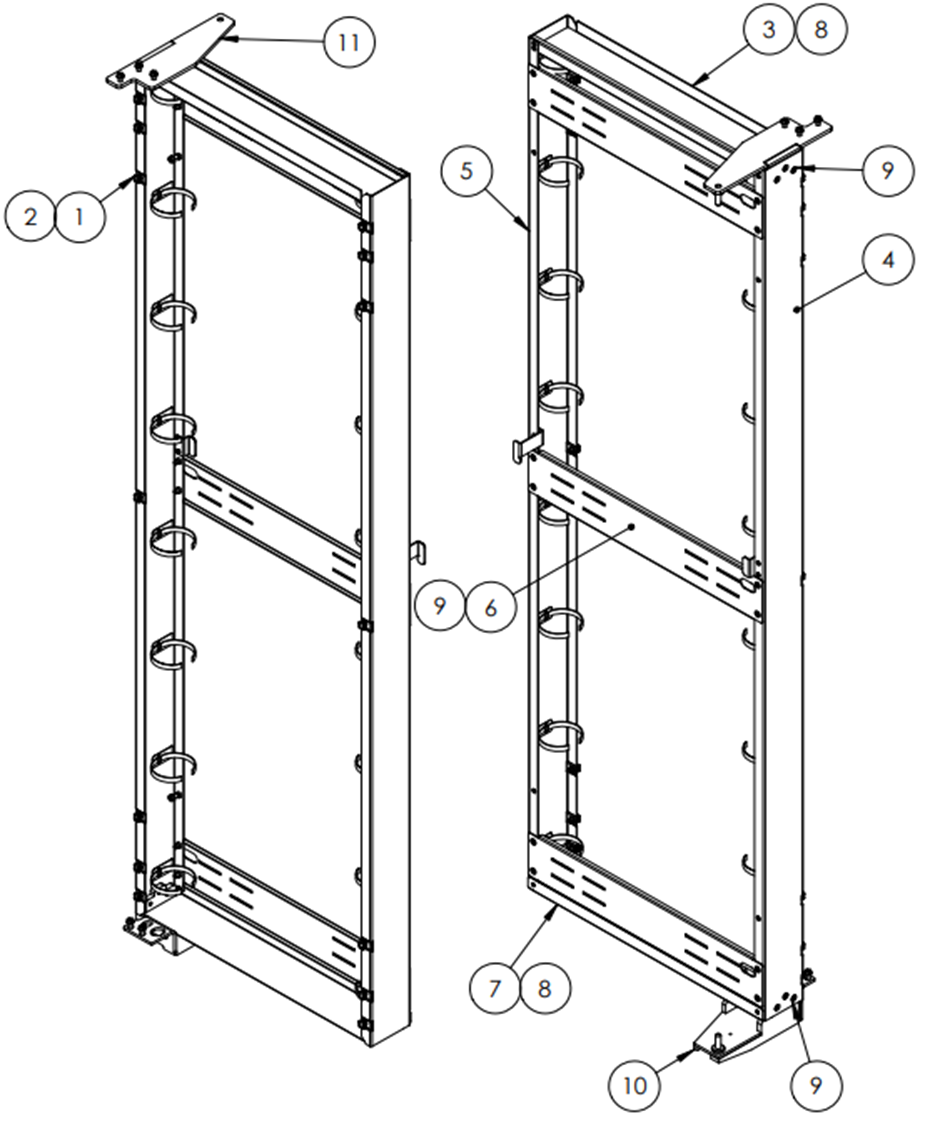
No. Description Quantity No. Description Quantity 1 M6 cage nut 14 7 Bottom support panel 1 2 M6 screw 21 8 M4 screw 10 3 Top support panel 1 9 M6 flat hex screw 18 4 Right extension panel 1 10 Bottom hinge for RDHX 1 5 Left extension panel 1 11 Top hinge for RDHX 1 6 Support bracket 3
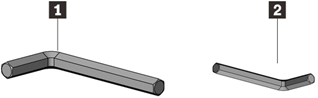
| No. | Description |
| 1 | Hex Allen wrench, 4 mm |
| 2 | Hex Allen wrench, 2.5 mm |
Procedure
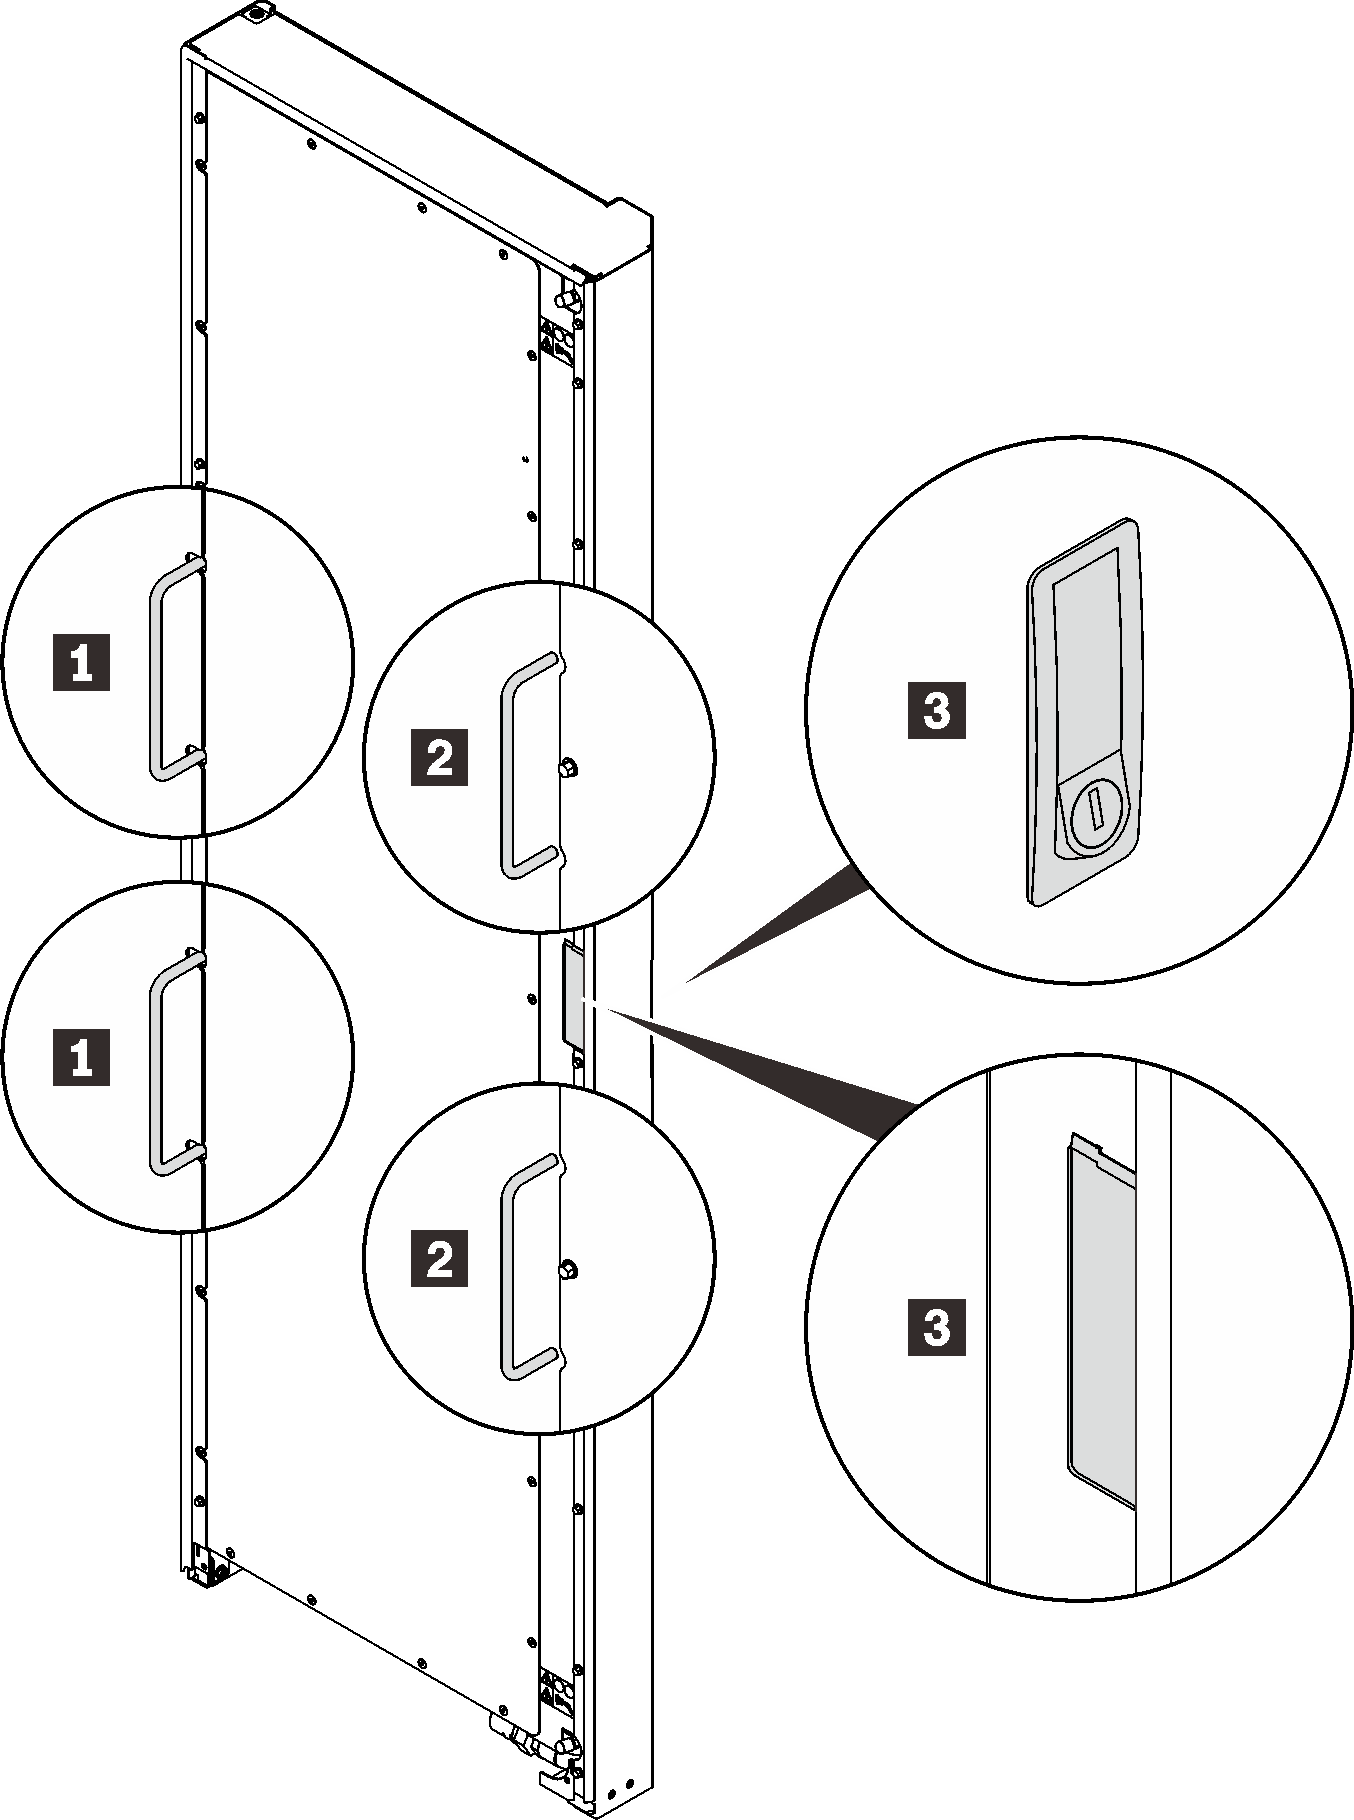
- Remove the door.Figure 4. Removing a door
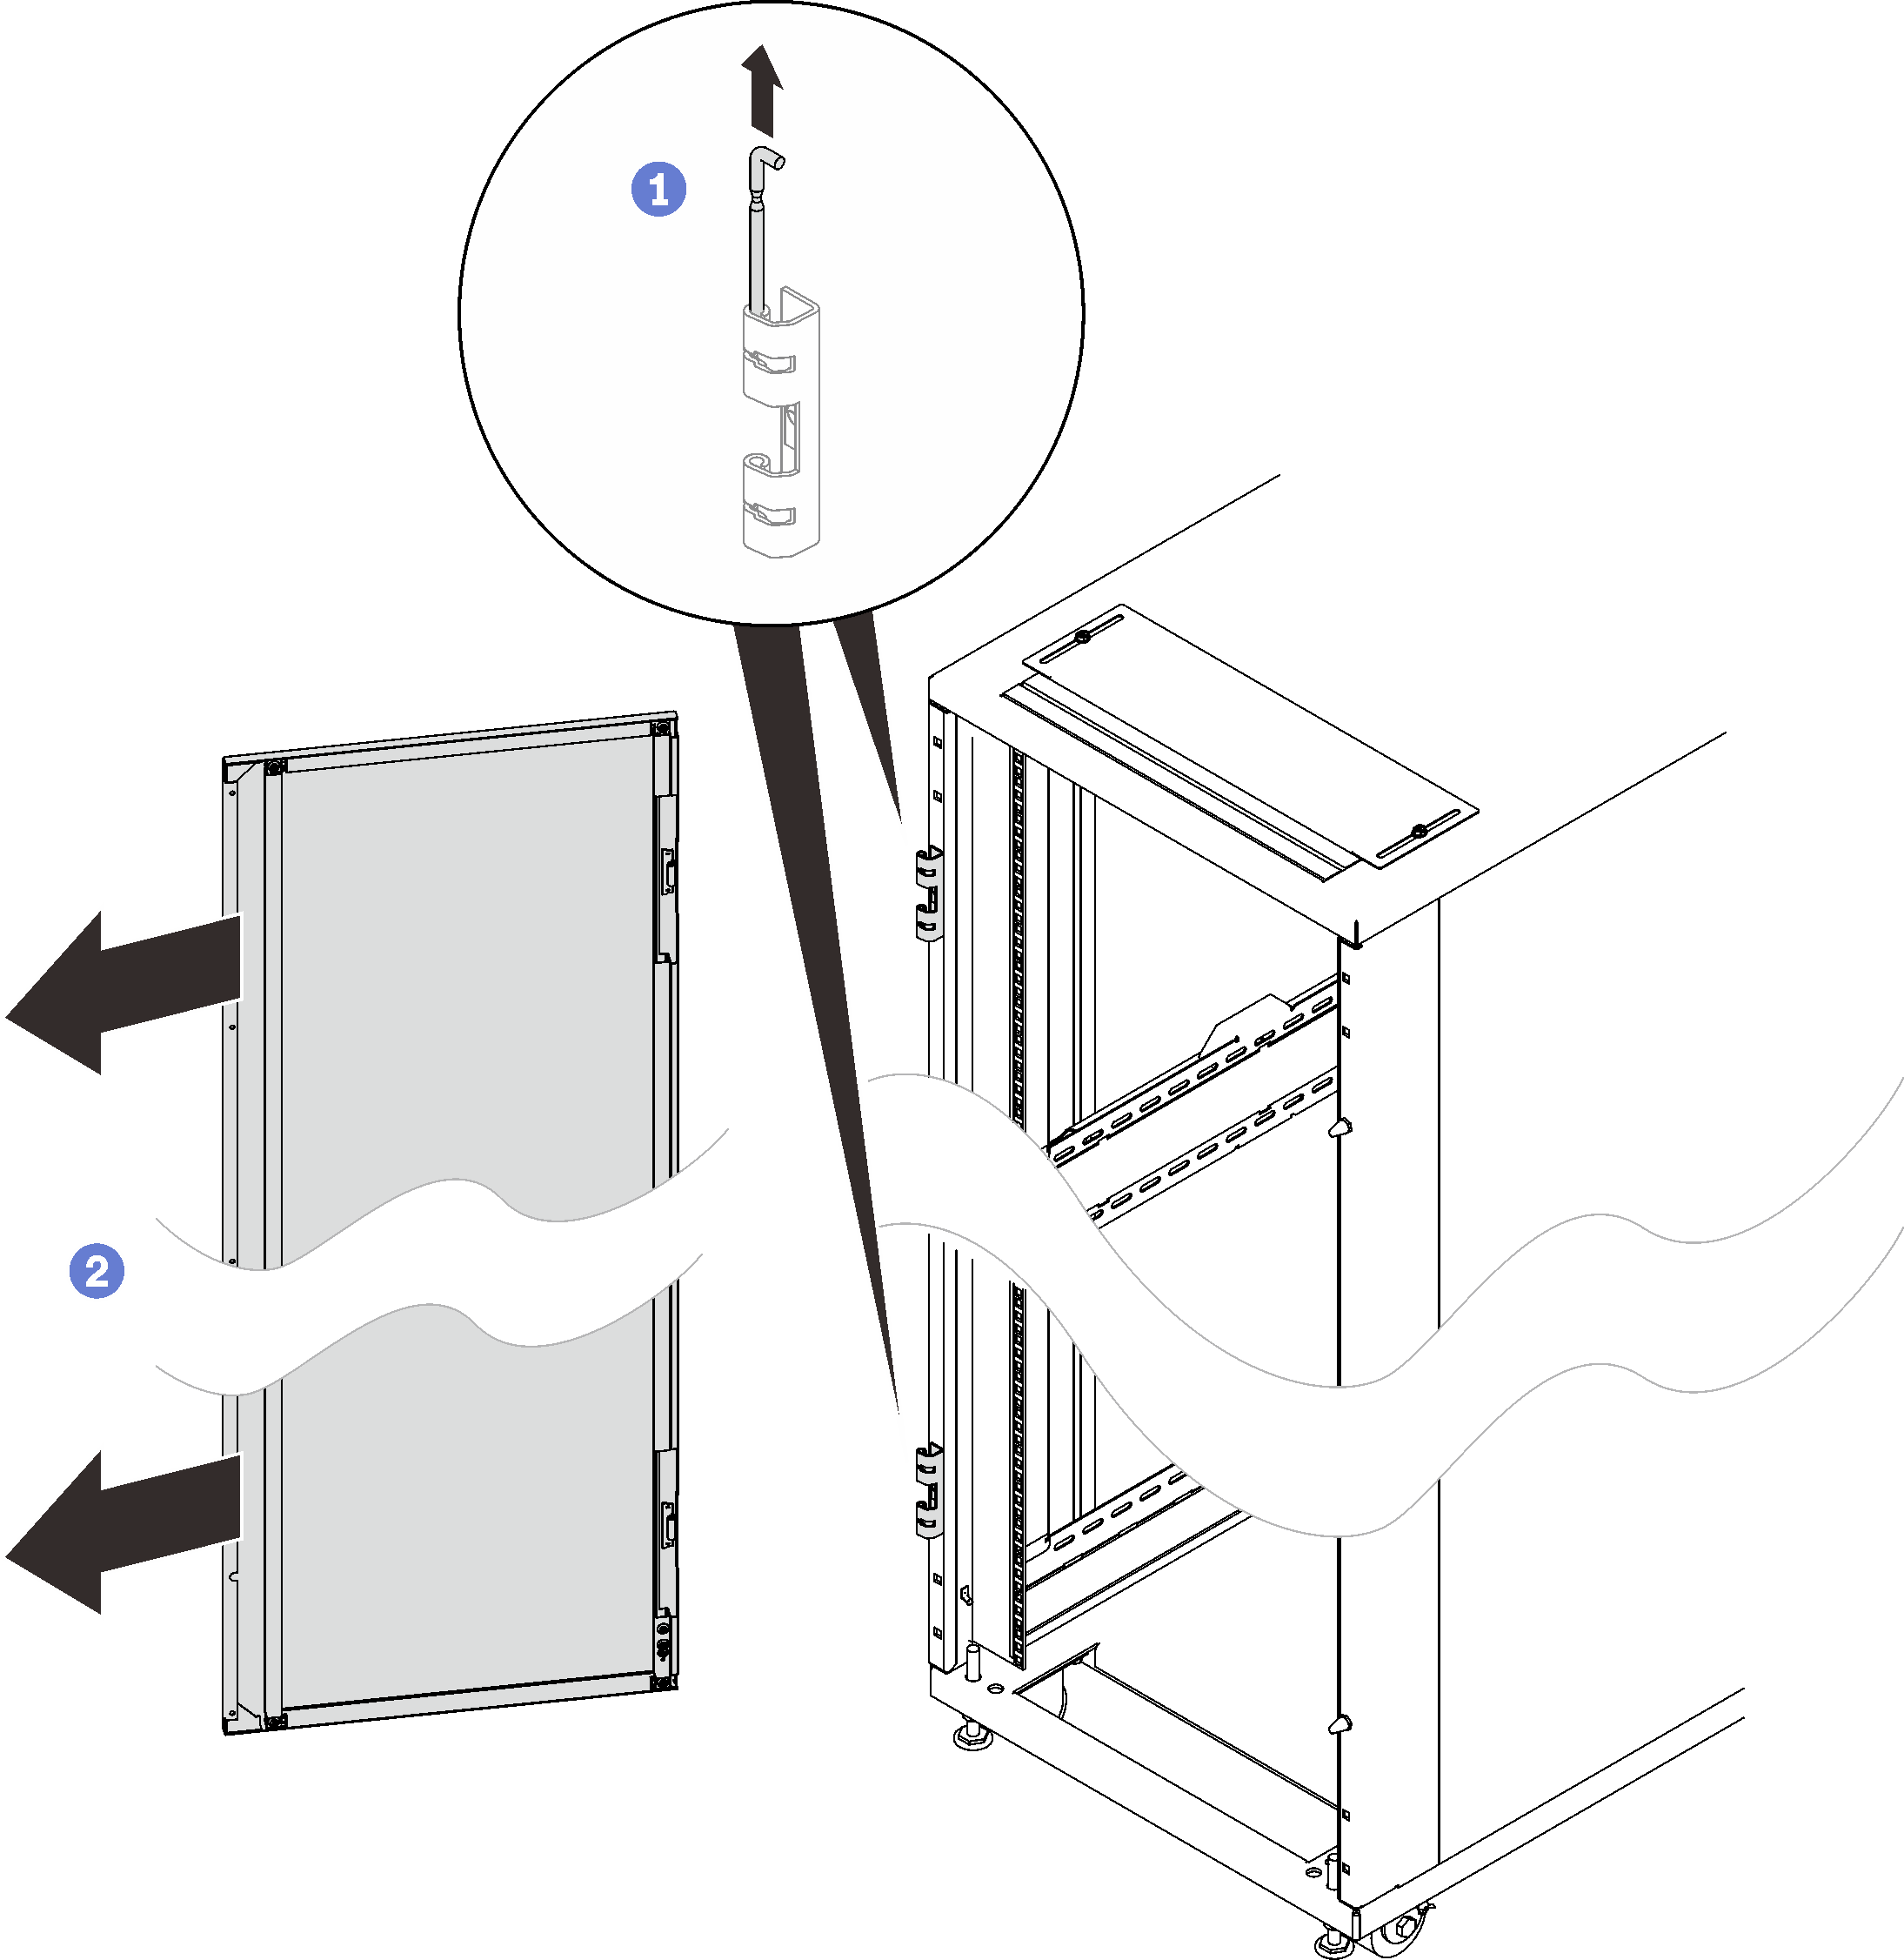
 Hold the door in place, and lift both hinge pins until they lock in the open position so that the door is disengaged.
 Remove the door from the rack cabinet frame.
- Remove the two hinges and the two doorstops.Figure 5. Removing the door hinges and extension bottom covers
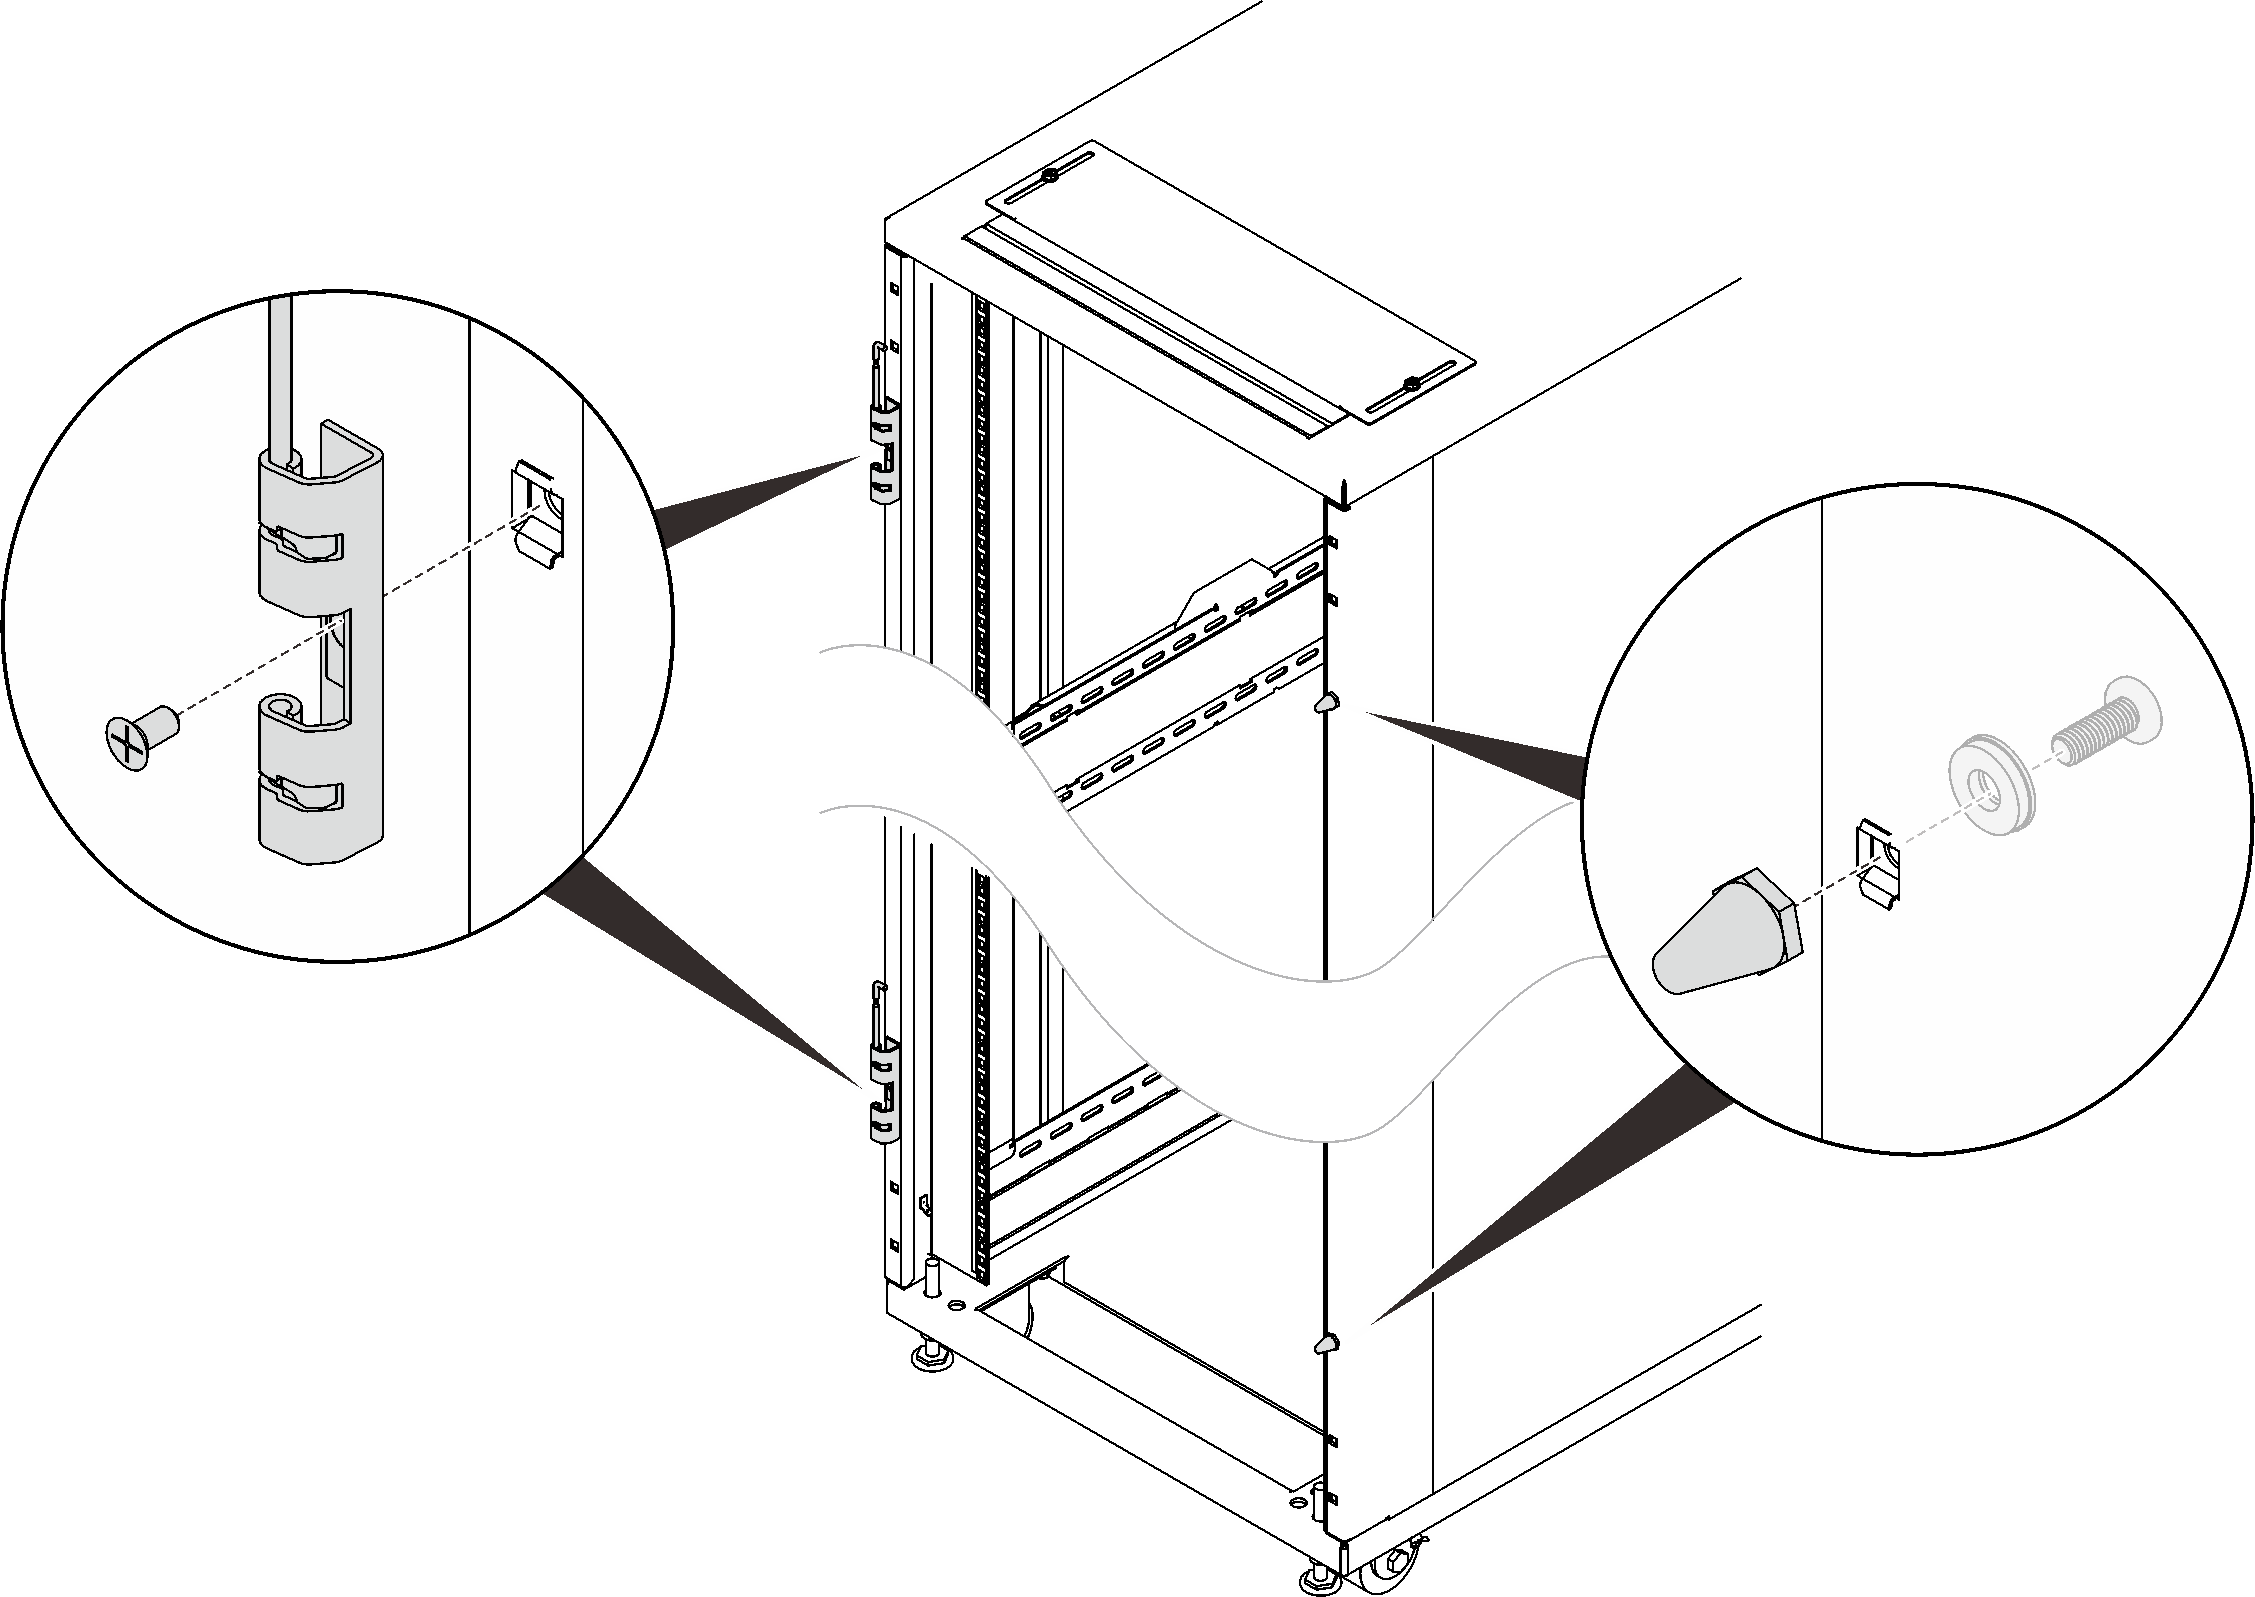
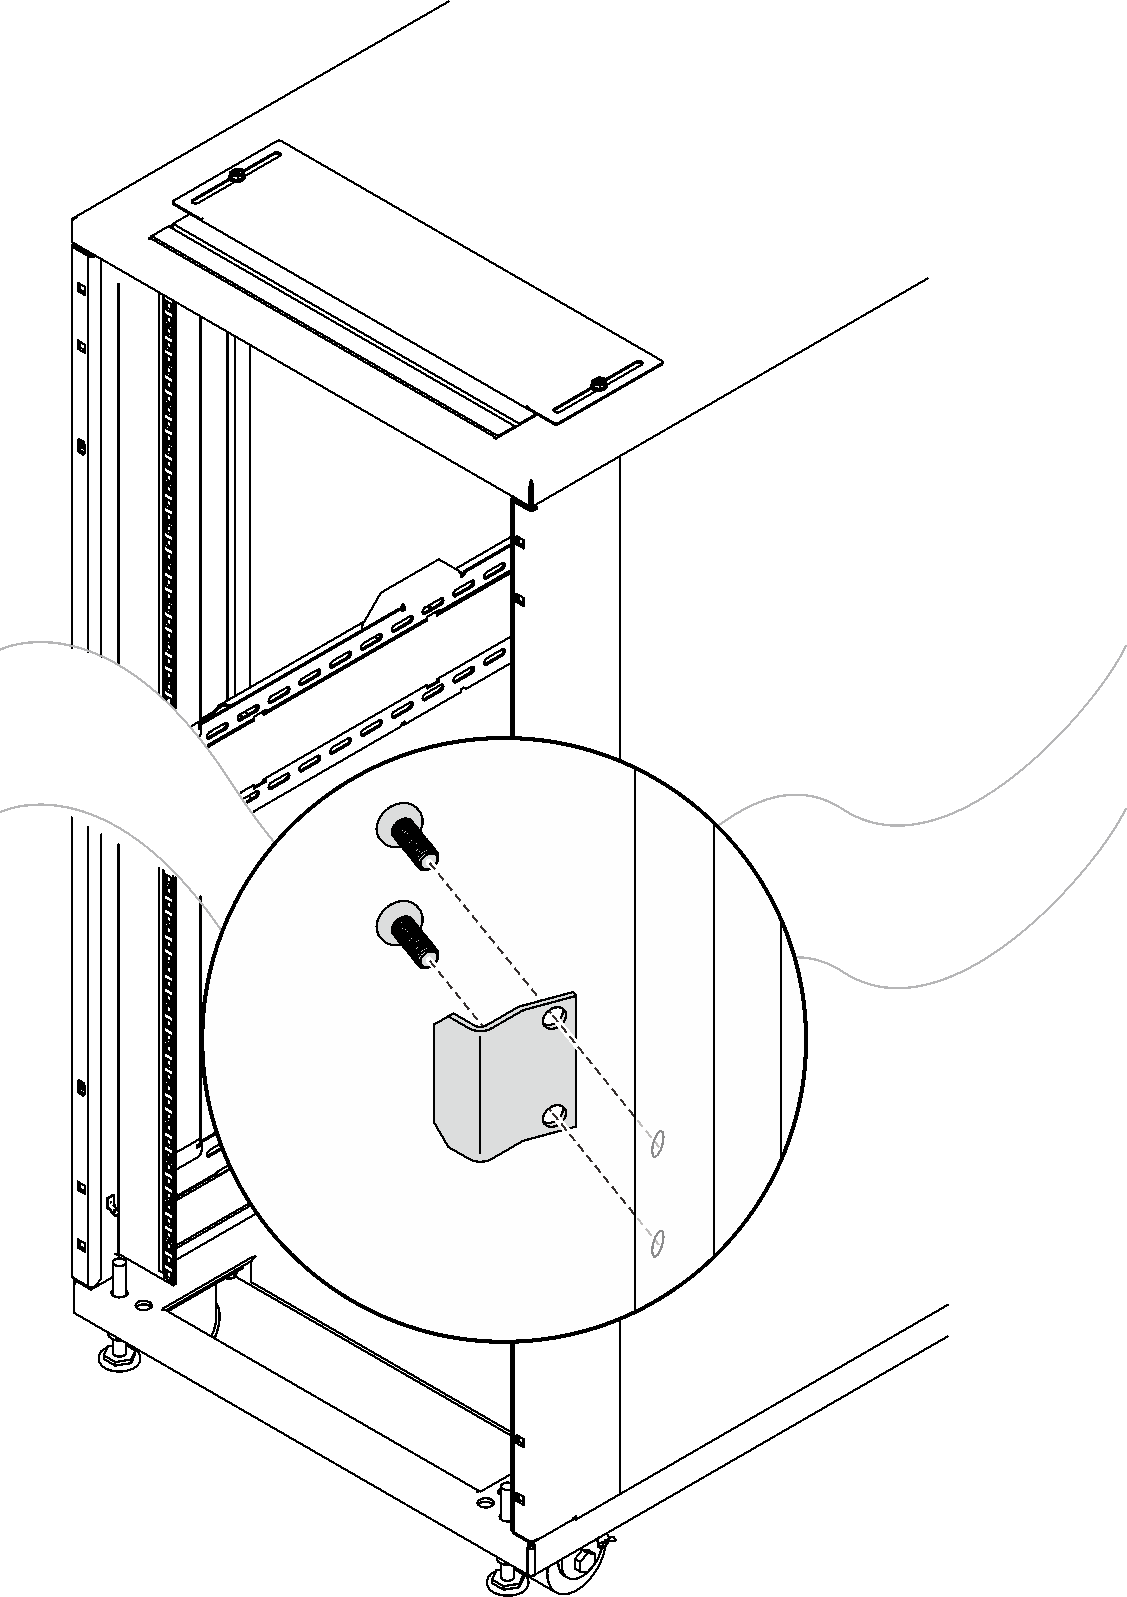
- Remove the door latch.Figure 6. Removing the door latch
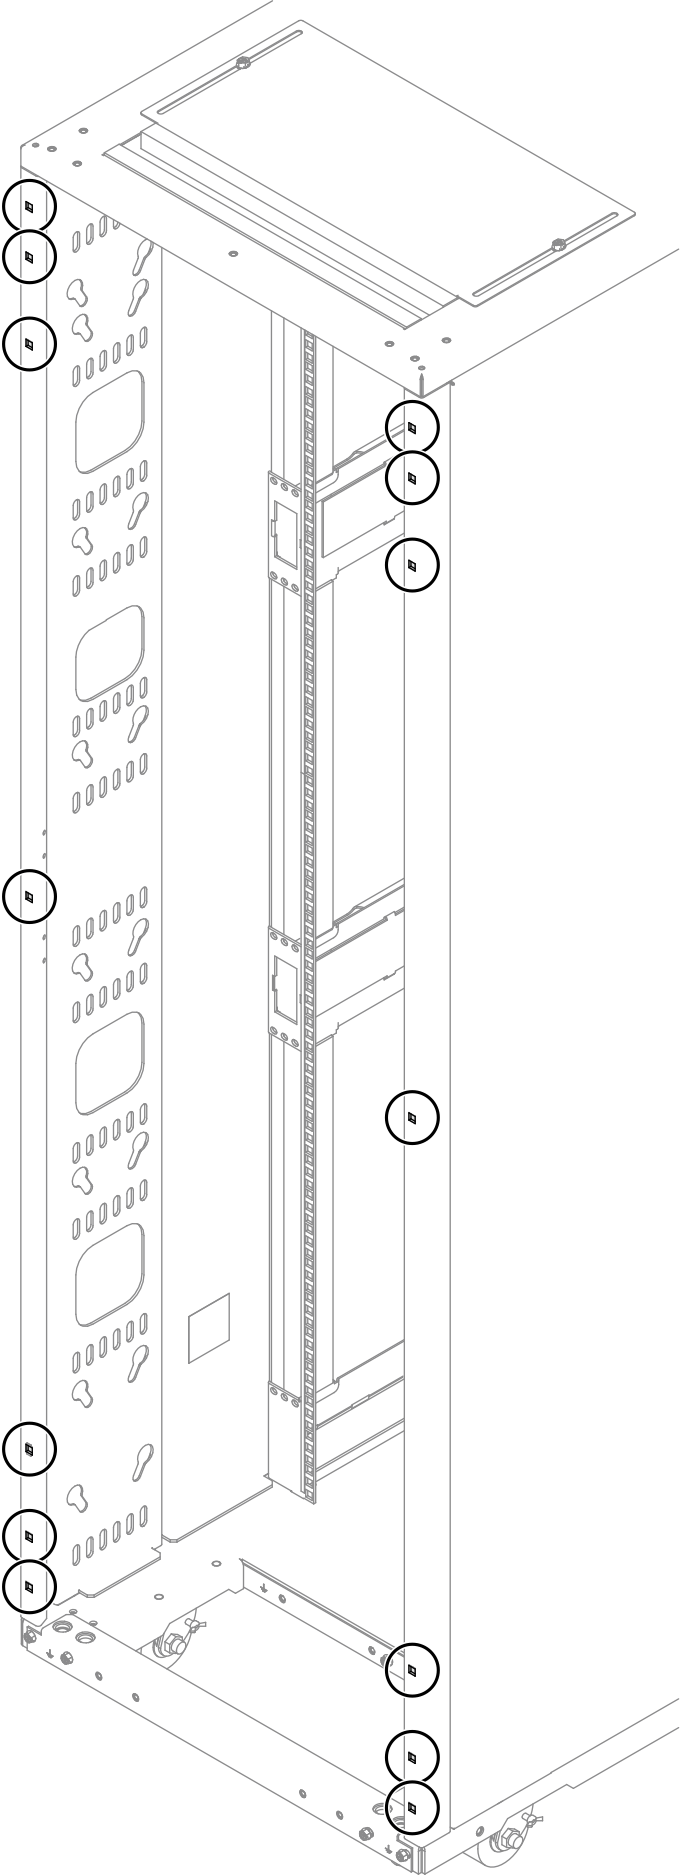
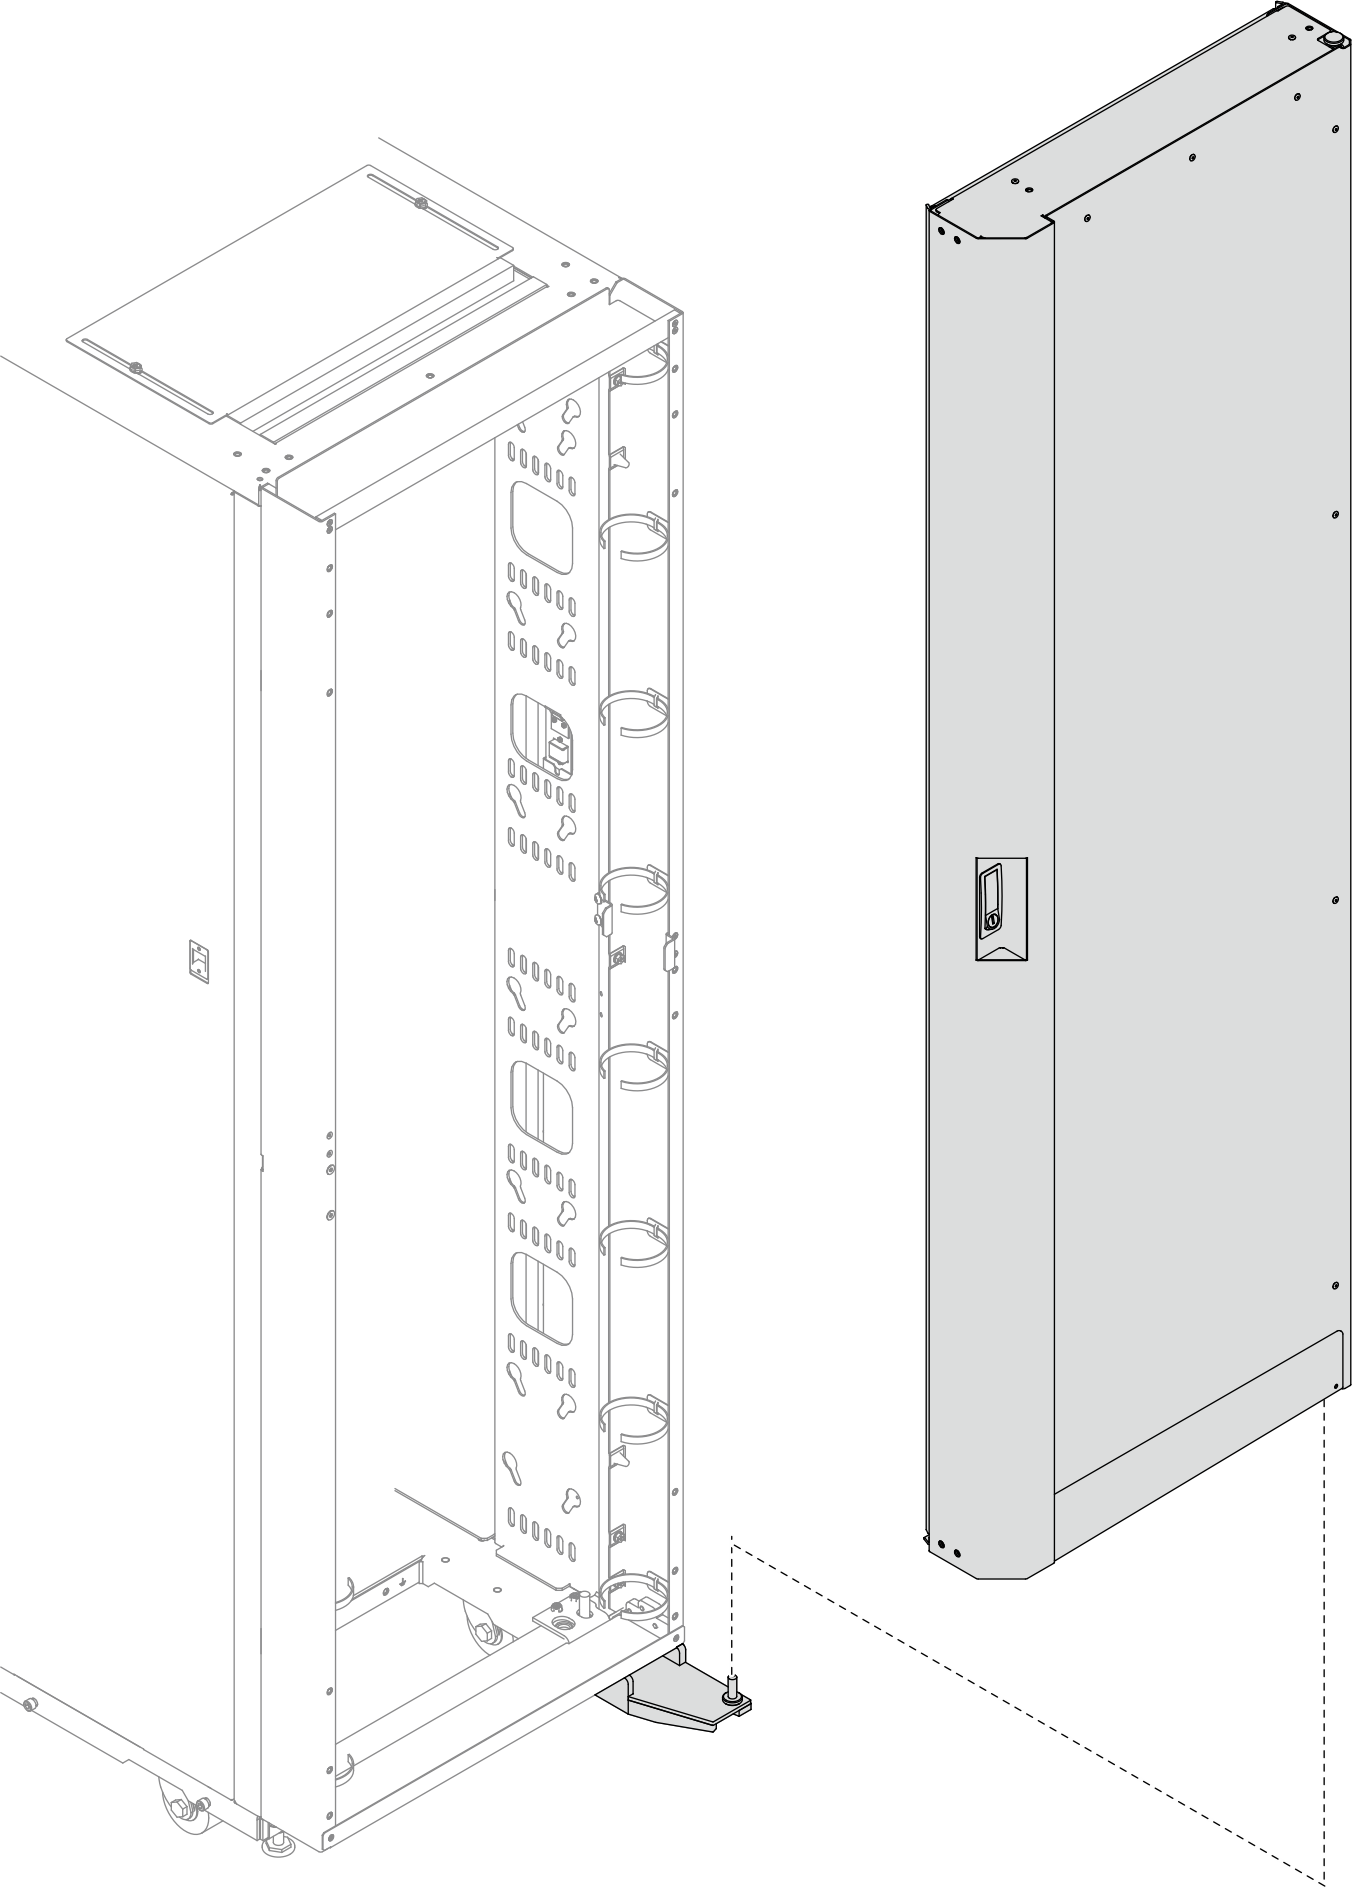
- Install fourteen M6 cage nuts to the rack frame with cage nut insertion tool or a flat-blade screwdriver.Figure 7. Cage nut installation location
 With cage nut insertion toolFigure 8. Installing cage nuts with cage nut insertion tool
- Insert one edge of the cage nut into the target mounting flange hole, and hook the other edge with the insertion tool through the flange hole.
- Rotate and pull the tool to force the other nut edge into the flange hole, and thus secure the nut.
With flat blade screwdriverFigure 9. Installing cage nuts with flat blade screwdriver
- Insert one edge of the cage nut into the target mounting flange hole.
- Press and compress the other nut edge with a flat-blade screwdriver, and rotate the screwdriver towards the flange hole until the nut edge goes in the hole.
 Release the screwdriver to secure the nut in the mounting flange hole.
- Loosely tighten thirteen screws to secure the extension panels to the rack.Note
It is advised not to fully tighten the screws in this step.
Do not install the two interim screws in this step. See the illustration for the locations.
Figure 10. Installing an extension panel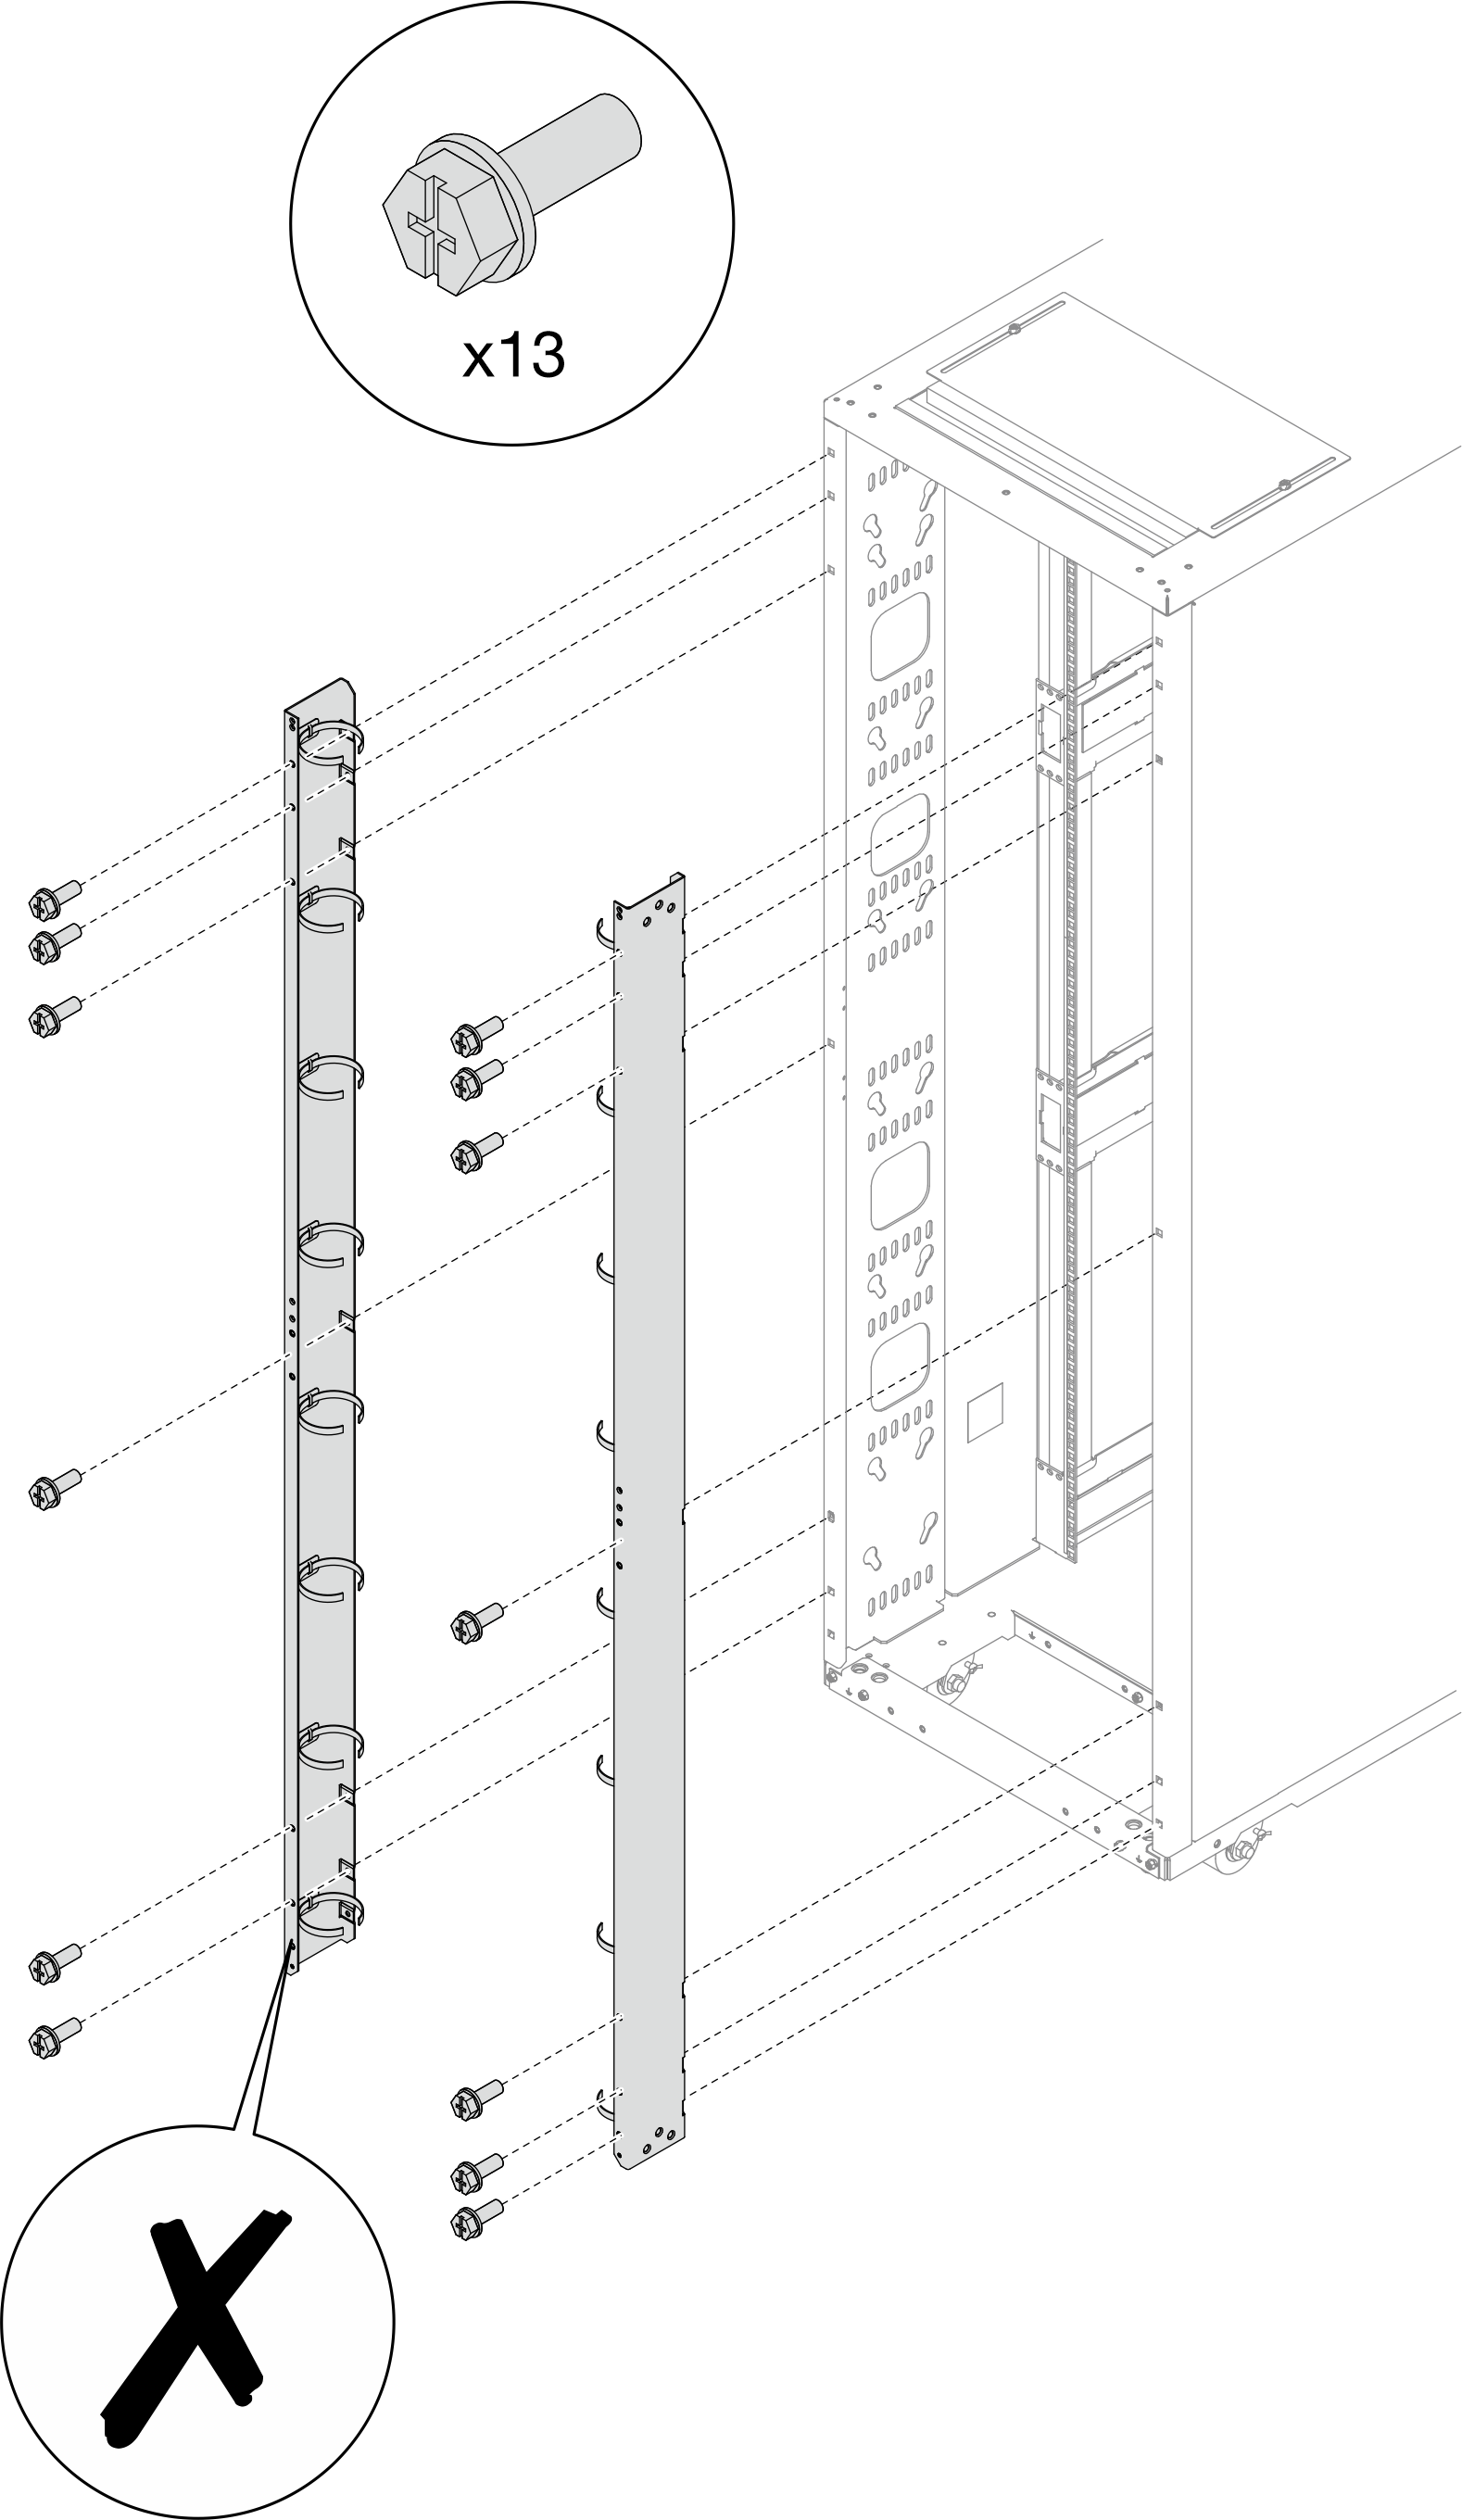
- Loosely tighten the four screws to secure the extension top cover to the panels loosely.Figure 11. Installing the extension top cover
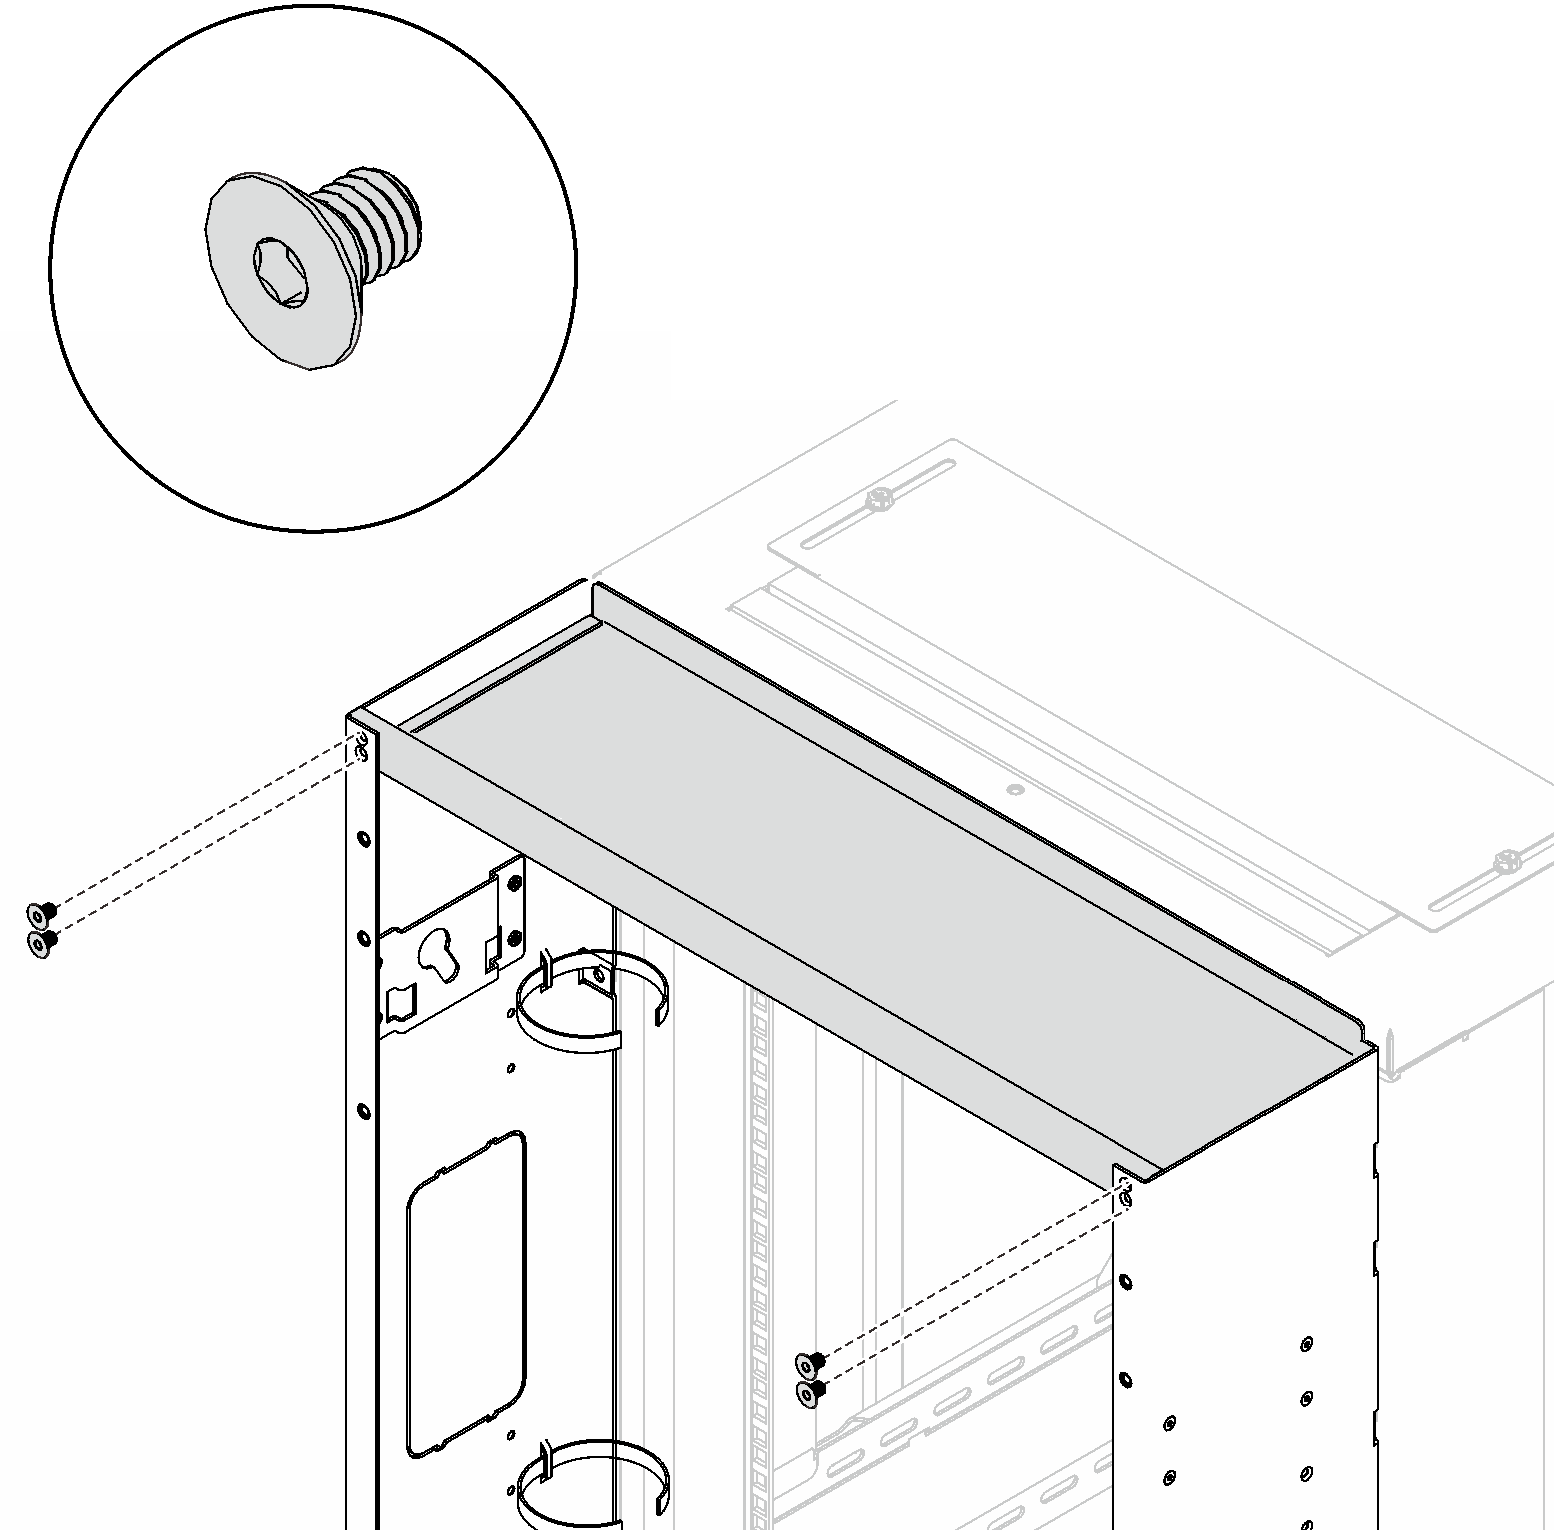 NoteAfter this step, the extension top cover should be active and could be slightly moved around.
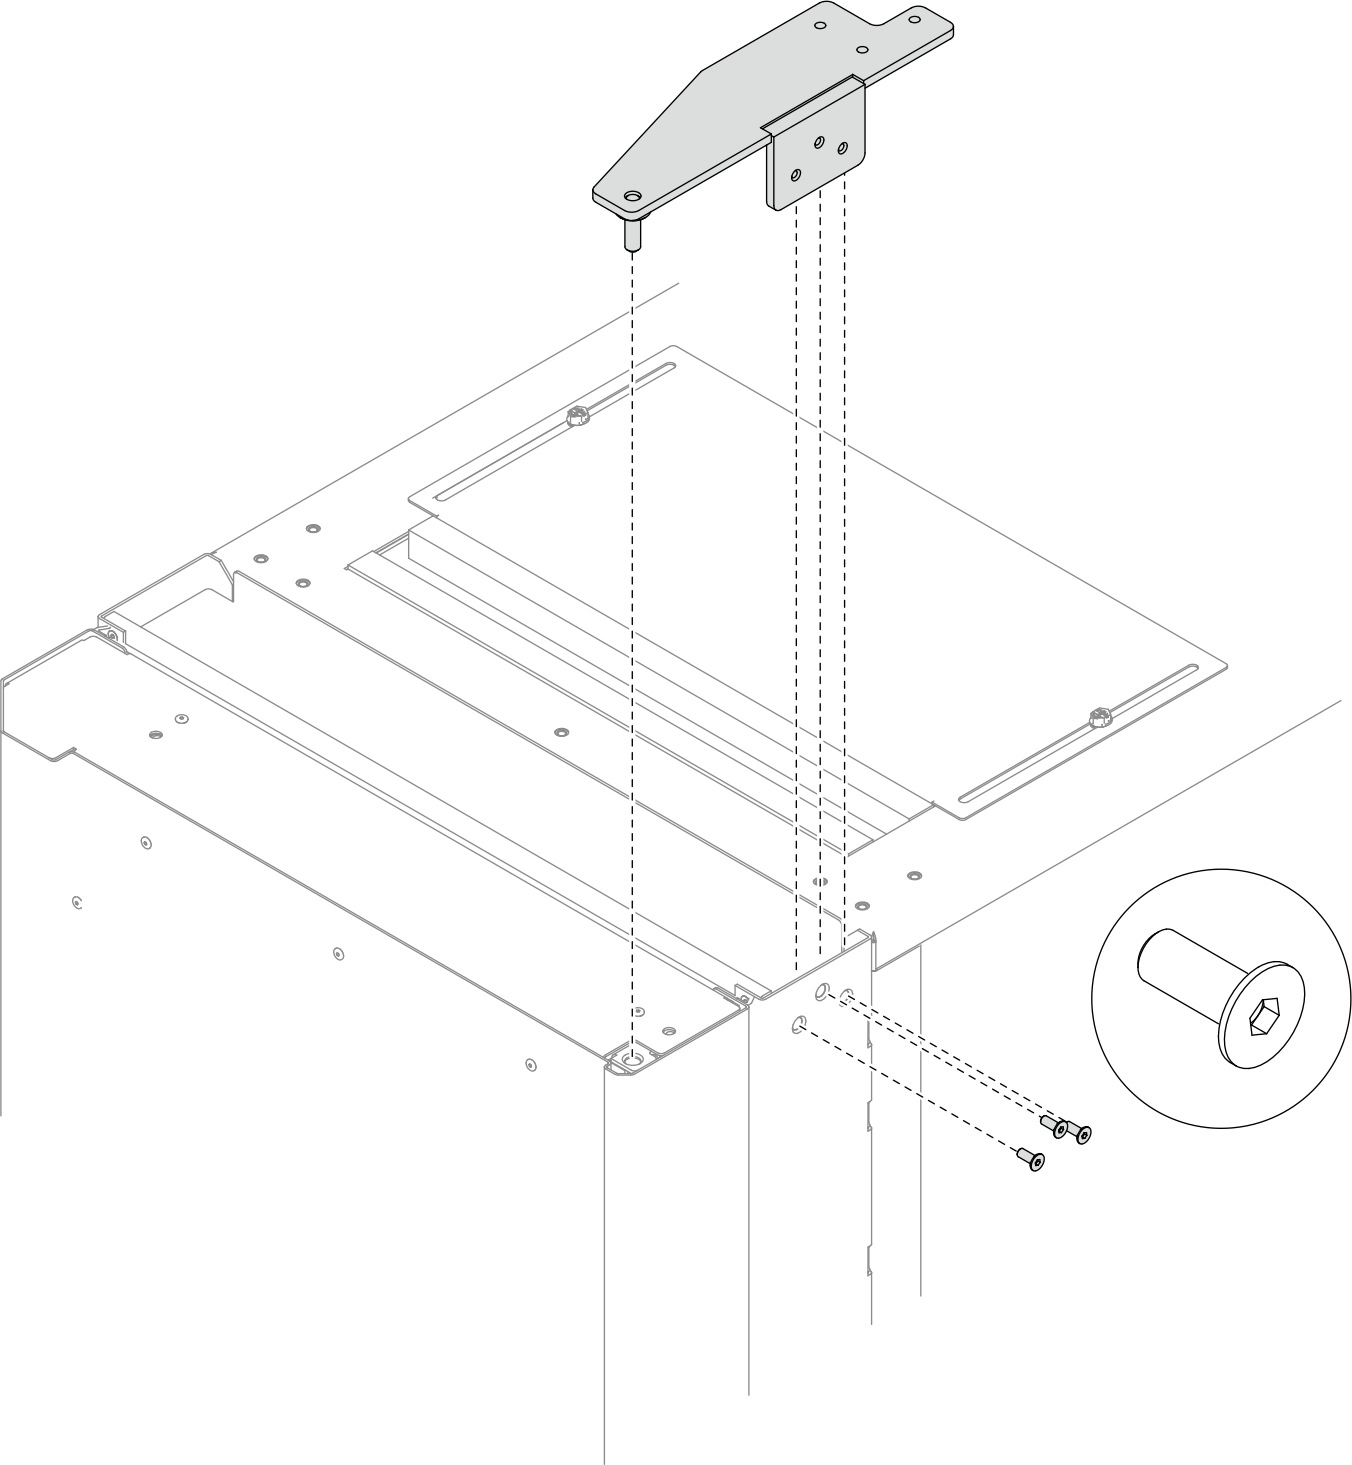
 - If there is a plan to install RDHX, install the bottom hinge now. Otherwise, tighten all the screws installed in previous steps, and go on with installing the door (see Install a door).Figure 12. Securing the bottom hinge
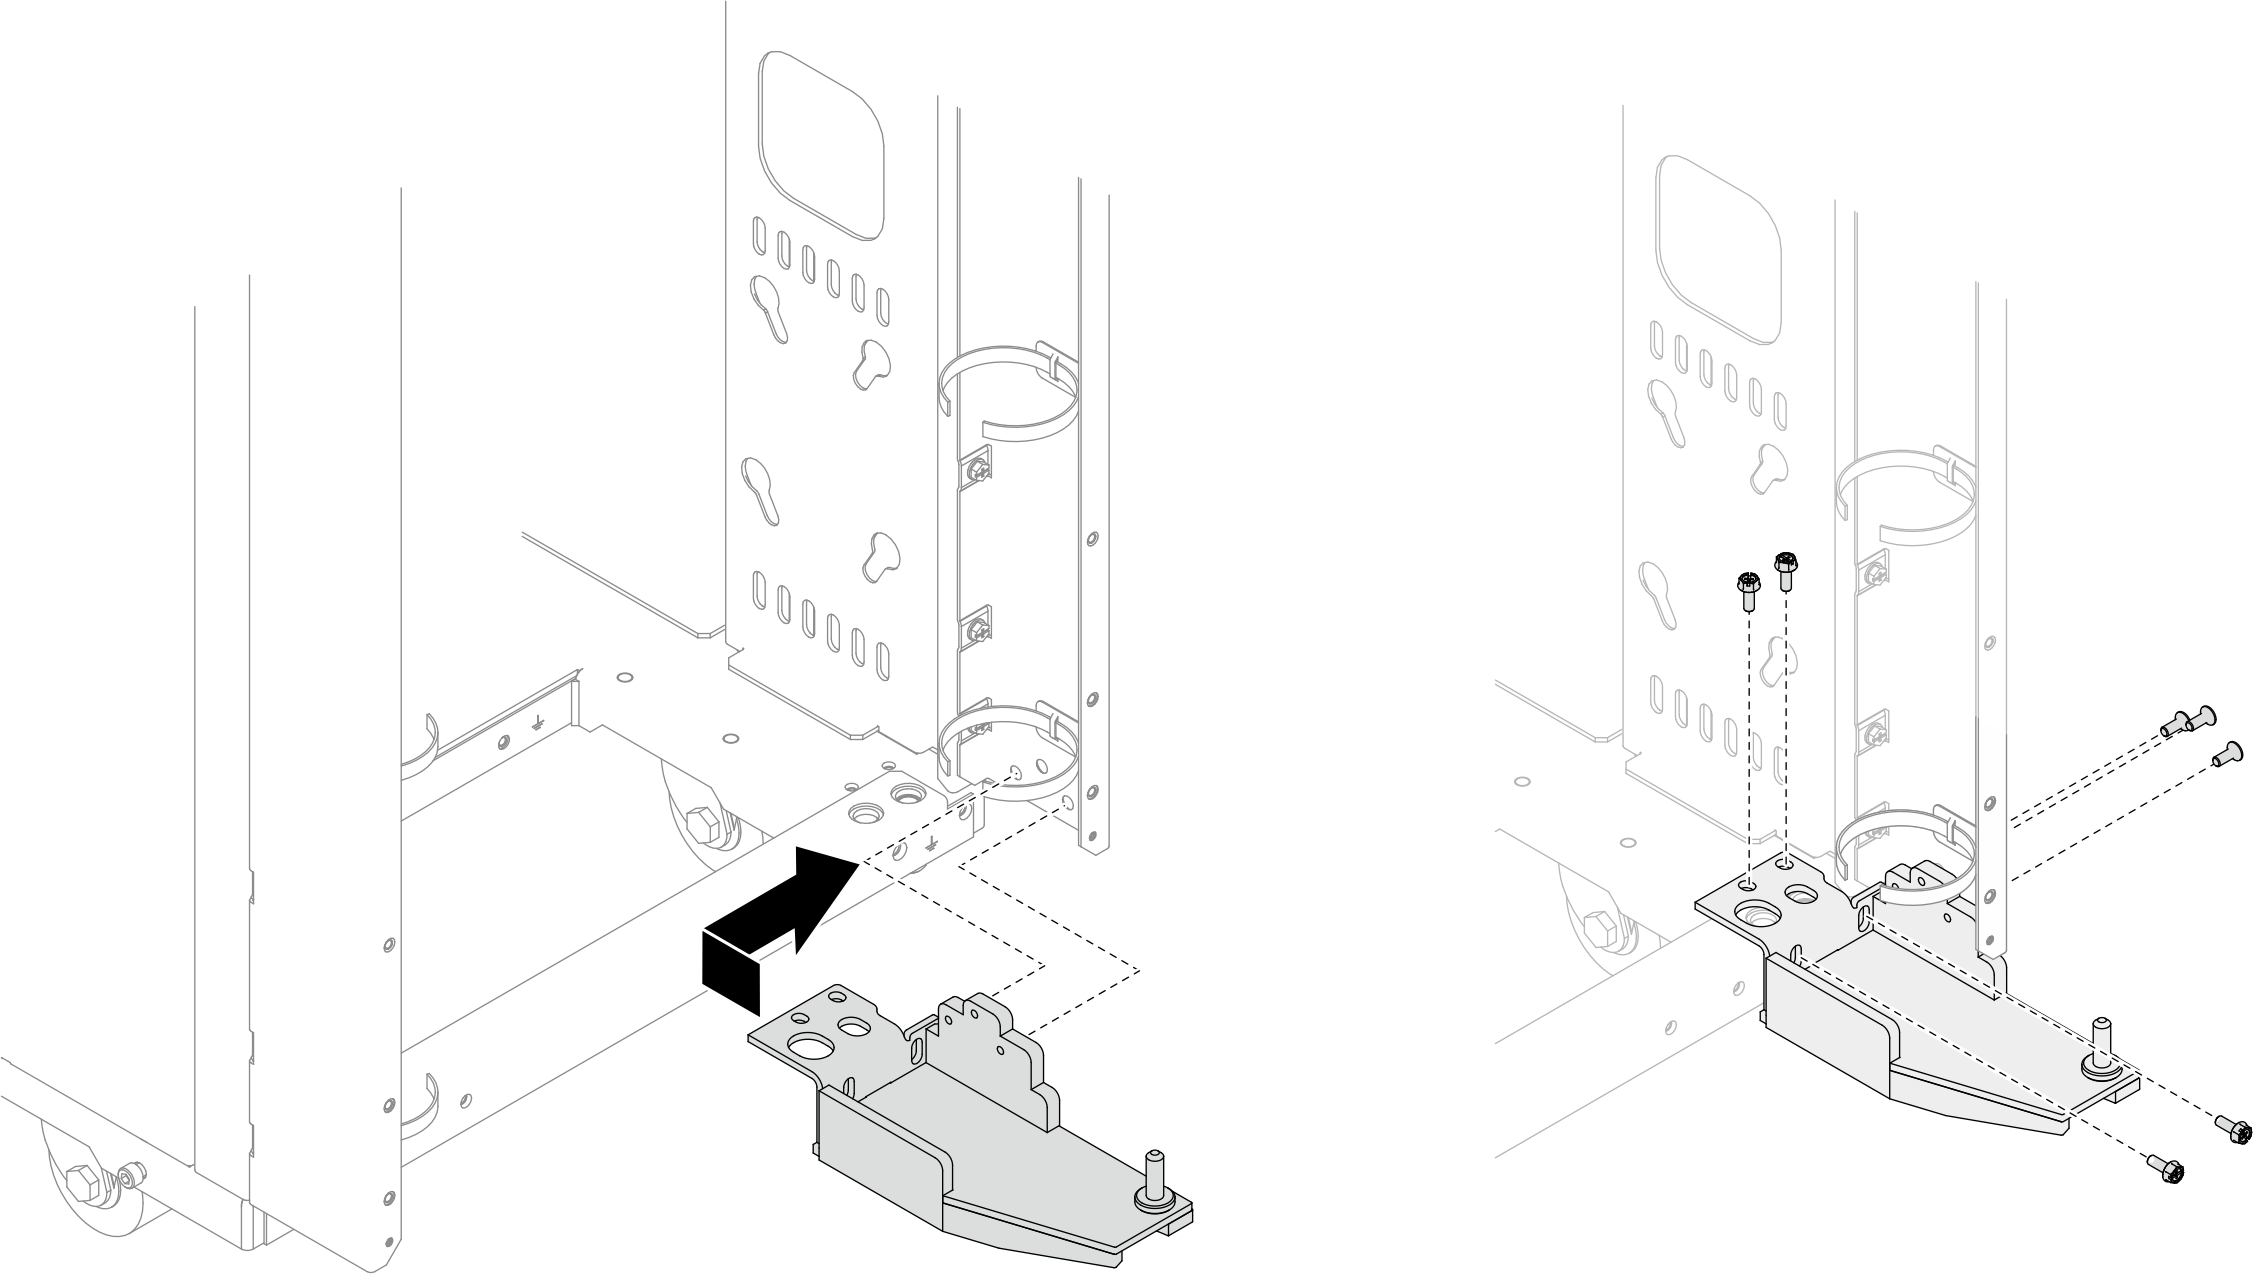
Align the hinge with the rack, and secure the hinge to the rack with four hex screws and three flat screws.
- Install the extension bottom cover.Figure 13. Securing the extension bottom cover
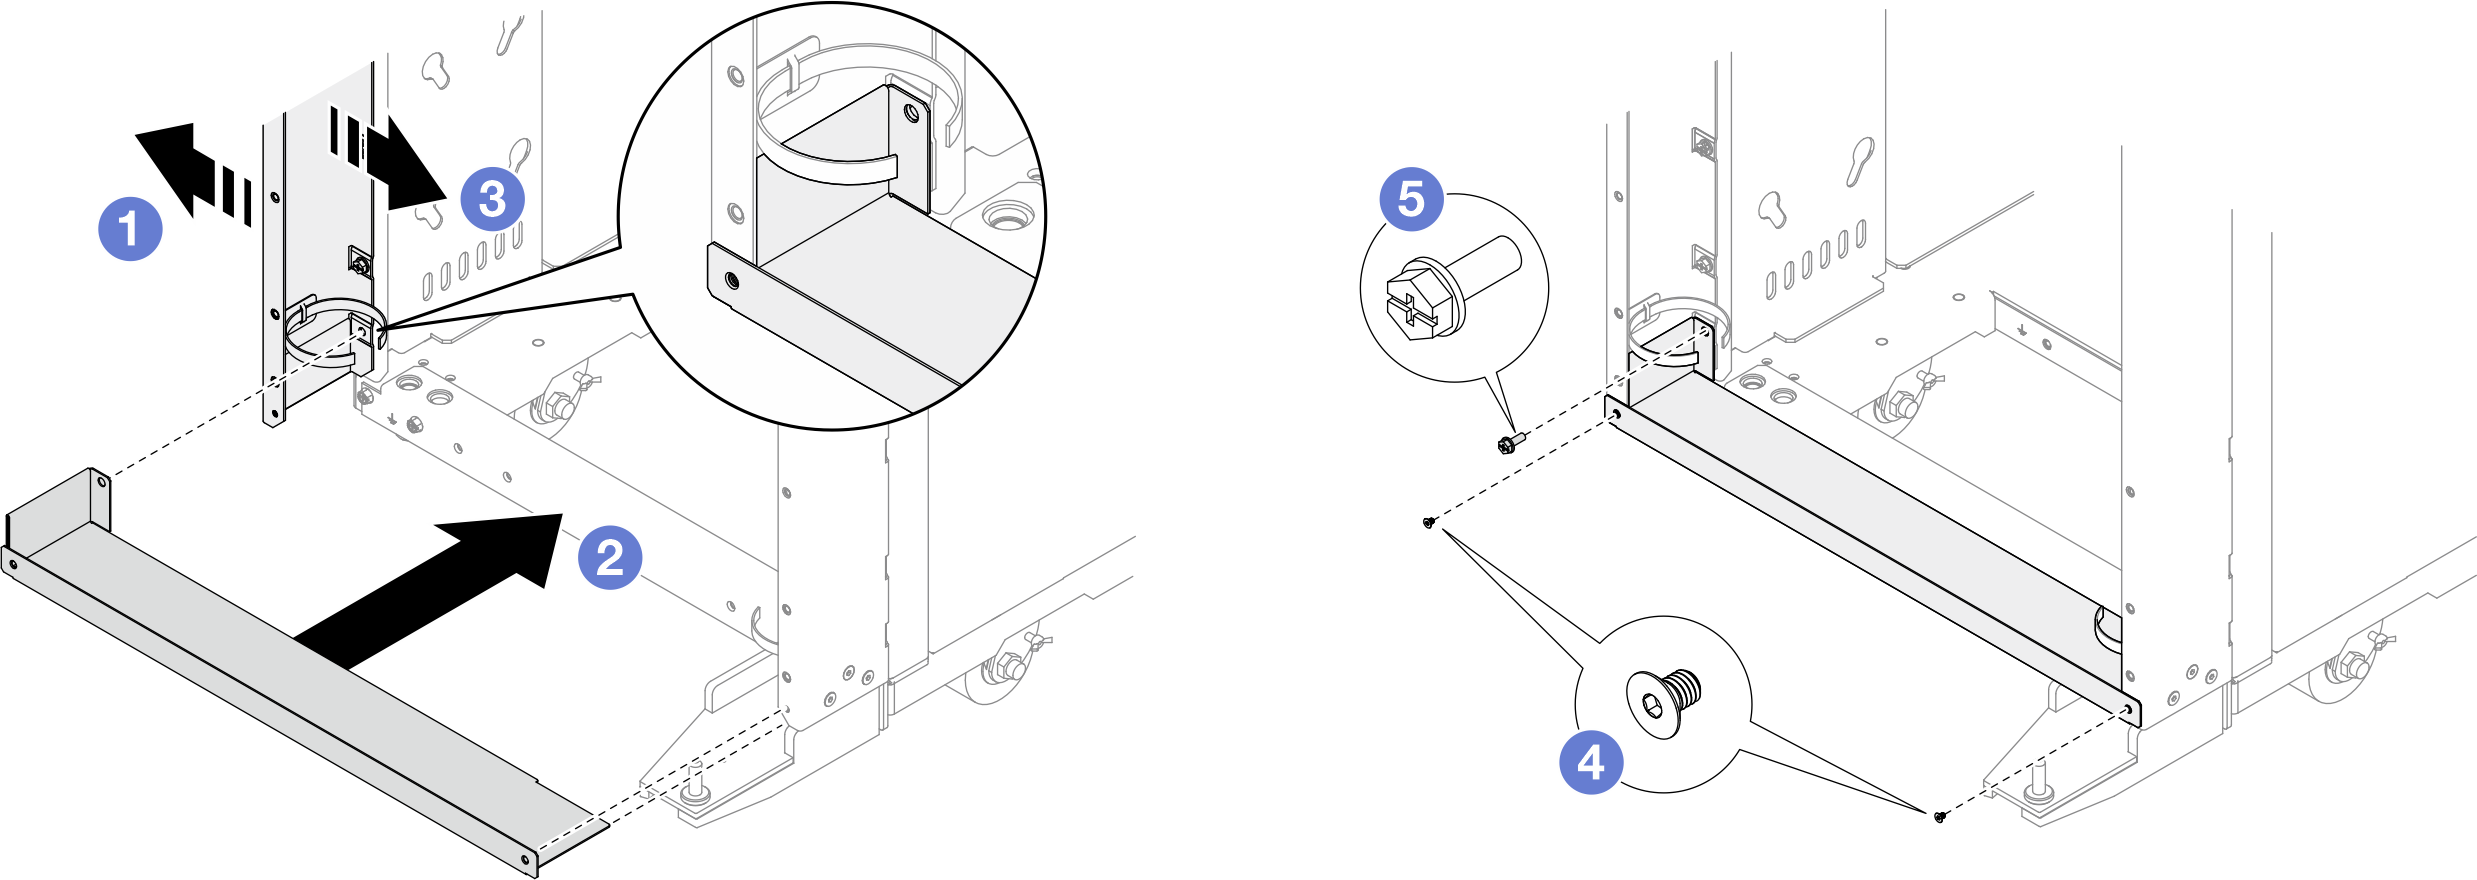
- Slightly push the left panel left to disengage it from the rack. Hold it in the place.
- Align both ends of the extension bottom cover with the rack.
- Release the left panel. Note that the left panel should be embracing the extension bottom cover as illustrated.
 Secure the extension bottom cover to the extension panels with two flat screws.
 Secure the extension bottom cover to the left extension panel and the rack with one hex screw.
NoteThe bottom hinge can be wrapped with plastic protective film to prevent paint damage and placed in a bag along with the screws if it will not be installed in mfg.; That bag is to be tie-wrapped to one of the extension cross braces. - Face the bottom side of the carton, remove the carton top, and slit the two carton corners on your right-hand side with a knife. Then, fold the right carton panel down to the ground, and rotate the threes carton inserts down.Figure 14. Unpacking the heat exchanger
Top 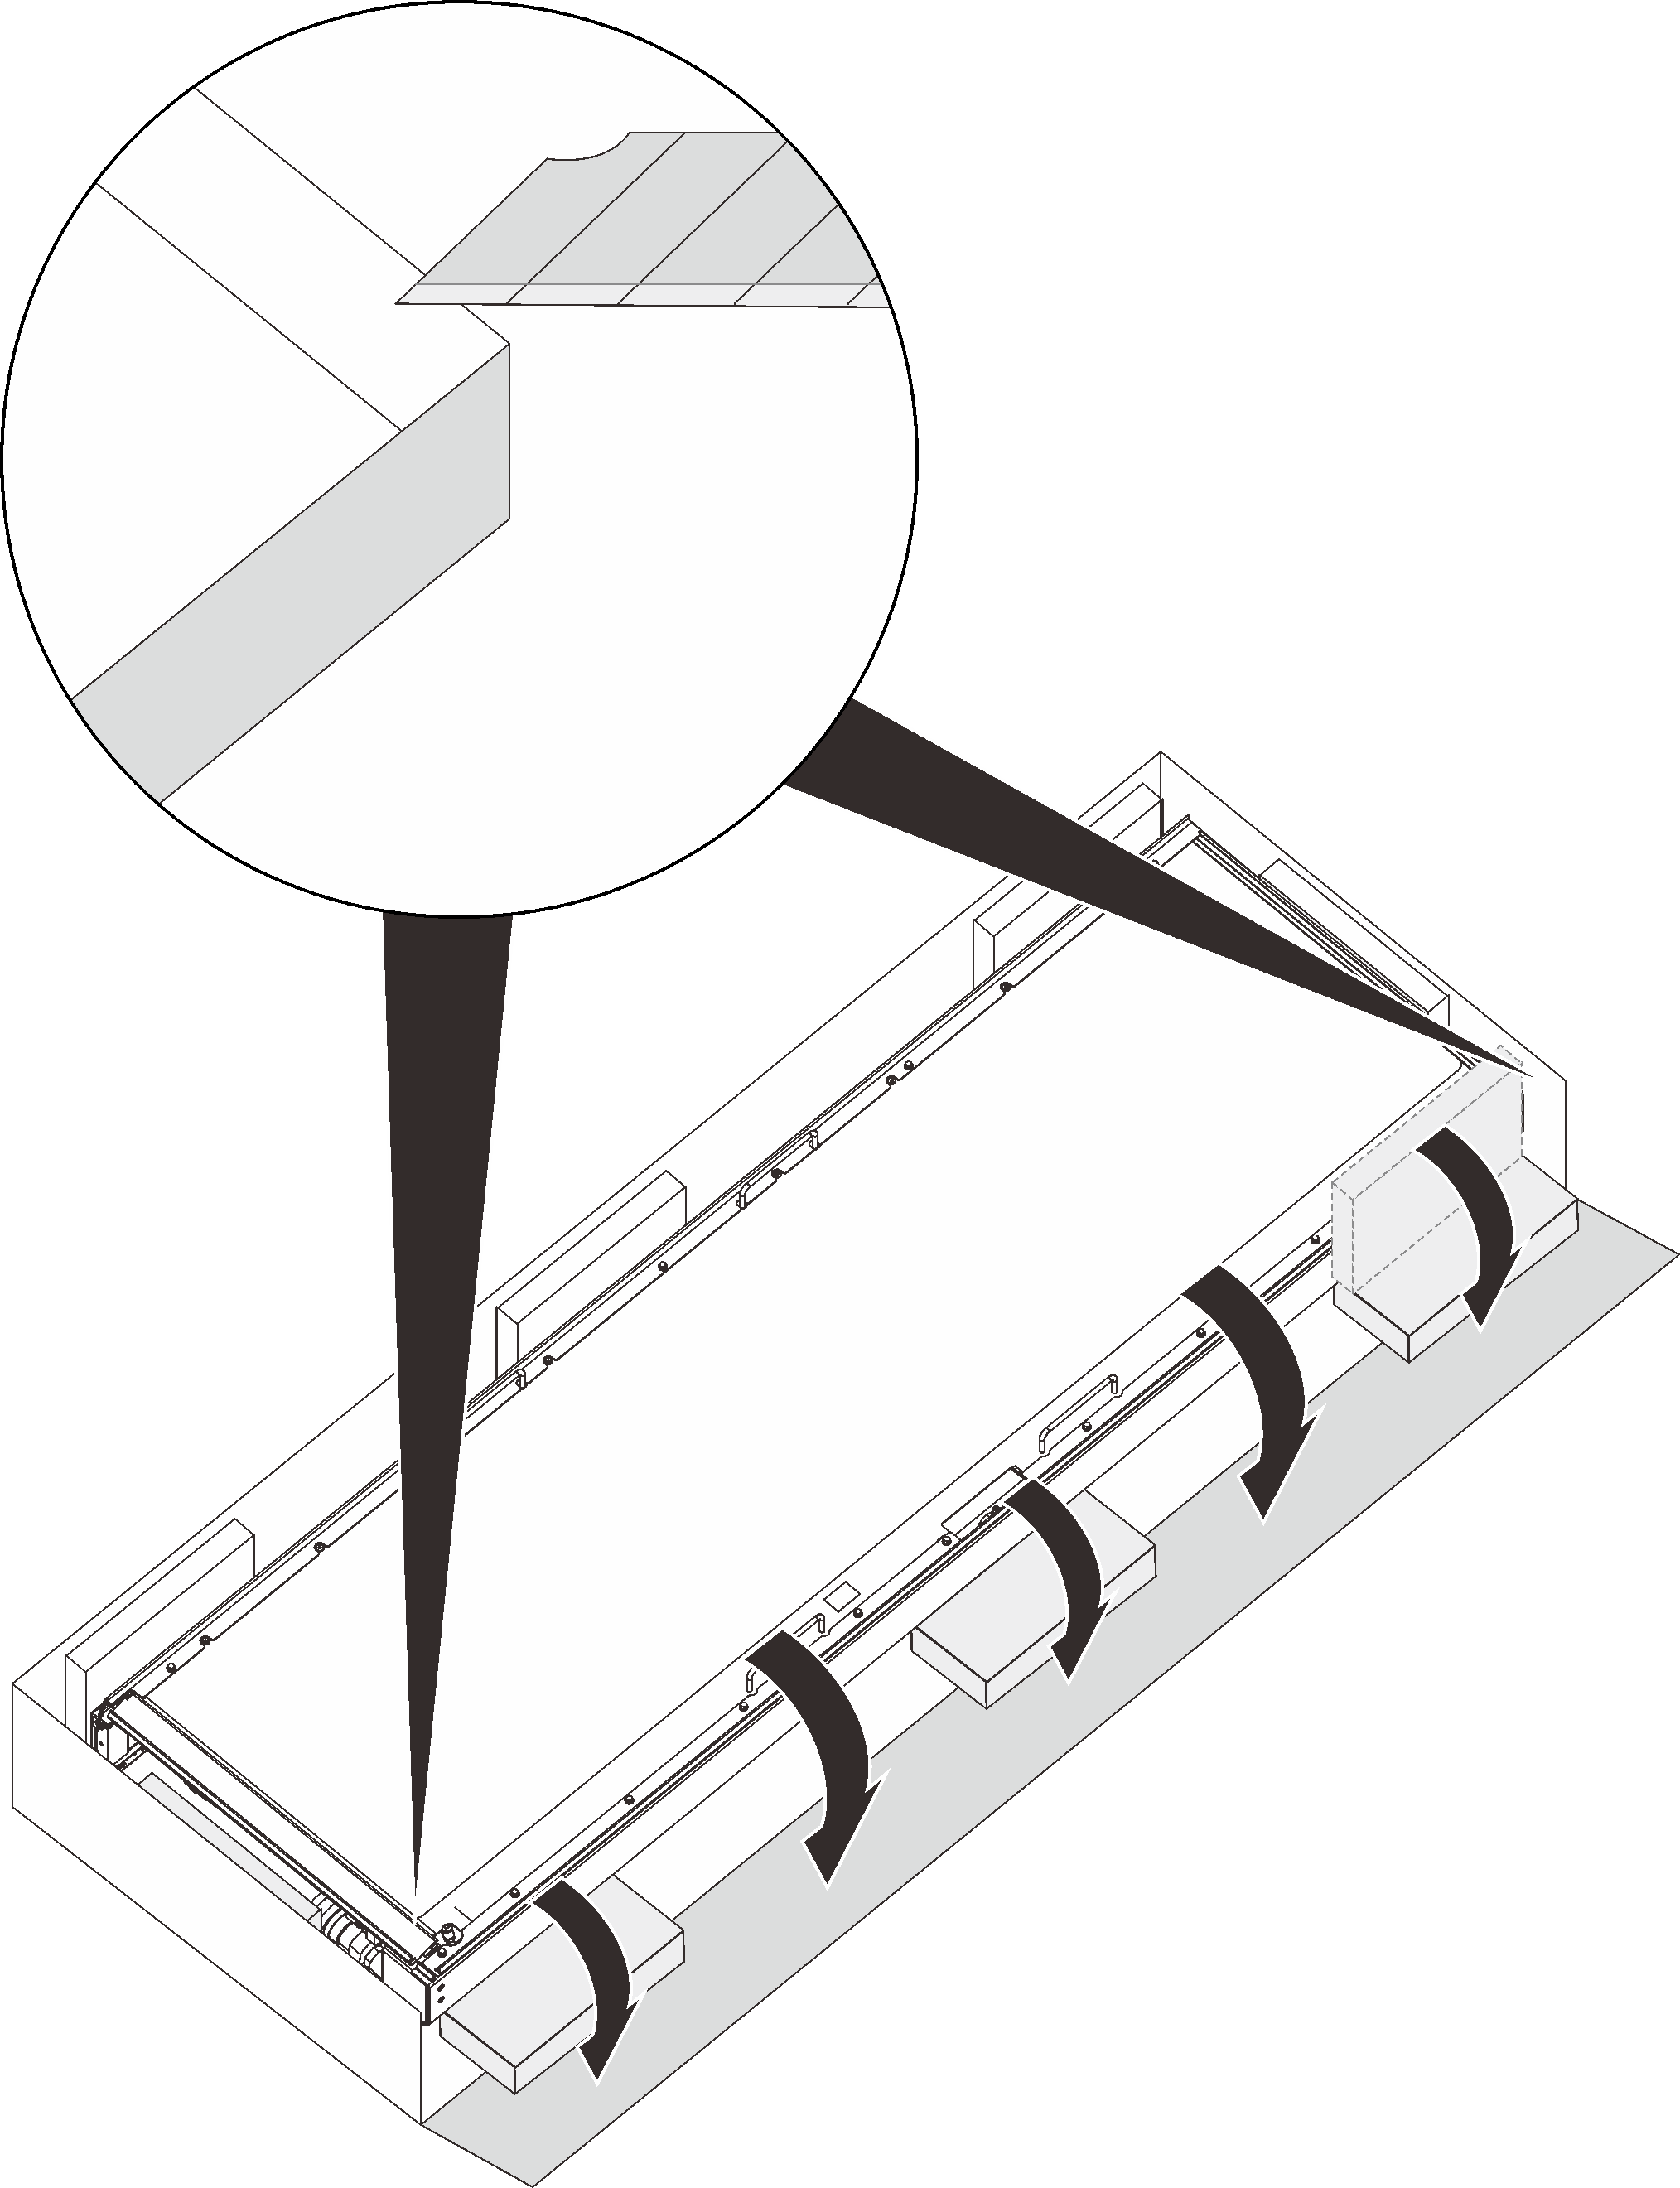
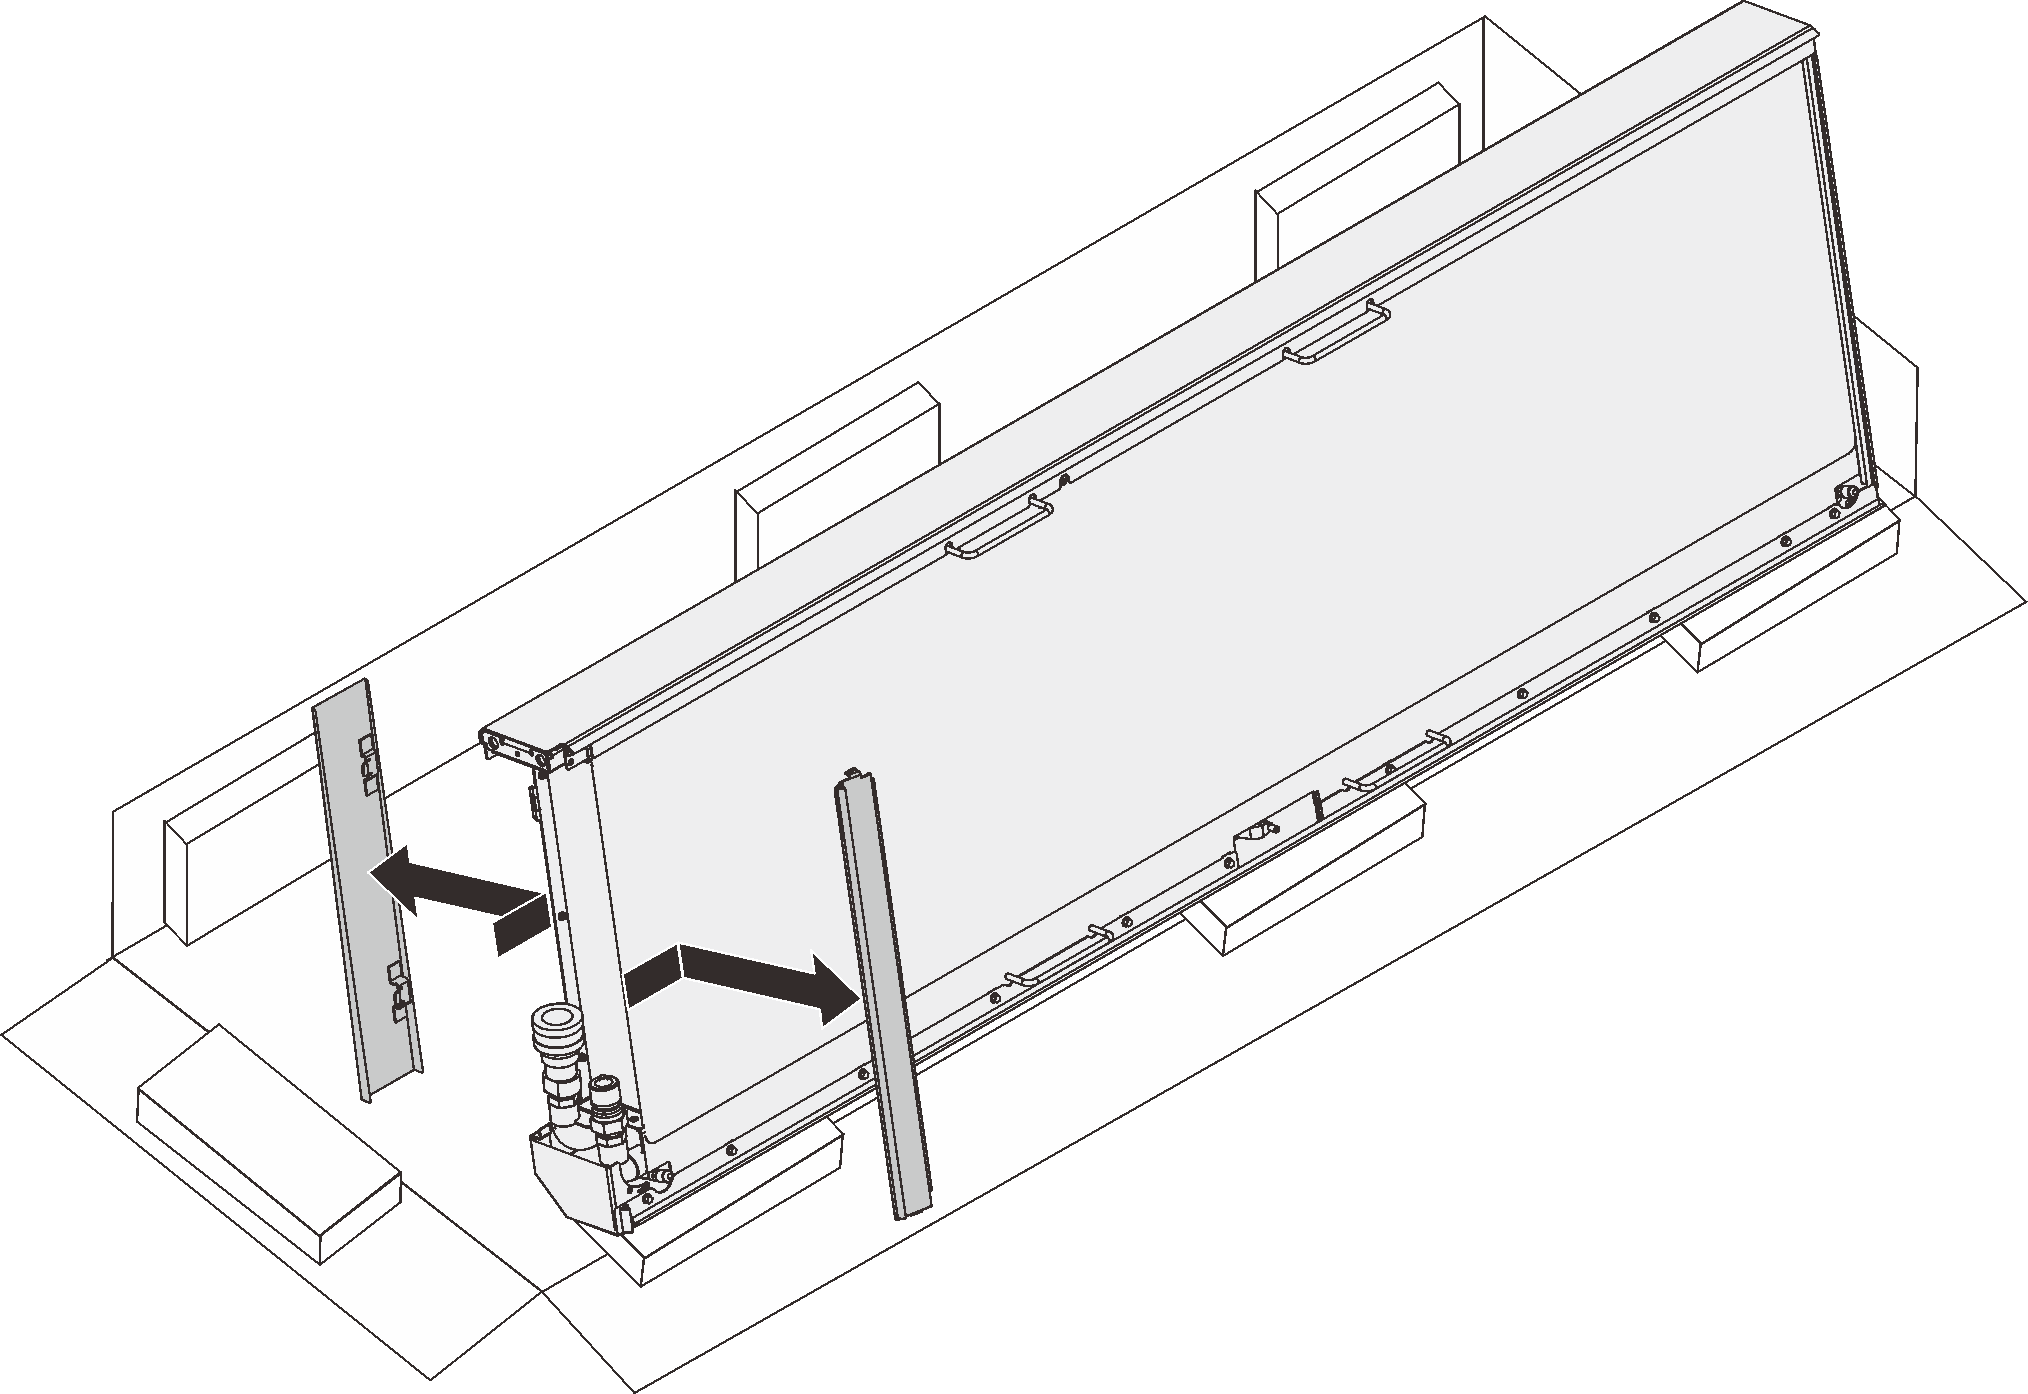
Bottom - With three people, rotate the heat exchanger to vertical on the three carton inserts. Then, remove the inner and outer hose access panels while one person hold the heat exchanger.Figure 15. Removing the hose access panels
- Hold the heat exchanger with three people on the handles/spots as illustrated. Then, carefully lift the heat exchanger and turn it upright.Figure 16. Lifting the heat exchanger with three people
1 Handles that the first person hold on to 3 Spots that the third person hold on to 2 Handles that the second person hold on to - Carry the heat exchanger with three people to the cabinet frame. Align the bottom corner with the bottom hinge pin on the rack cabinet; then, lower the heat exchanger to fit the pin in.Figure 17. Installing the heat exchanger to the rack cabinet
- Hold the heat exchanger in place with two people. Insert the top hinge pin to the heat exchanger; then, secure the hinge with three screws.Figure 18. Installing the top hinge