Creating a placeholder chassis
You can create a placeholder chassis that can be pre-provisioned before the hardware is installed. Provisioning compute nodes in the chassis reserves management IP addresses and virtual Ethernet or Fibre Channel addresses.
Procedure
Complete the following steps to create a placeholder chassis.
- From the Lenovo XClarity Administrator menu bar, click . The Configuration Patterns: Patterns page is displayed.
- Click the Placeholder Chassis tab.
- Click the Add Placeholder Chassis vertical tab.
- Enter a name and description for the placeholder chassis.
- Click Add.
After you finish
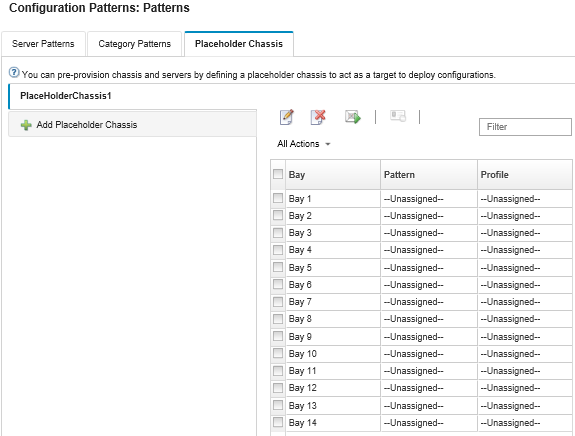
A vertical tab is added for the new placeholder chassis on the Configuration Patterns: Placeholder Chassis page.


From this page, you can perform the following actions on a selected placeholder chassis:
- Deploy the placeholder chassis by clicking the Deploy icon (
 ).
). - Modify the placeholder chassis name and description by clicking the Edit icon (
 ).
). - Deploy a server pattern to the placeholder chassis (see Deploying a server pattern to a placeholder chassis).
- Deactivate the server profile from a placeholder chassis (see Deactivating a server profile).
- Delete the placeholder chassis by clicking the Delete icon (
 ).
).
Give documentation feedback