Installing components
Use the setup wizard to install components.
Procedure
To install components, complete the following steps.
- Unzip the Lenovo XClarity Integrator Installer package, and click the executable file setup.exe to open the setup wizard. The splash page for Lenovo XClarity Integrator Installer for Microsoft System Center opens, followed by a language selection list.Figure 1. Initializing the setup wizard
 Figure 2. Language selection list
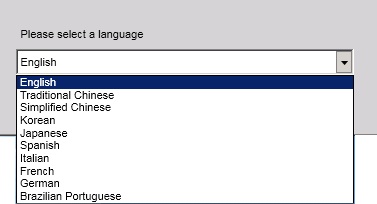
- Select a language for the Lenovo XClarity Integrator Installer.NoteThe components are installed in the same language that you select.Figure 3. Welcome page
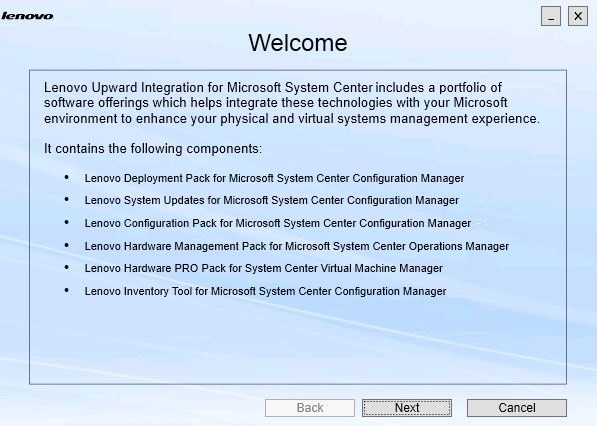
- On the Welcome page, click Next. The Prerequisites page opens.Figure 4. Prerequisites page
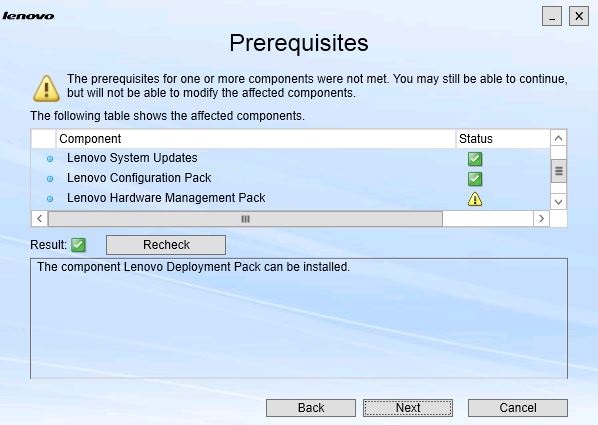
- When all prerequisites are met, click Next to continue with the installation. The Install Suite Components page opens.Figure 5. Select the components to install
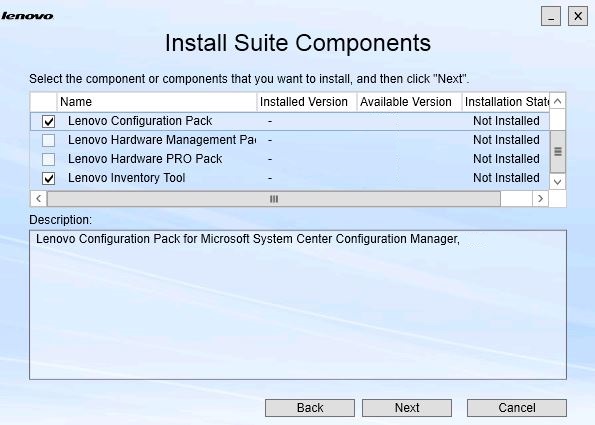
The Install Suite Components page shows details, including the installed version, available version, and installation state for the components. The installed version is the version that has been installed on the system. The available version is the version included in the Lenovo XClarity Integrator Installer.
The installation state depends on the installed version and available version. There are four installation states:- Not Installed. There is no installed version.
- Installed. The installed version is the same as the available version.
- Upgrade. The installed version is older than the available version.
- Cannot Install. The installed version is newer than the available version.
If a prerequisite for a component has not been met or if the installation state is Cannot Install, the related check box is disabled. This state means that there is no available action for this component. The reason is displayed in the description area.
- Select one or more available components and click Next. The Confirmation page opens.Figure 6. Confirmation of components
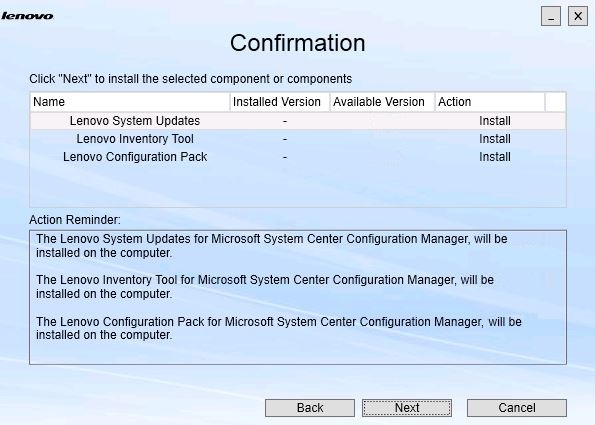
The Confirmation page summarizes information that you must confirm before starting to install, repair, upgrade, or uninstall a component. It shows the actions that will be implemented.
When a component is selected, the related information is displayed in the Action Reminder area.
- To start the action indicated, click Next. The installation wizard status is displayed.
The installation wizard starts the process, and each component is processed one by one by its respective installation application.
Figure 7. InstallShield Wizard status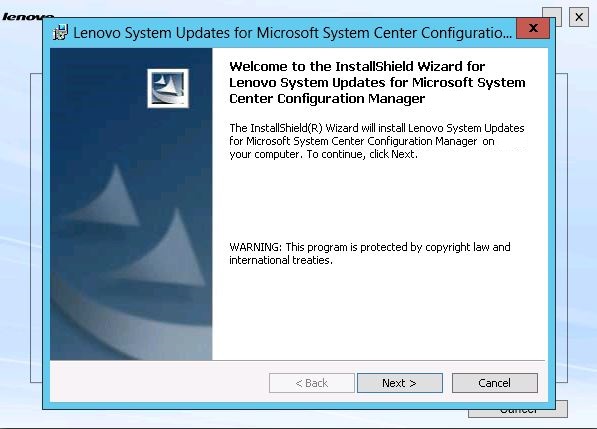
- To stop the installation that is in progress for all remaining components, click Cancel.The installation for the component running when you click Cancel will continue, while the installation of all remaining components is canceled. The following message is displayed.Figure 8. Message asking if you want to cancel the installation
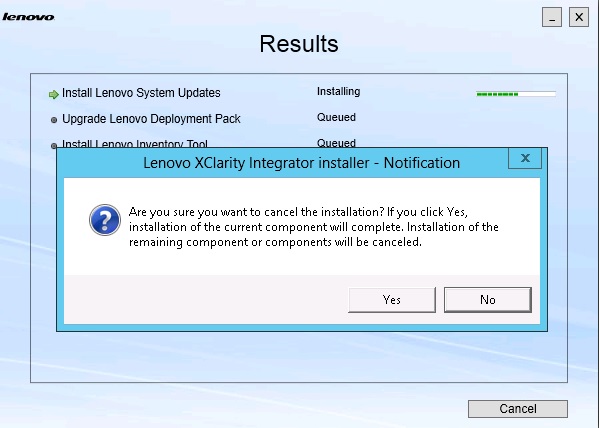
To cancel the installation, click Yes. To continue with the installation, click No.
When the installation process completes, the Results page opens.
Figure 9. Installation results page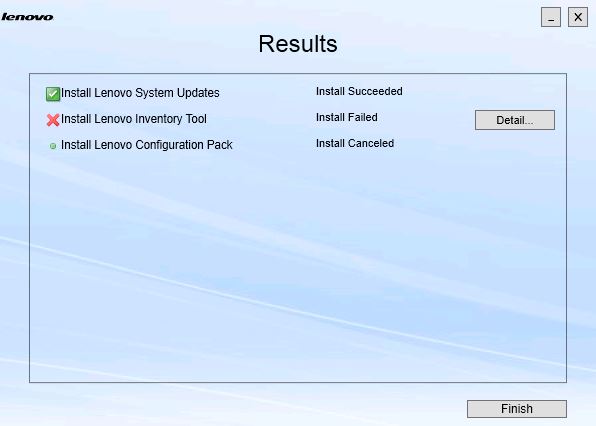
The Results page shows the results of the installation. If an action fails to install, it will be designated with an X icon. To open the log file for more information about the problem, click Detail.