Firmware Update
The firmware update process comes in two phases. During the firmware upload stage, users can choose the location where the firmware image is stored. SMM2 would check the image header information for validation.

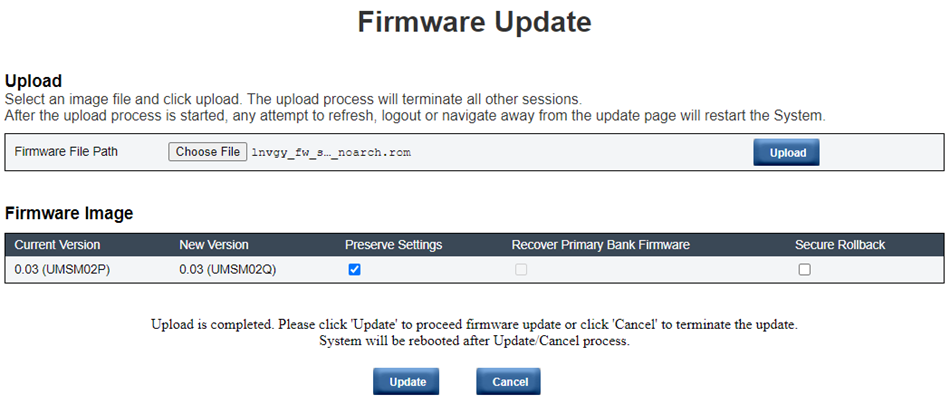
Upload
Select an image file and click upload. The upload process will terminate all other sessions. After the upload process has started, any attempt to refresh, log out or navigate away from the update page will restart the system.
Once a valid firmware image has been uploaded, one of the following two pages will appear depending on the type of image that has been uploaded:
SMM2 Firmware
SMTP
SNMP
PEF
Network Configuration
Time Setting (Time is always kept no matter Preserve Settings is checked or not.)
User Account
Account Security
Services
Web Certificate
NTP
A Recover Primary Flash Bank Firmware check box is present in the firmware update page, but non-functional when SMM2 is boot up from the primary flash bank. If SMM2 starts on the secondary flash bank, which indicates that the primary flash bank image might be corrupted and needs recovery, this check box is open for selection. Check it to perform the recovery measure and update image onto the primary flash bank, and uncheck to upgrade firmware onto the secondary flash bank.
The Secure Rollback option in the firmware image confirmation table determines if rolling back to a previous firmware level is allowed. It is set as disabled (unchecked) by default.
SMM2 will automatically restart if users cancel firmware update process after uploading the firmware image.
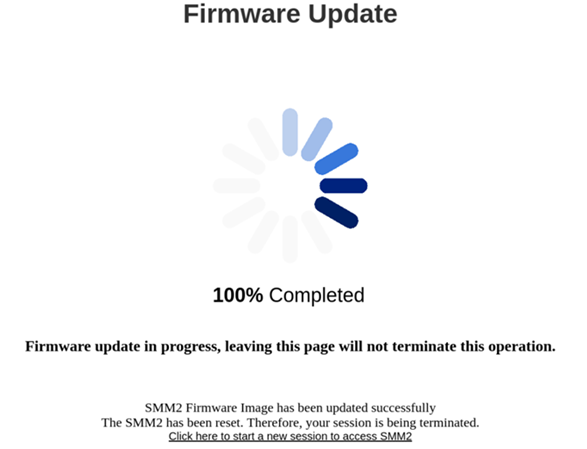
During Firmware Update
During the firmware update process, the system will direct users to a loading page where all of the SMM2 functions are temporarily locked.
Once the progress reaches 100%, SMM2 will automatically restart and users need to log in again to access the SMM2 web interface.
PSU Firmware
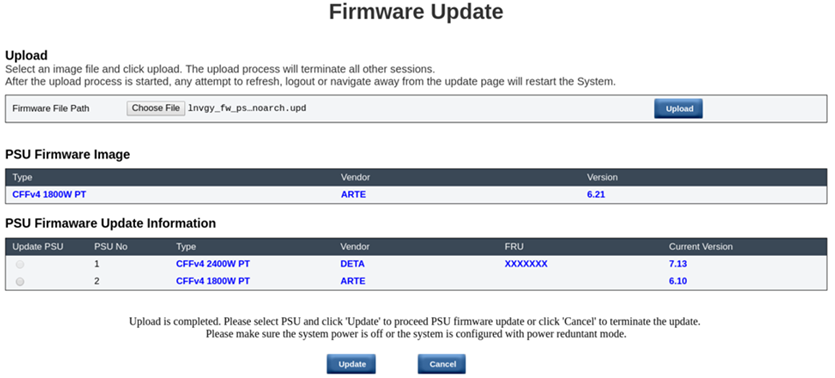
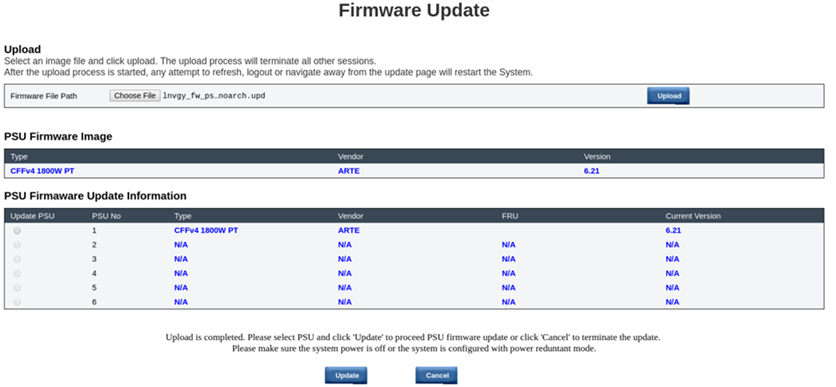
After PSU firmware image has been uploaded, the information of the firmware image will be displayed with a check box for each compatible power supply.
It is recommended that users perform the PSU firmware update with at least two power supplies installed in the enclosure.
The PSU firmware update requires all of the power supplies to be in DC-PG.
The PSU firmware update will disable the power redundancy mode.
If the operating system is running, there will be a pop-up warning dialog box for confirmation.
During Firmware Update
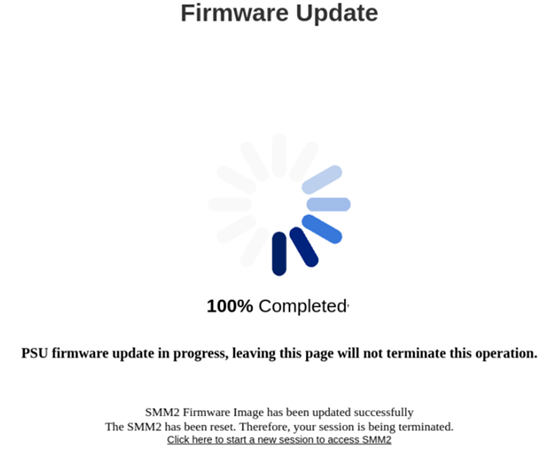
During the PSU firmware update process, the system will direct users to a loading page where all of the SMM2 functions are temporarily locked.
Once the progress reaches 100%, the power supplies will perform a DC power cycle to ensure that the enclosure can function properly without a power failure.