Remove an optical drive
Follow instructions in this section to remove an optical drive.
About this task
- S002
 CAUTIONThe power-control button on the device and the power switch on the power supply do not turn off the electrical current supplied to the device. The device also might have more than one power cord. To remove all electrical current from the device, ensure that all power cords are disconnected from the power source.
 - S006
 CAUTIONWhen laser products (such as CD-ROMs, DVD drives, fiber optic devices, or transmitters) are installed, note the following:
- Do not remove the covers. Removing the covers of the laser product could result in exposure to hazardous laser radiation. There are no serviceable parts inside the device.
- Use of controls or adjustments or performance of procedures other than those specified herein might result in hazardous radiation exposure.
Read the Installation guidelines to ensure that you work safely.
Turn off the server and peripheral devices, and disconnect the power cords and all external cables (see Power off the server).
If the server is in a rack, remove it from the rack.
Remove any locking device that secures the server cover, such as a Kensington lock or a pad lock.
Use the front door key to unlock the front door, and then open the front door.
Procedure
- Remove the optical drive.
 Gently pull the metal tab on the side of the chassis and push the optical drive outwards from the rear.
 Carefully pull the optical drive out of the chassis.
Figure 1. Removing an optical drive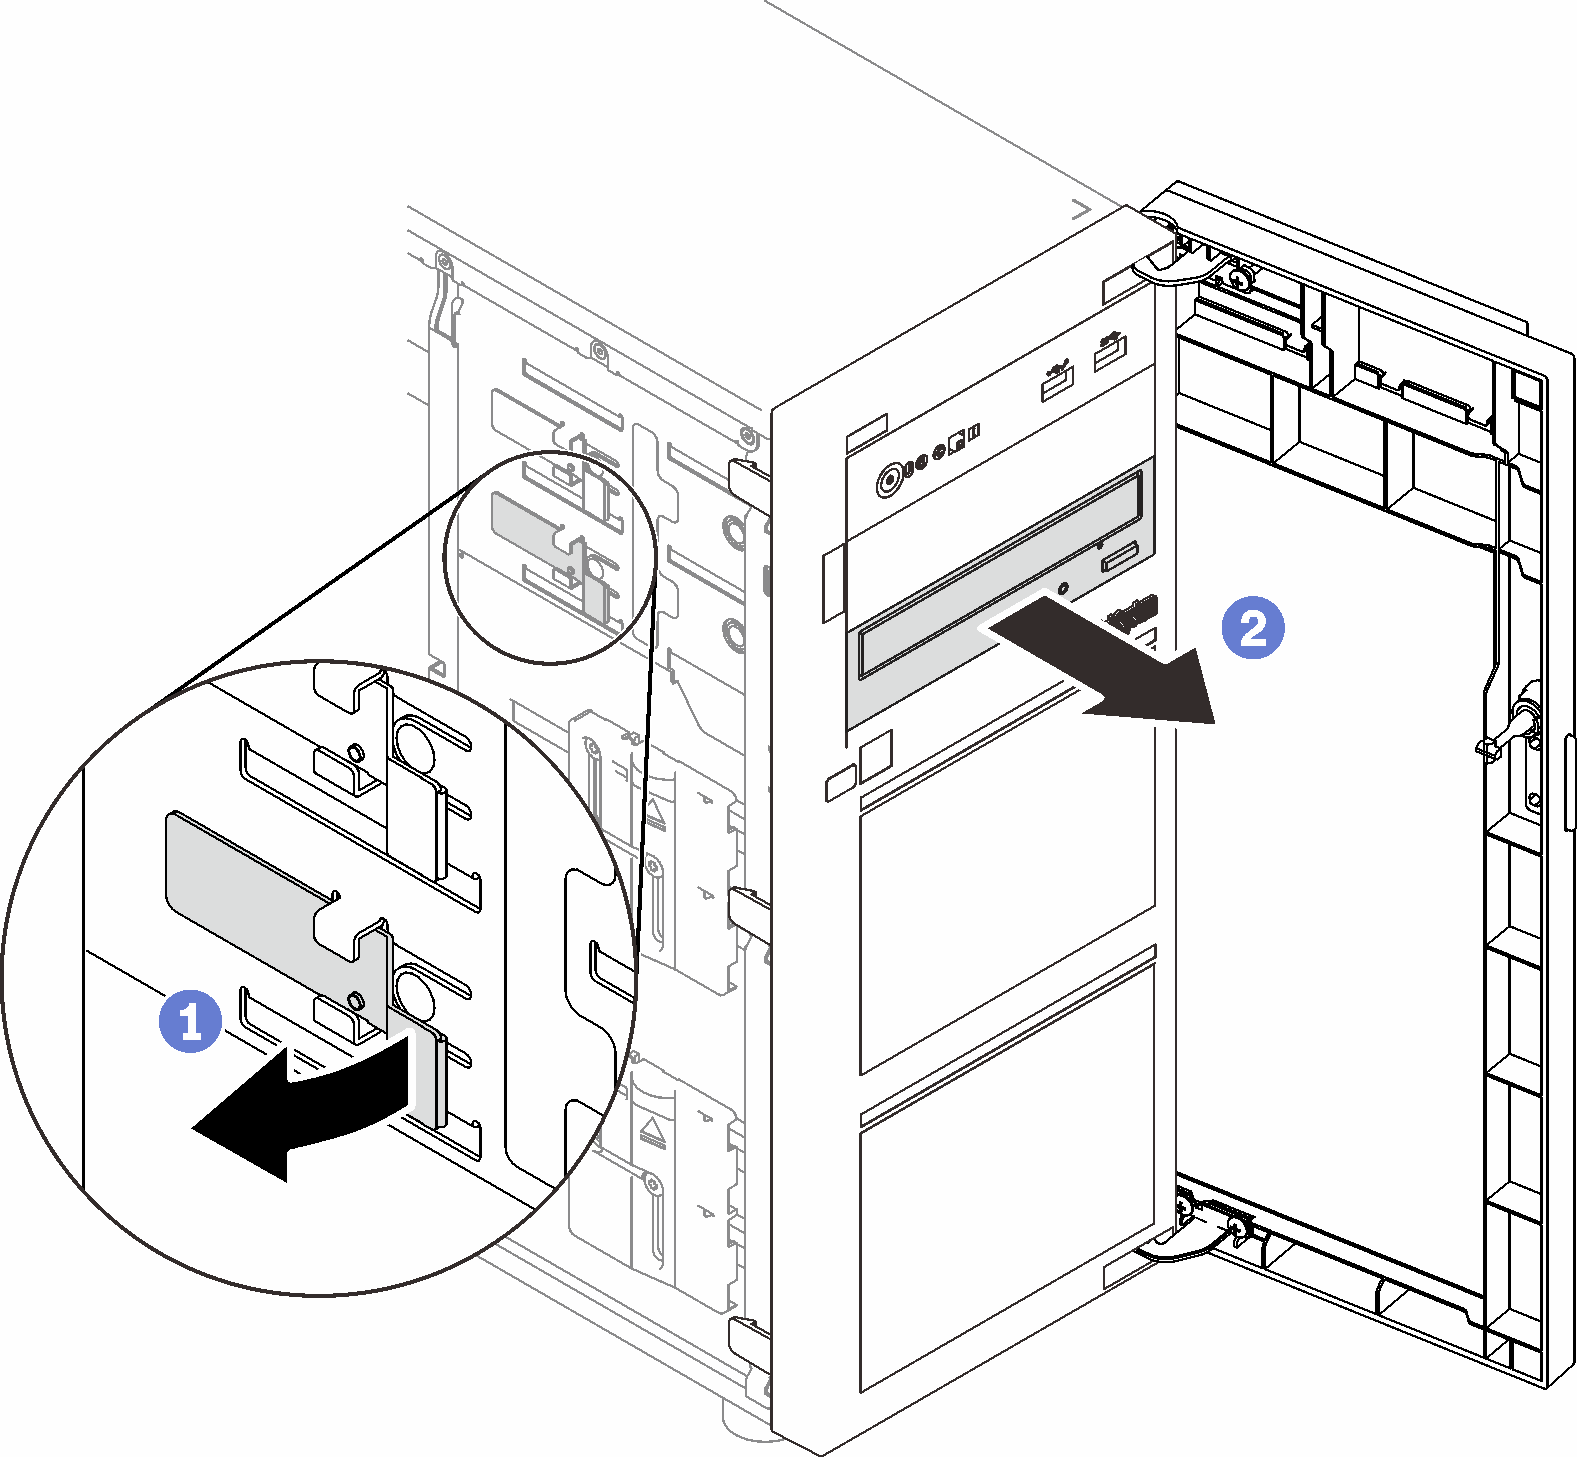
After this task is completed
Install one of the following:
- Another optical drive or a tape drive. See Install an optical drive or Install a tape drive.Note
A tape drive must be installed into the lower optical drive bay.
The EMI-protective shield to the chassis and the plastic bay filler to the front bezel.
If you are instructed to return the component or optional device, follow all packaging instructions, and use any packaging materials for shipping that are supplied to you.
Demo video