Install a hot-swap drive
Use this procedure to install a drive.


Before installing a hot-swap drive:
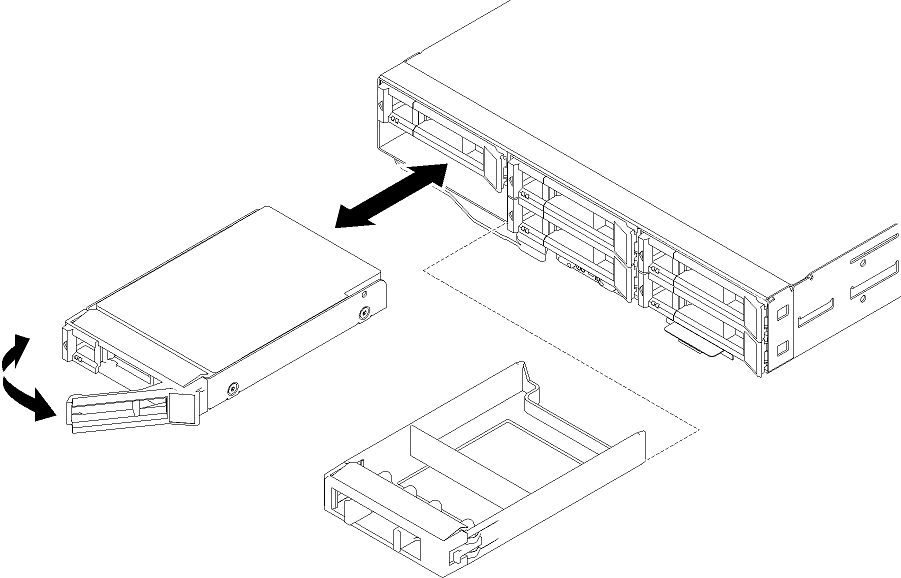
Remove the drive filler from the empty drive bay. Keep the filler panel in a safe place.
Touch the static-protective package that contains the drive to any unpainted metal surface on the solution. Then, remove the drive from the package and place it on a static-protective surface.
Procedure performed by: customer or field service
The following notes describe the drive that the node supports, and other information that you must consider when you install a drive.
Supported drive: ThinkSystem 2.5" Intel S4500 240GB Entry SATA 6GB Hot-swap SSD.
Locate the documentation that comes with the drive and follow those instructions in addition to the instructions in this chapter.
You can install up to two hot-swap SATA 2.5-inch drives for each node.
The electromagnetic interference (EMI) integrity and cooling of the solution are protected by having all bays and PCI and PCI Express slots covered or occupied. When you install a drive, PCI, or PCI Express adapter, save the EMC shield and filler panel from the bay or PCI or PCI Express adapter slot cover in the event that you later remove the device.
For a complete list of supported optional devices for the node, see theLenovo ServerProven website.
Complete the following steps to install a drive:
If you have only one drive, you must install it in the bay 0 (upper-left).
- Rotate the tray handle to the closed (locked) position until you hear a click.Figure 1. Drive installation
The installation of a hot-swap drive is now complete.
After you install all drives:
If the node is configured for RAID 1 operation, you may need to re-configure your disk arrays after you install drives. Software RAID is used in the solution.
If you are instructed to return the component or optional device, follow all packaging instructions, and use any packaging materials for shipping that are supplied to you.