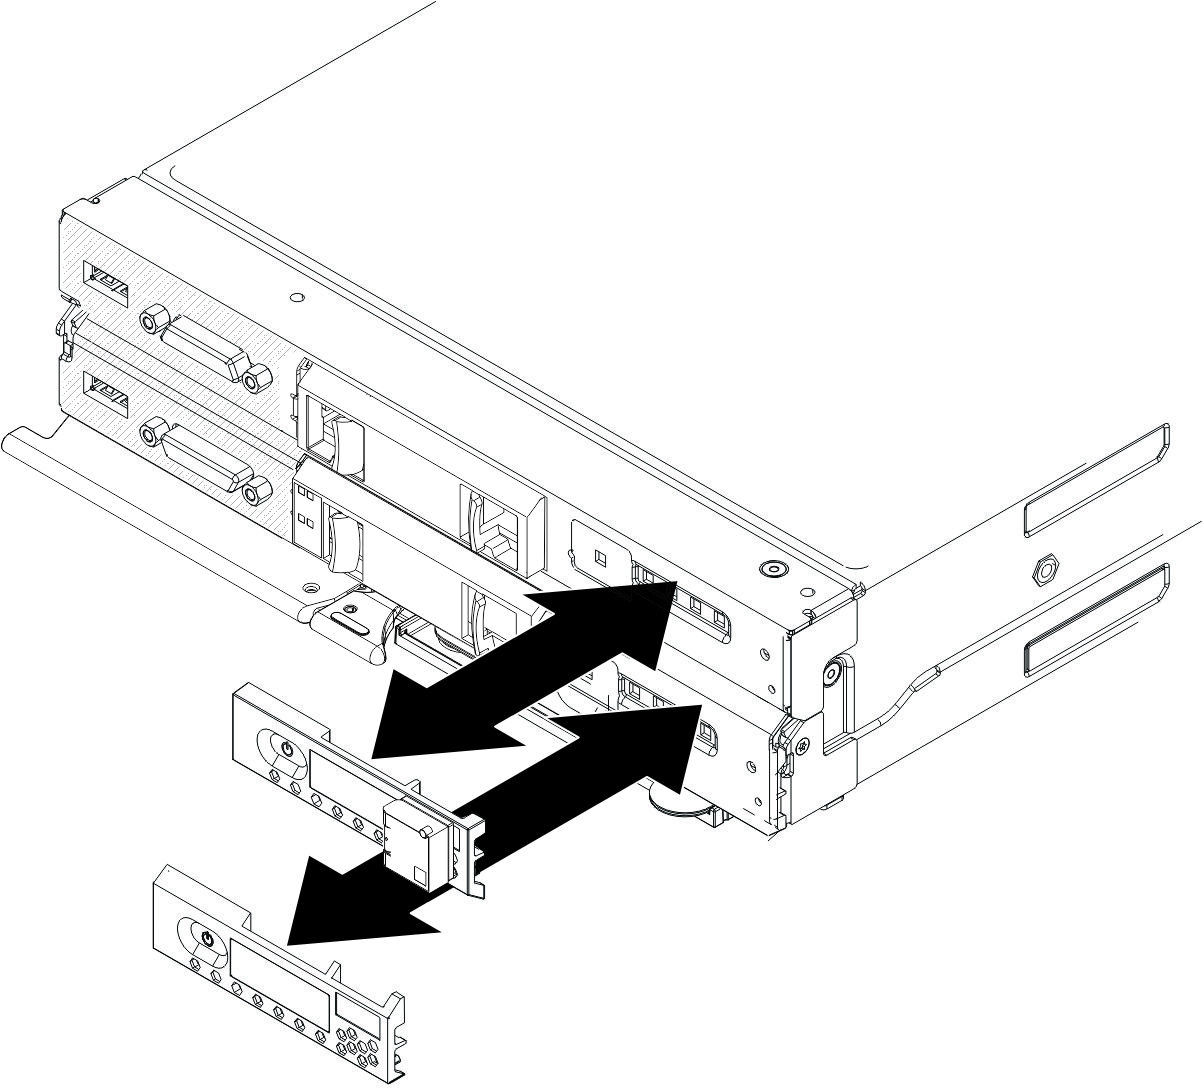
Installing a bezel
Use this information to install a bezel. There is a bezel on both the upper and lower compute nodes.
Before you install a bezel, complete the following steps:
- Read Safety and Installation guidelines.
- If the Flex System x222 Compute Node is installed in a chassis, remove it (see Removing a compute node from a chassis for instructions).
- Carefully lay the compute node on a flat, static-protective surface, orienting the compute node with the bezel pointing toward the left.
The upper and lower compute nodes come with separate bezels. Bezels for the upper and lower compute nodes are not interchangeable.
If an upper compute node that you are replacing came with an RFID tag attached to the bezel, you must obtain and install a replacement RFID tag.
To install a bezel, complete the following steps.

If the upper compute node bezel that you are replacing came with an RFID tag attached to it, install a replacement RFID tag (see Installing an RFID tag).
Give documentation feedback