Changing components
Use the Change option to add, remove, and update a component.
Procedure
- On the Maintenance page, click Change. The Prerequisites page opens.Figure 1. Prerequisites
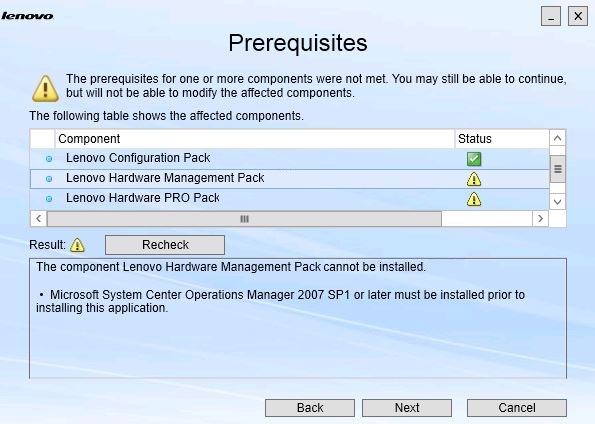
- Ensure that you have met the prerequisites for the components, and click Next. The Add/Remove Suite Components page opens.Figure 2. Add and remove suite components
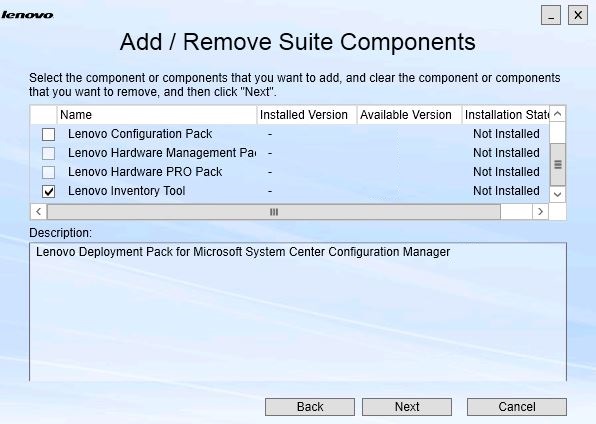
If a component has been installed, its respective check box is selected and the location destination is disabled. You cannot change it.
If an older version of the component exists, you can install the upgraded version after prerequisites are met by selecting the check box for that component.
If the check box for a component is disabled, you cannot install it. There are two reasons why a component might be inaccessible:- A newer version of the component exists on the target computer.
- Prerequisites for the component have not been met.
- On the Add/Remove Suite Components page, either uninstall, install, or upgrade a component.
Uninstall a component. Clear the check box for the component, and click Next. A message is displayed asking you to confirm the uninstallation process. Click Yes to uninstall the component.
Install a component. Select the check box for the component, and click Next.
Upgrade to a newer version of the component. Select the check box for the updated component, and click Next. The Confirmation page shows the information for the new version.
The Confirmation page opens after you perform any of the actions listed above.
Figure 3. Confirmation page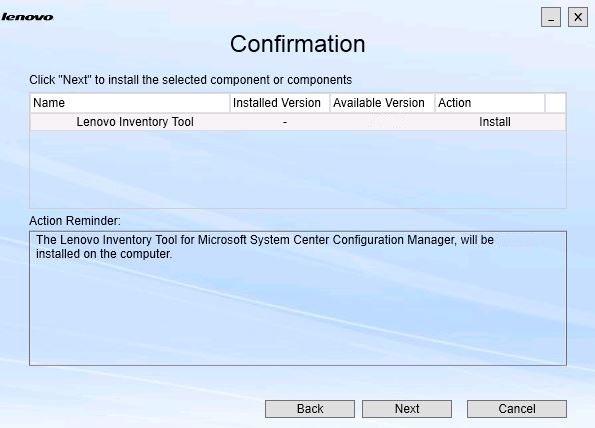
- To start the action indicated, click Next.The installation wizard status window opens.Figure 4. InstallShield Wizard status
The installation wizard starts, and the components are installed one at a time through their respective installation applications.
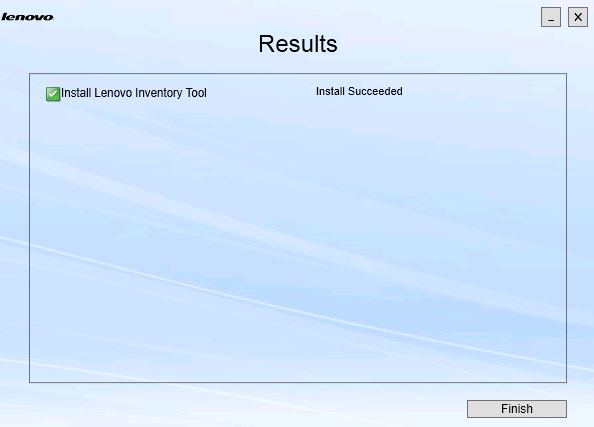
When the installation process completes, the Results page opens and indicates whether the installation was successful or not.
Figure 5. Installation results