Remove an E3.S front drive cage assembly
Use this information to remove an E3.S front drive cage assembly.
About this task
Screwdriver for PH 1 screws
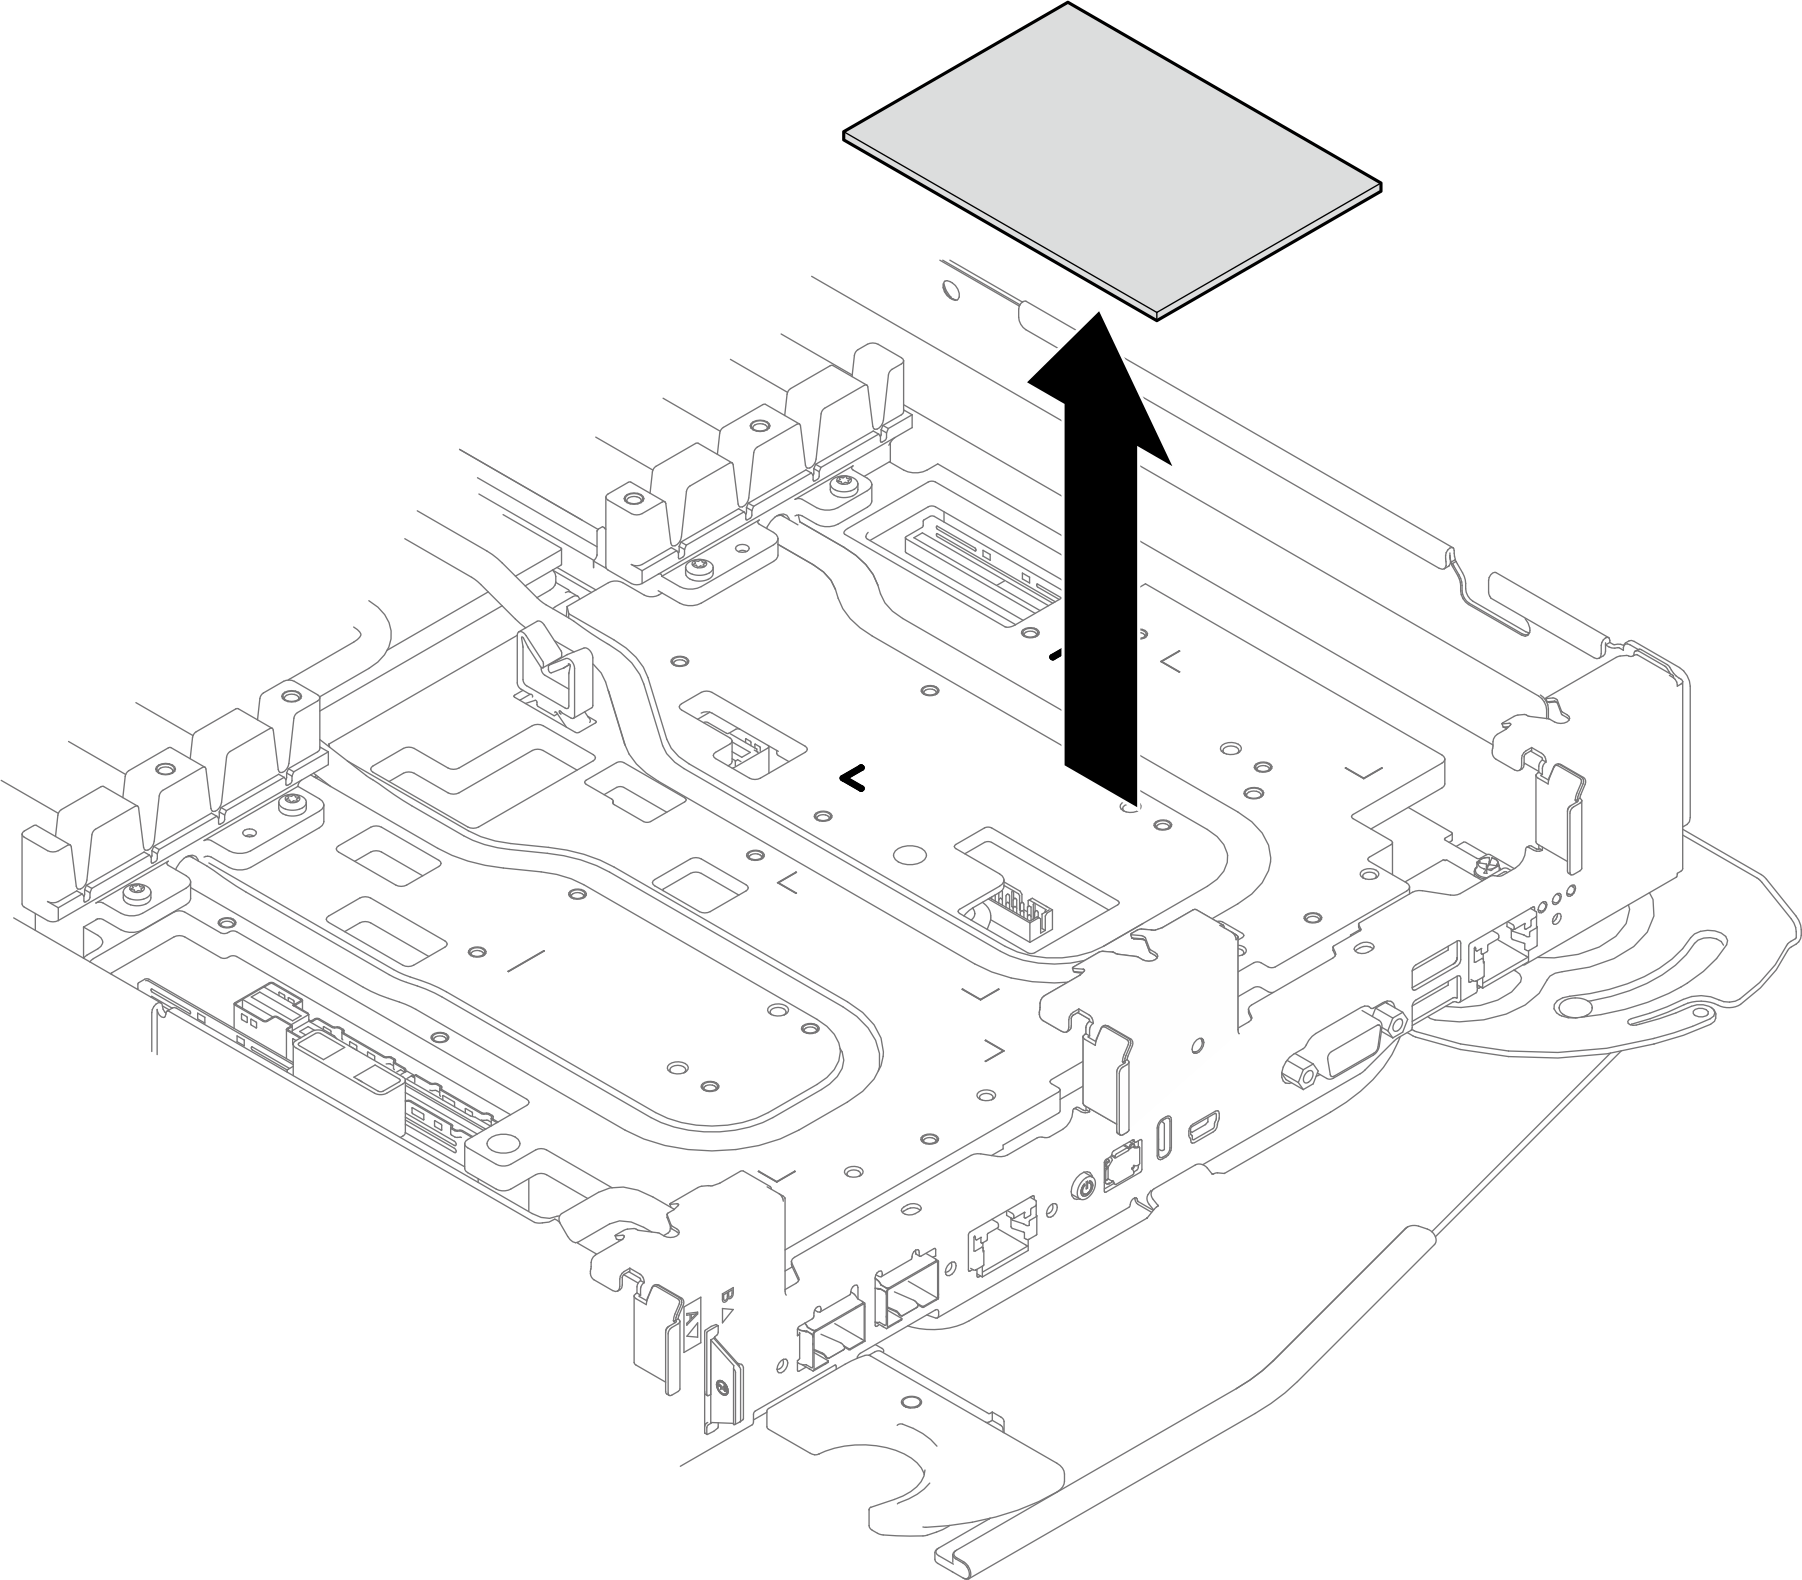
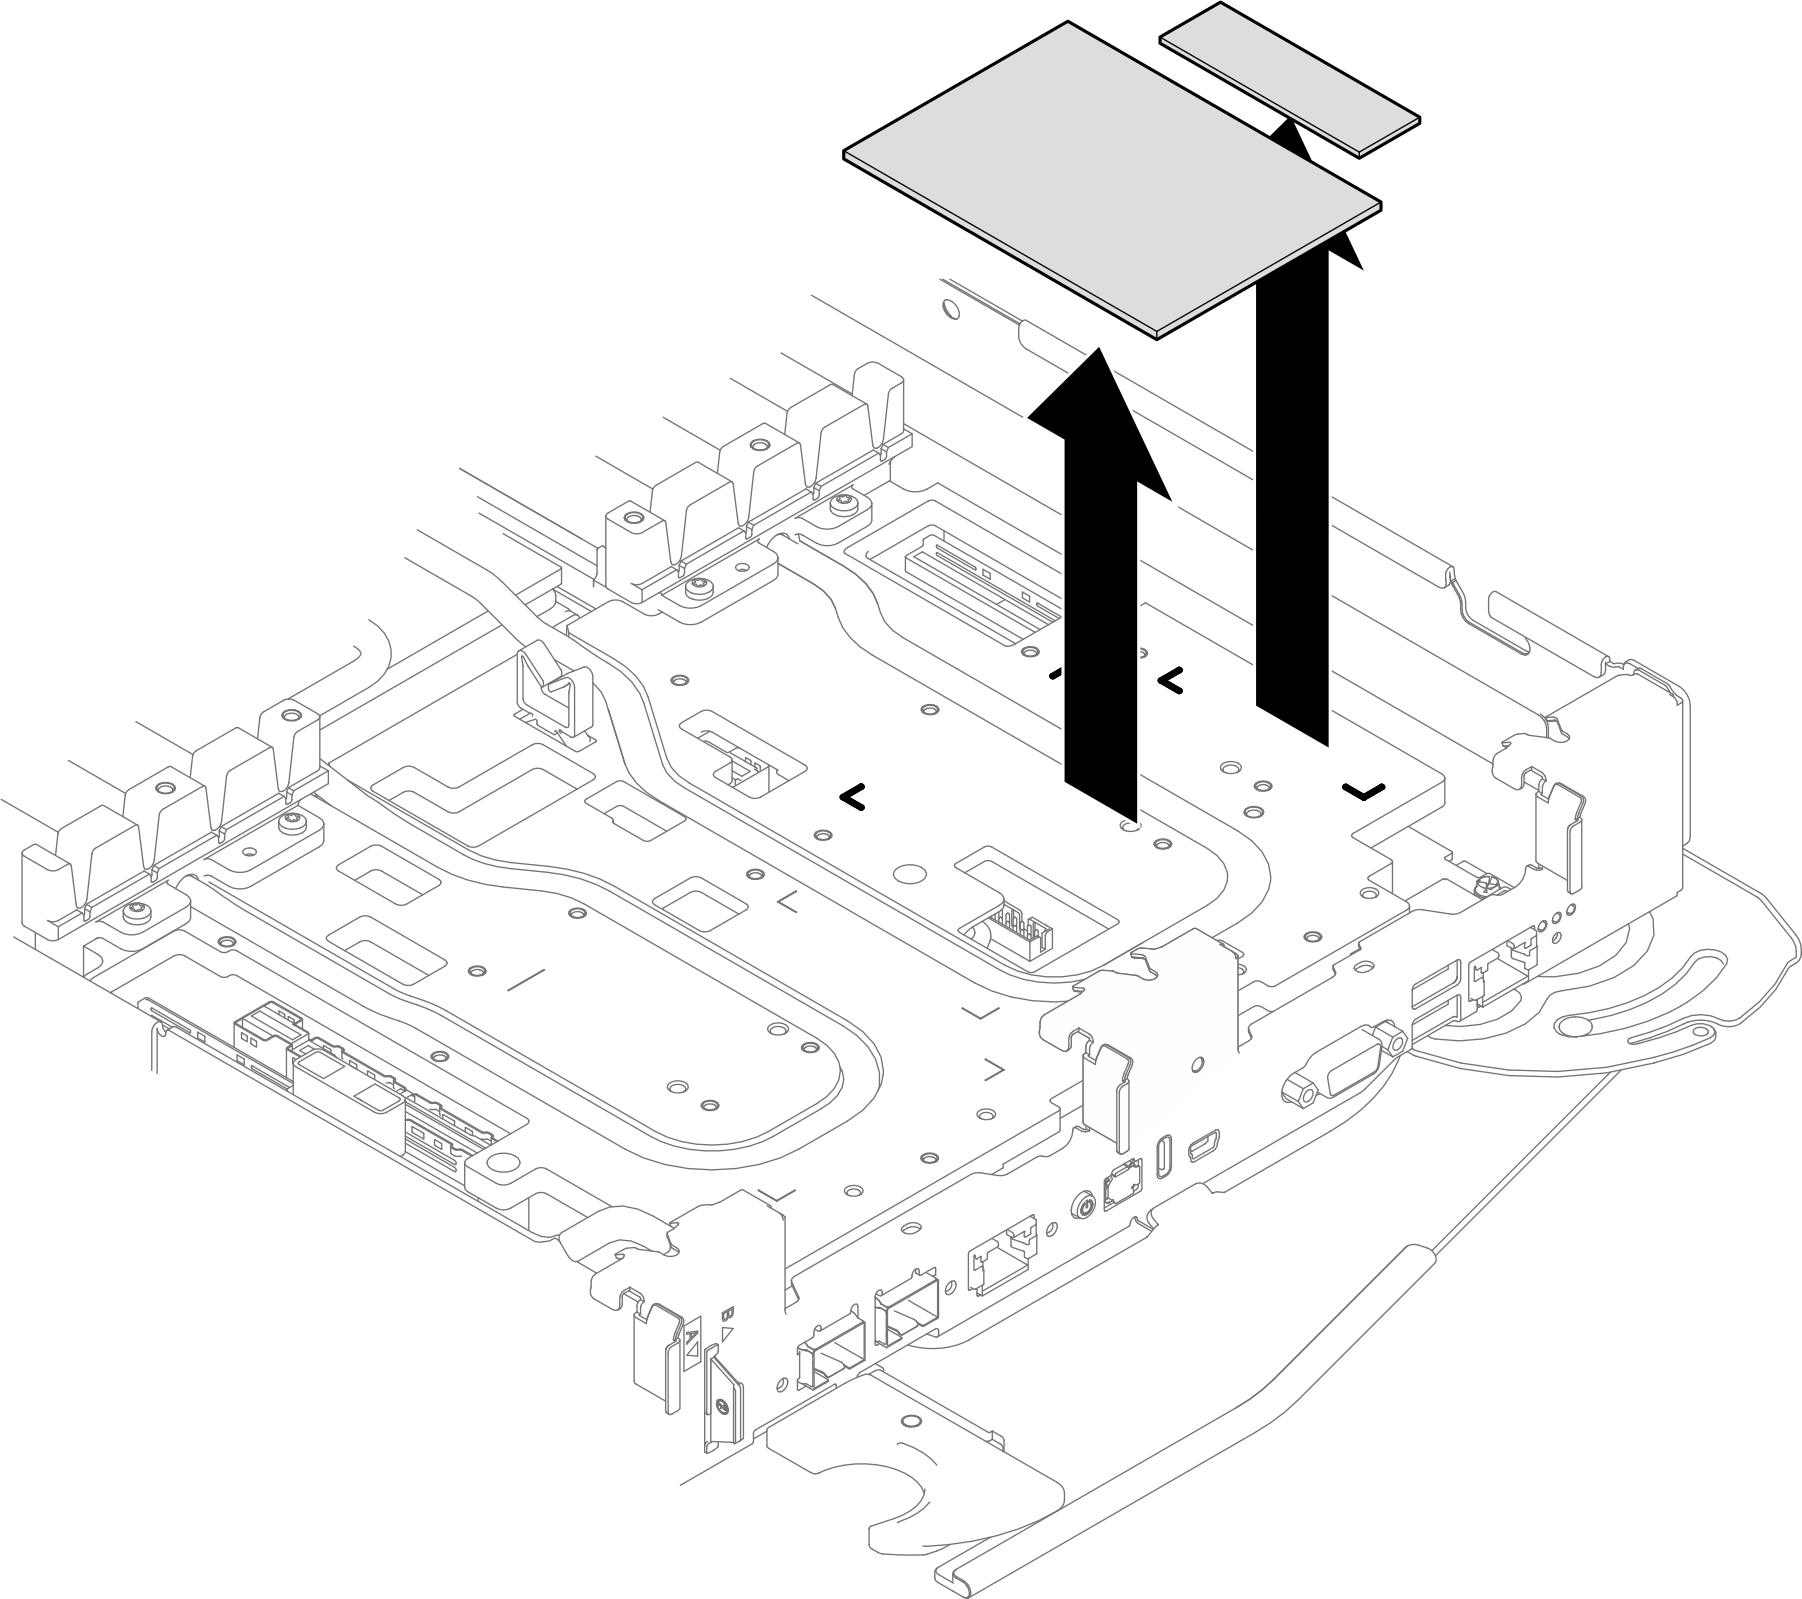
Storage Gap Pad Kit (SC750 V4)
Storage Gap Pad Kit (SC750 V4)
Read Installation Guidelines and Safety inspection checklist to ensure that you work safely.
Turn off the corresponding DWC tray that you are going to perform the task on.
Disconnect all external cables from the enclosure.
Use extra force to disconnect QSFP cables if they are connected to the solution.
The following illustration might differ slightly from your hardware, but the installation method is the same.
- A video of this procedure is available at YouTube.
Procedure
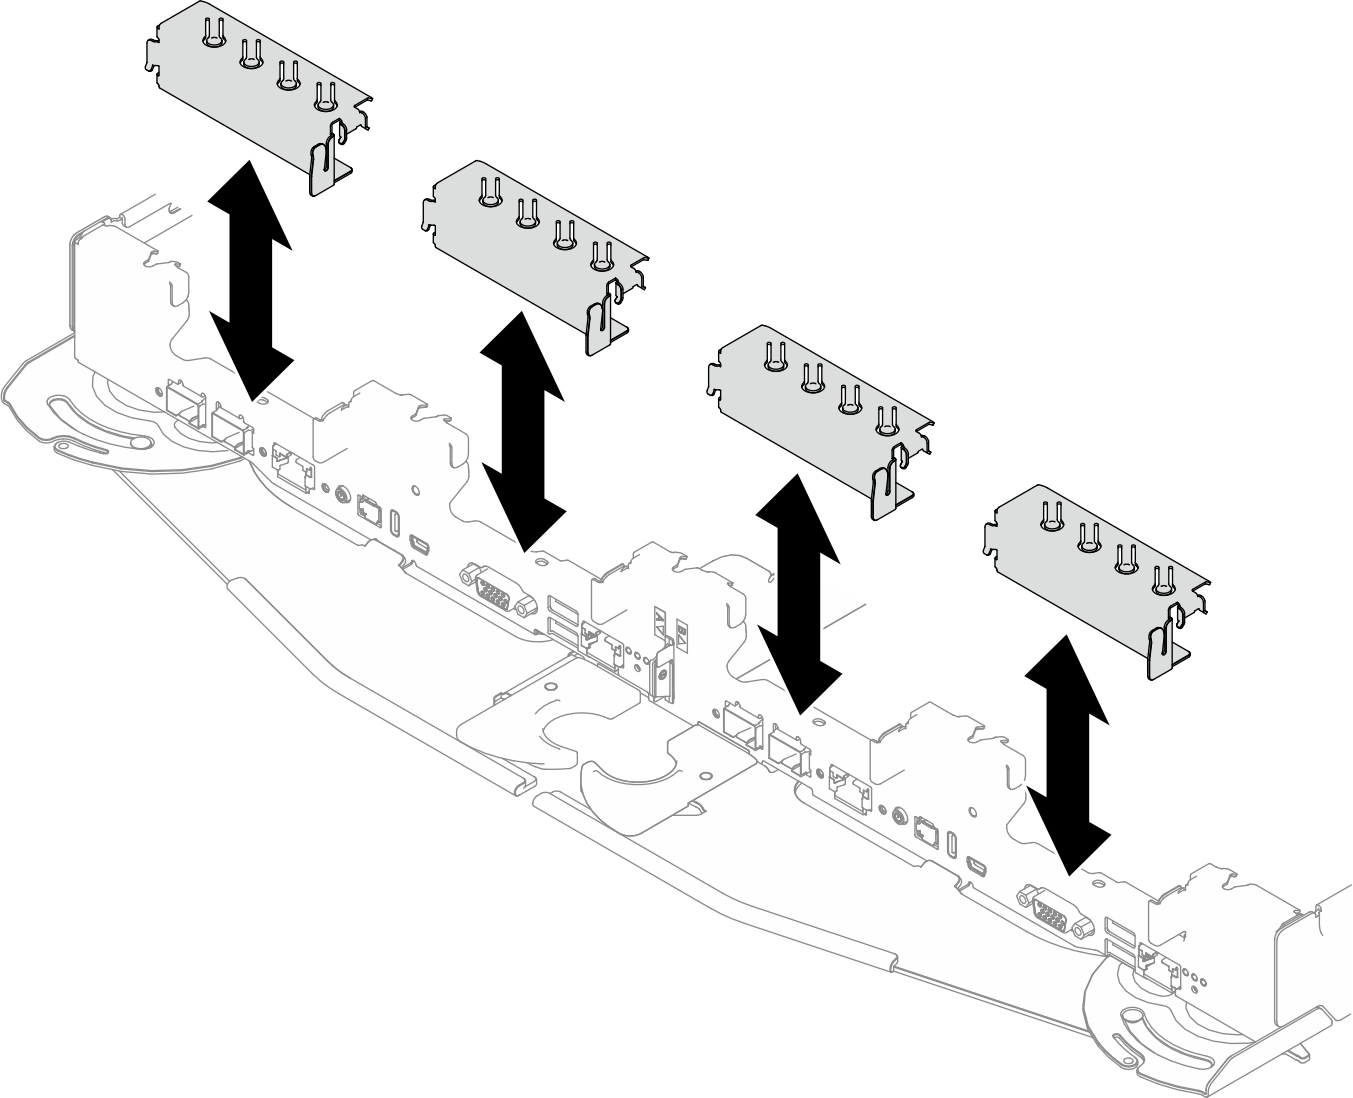
- Remove the blank filler from the slot installed with the drive cage.Figure 1. Removing blank bezel filler
- Remove the E3.S front drive cage assembly.
 Loosen three captive screws.
 Remove the E3.S front drive cage assembly.
Figure 2. Removing E3.S front drive cage assembly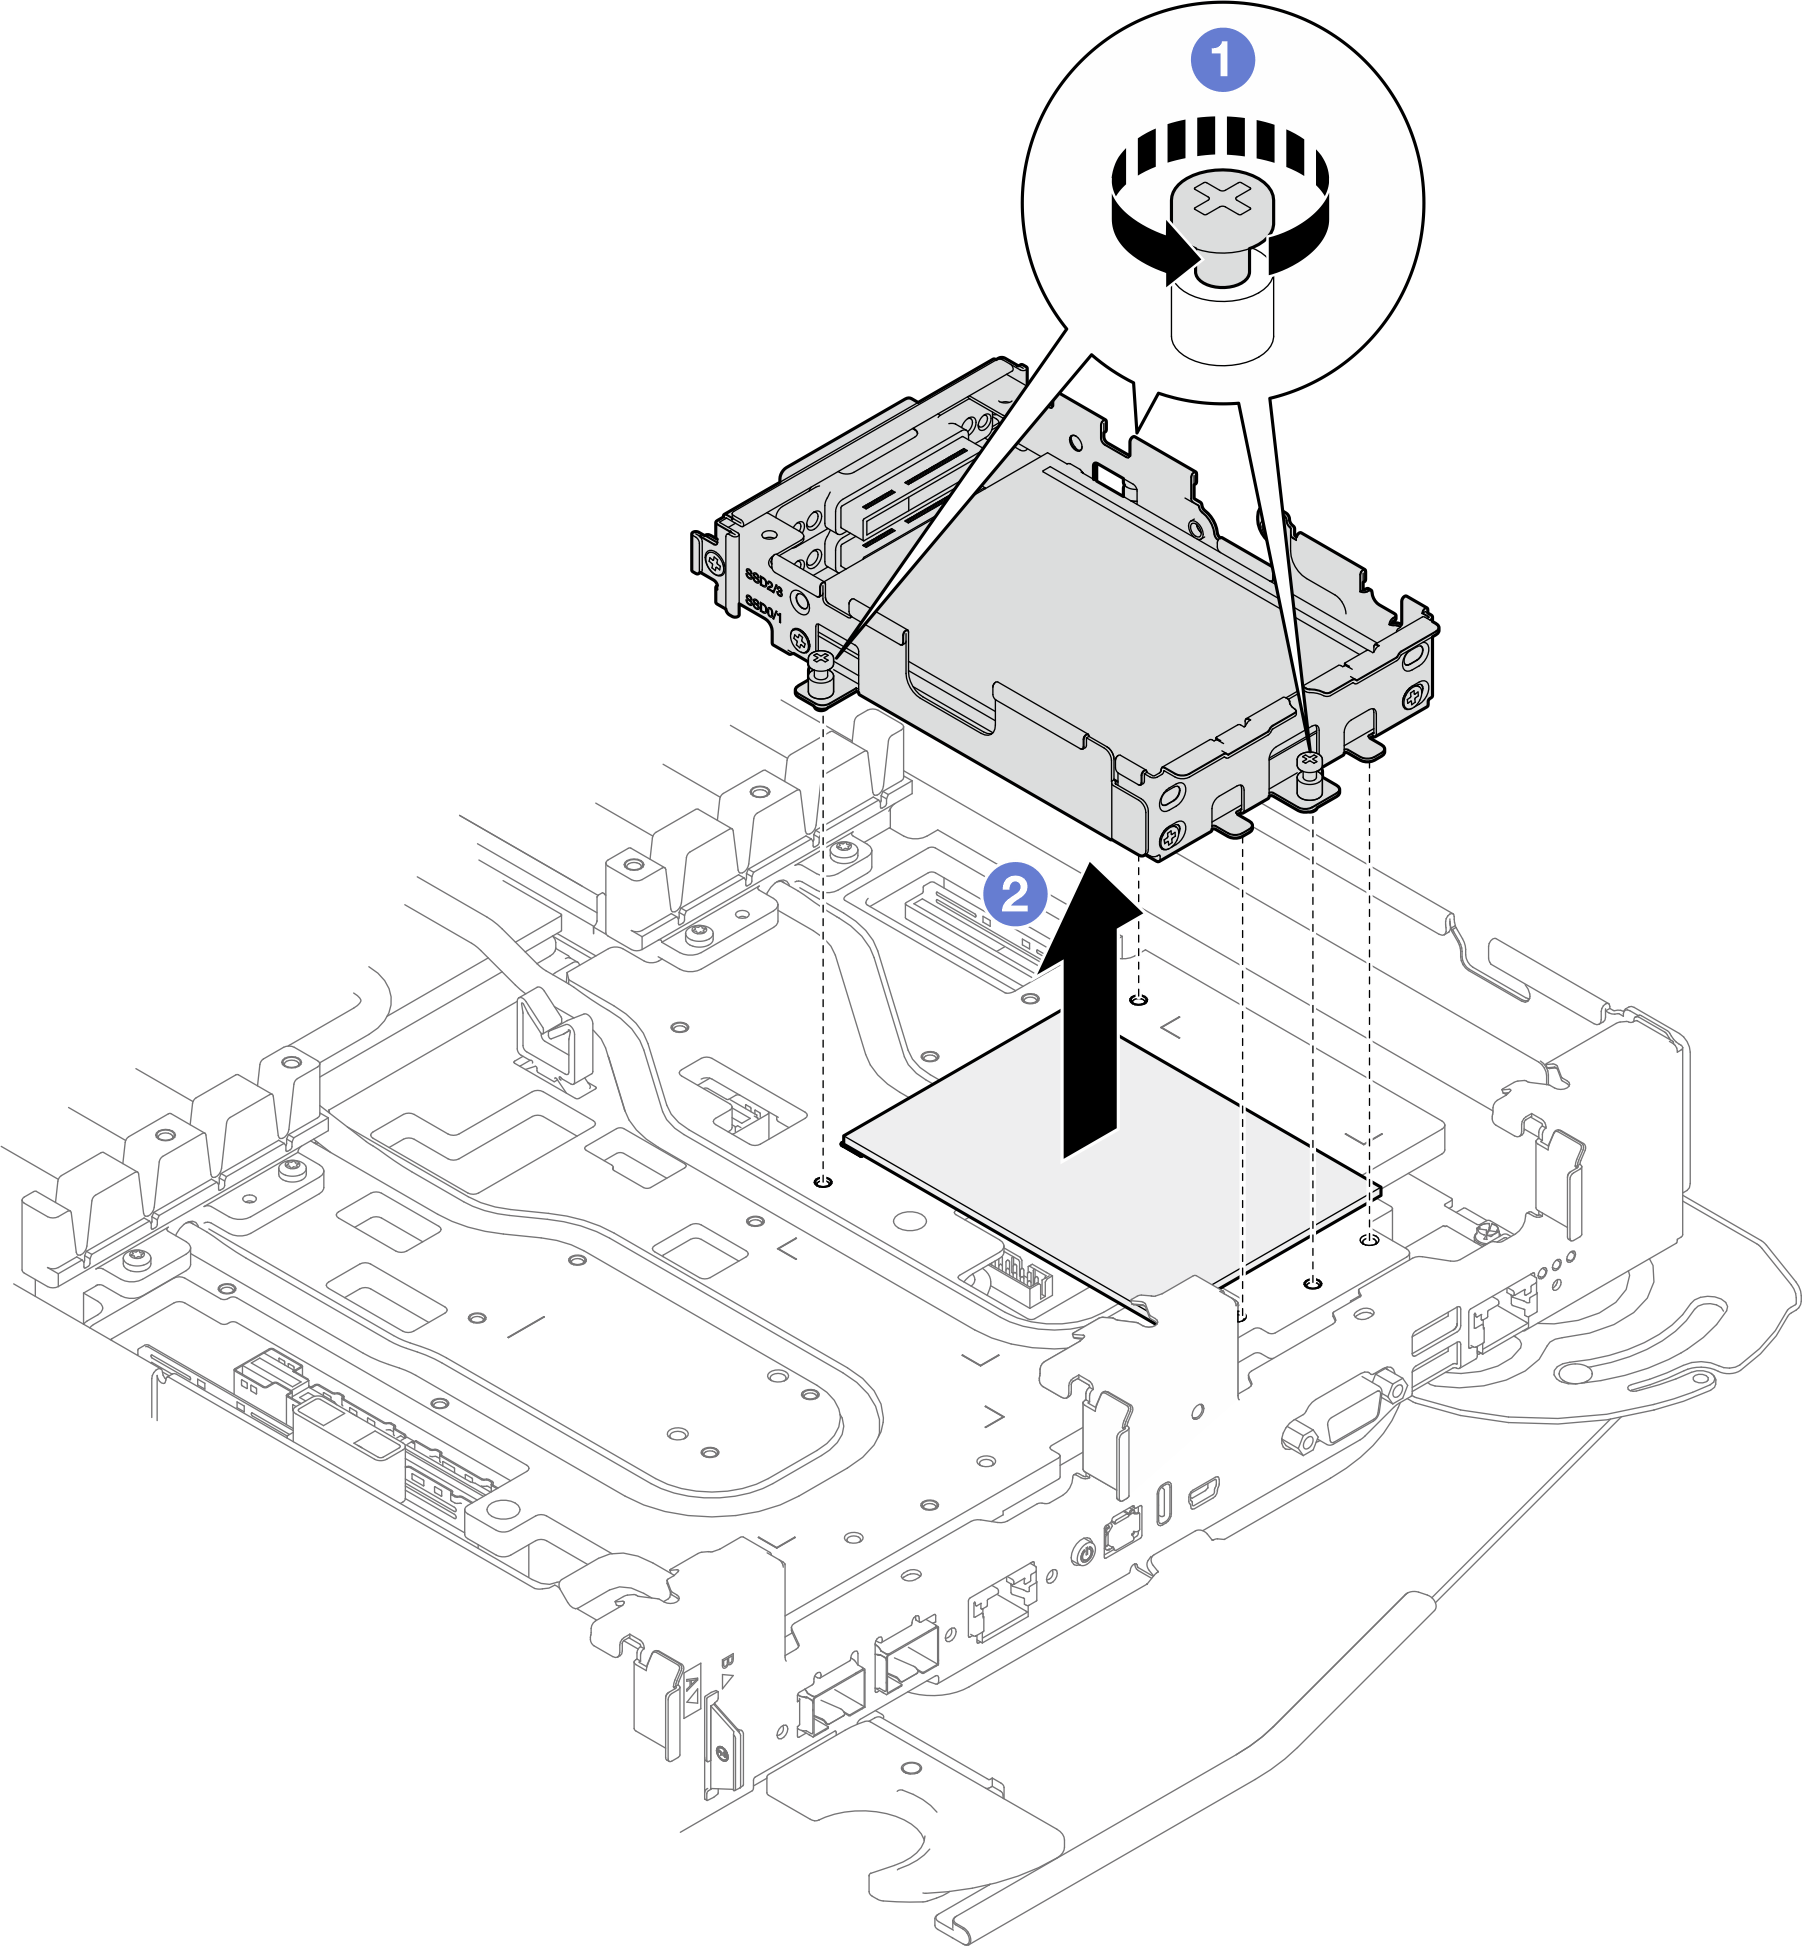 NoteTo help removing the drive cage, insert a flat head screwdriver into the gaps between the drive cage and the water loop; then, rotate the screwdriver to release the drive cage from the water loop.Figure 3. Releasing E3.S front drive cage from water loop
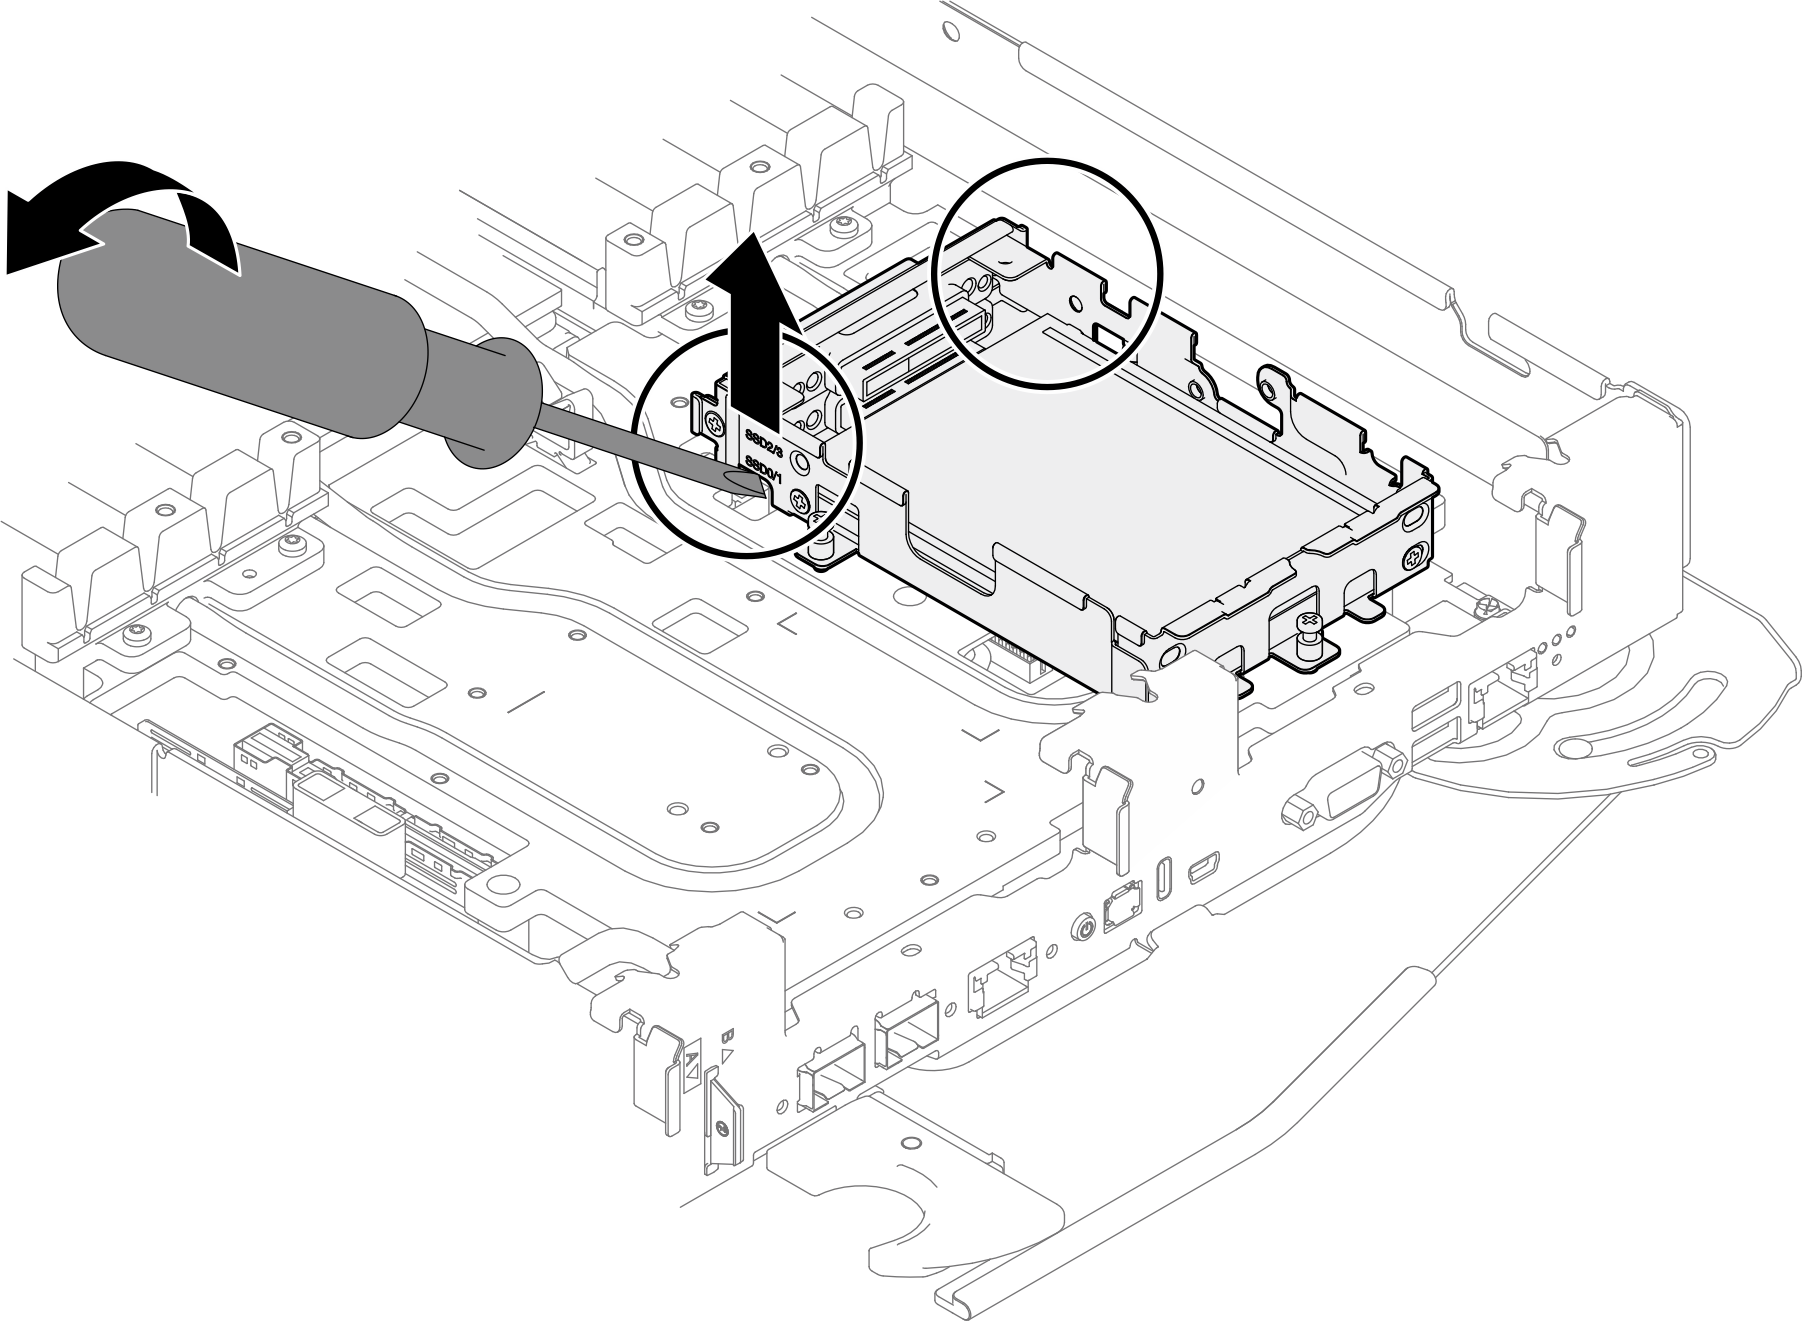
If you are instructed to return the component or optional device, follow all packaging instructions, and use any packaging materials for shipping that are supplied to you.