Install the system board assembly
See this topic to learn how to install the system board assembly. This procedure must be executed by a trained technician.
About this task
Attention
- Removing and installing this component requires trained technicians that are certified by Lenovo Service. Do no attempt to remove or install it without proper training and qualification.
- Touch the static-protective package that contains the component to any unpainted metal surface on the server; then, remove it from the package and place it on a static-protective surface.
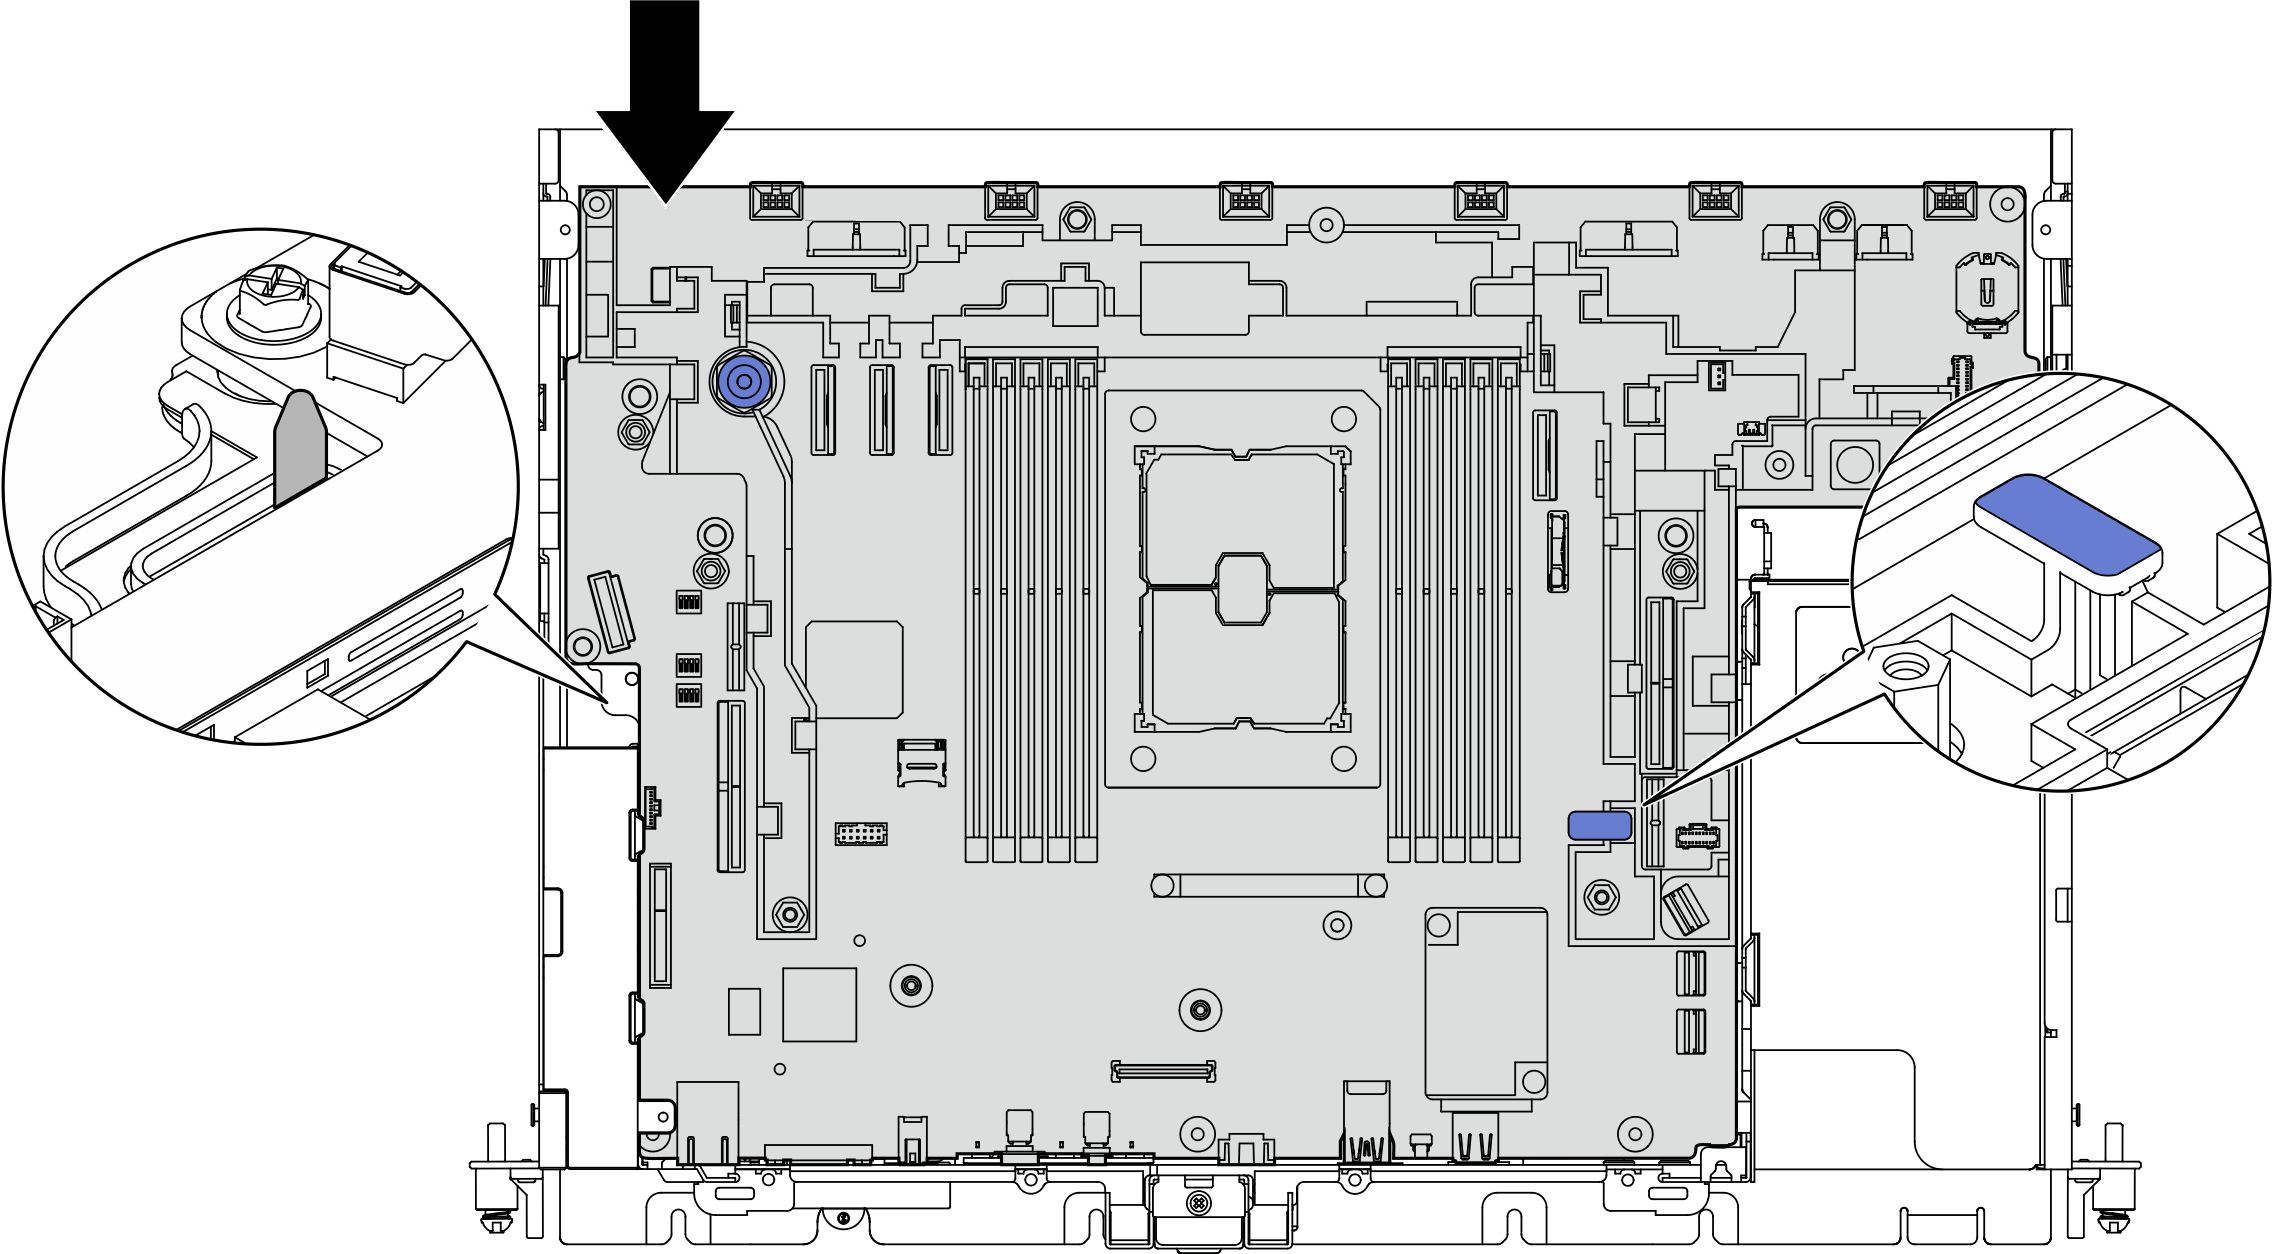
If an insulating pull tab is under the CMOS battery on the replacement system board, remove it.
Figure 1. Insulating pull tab removal
Procedure
- Align the guide pin in the chassis with the slot on the left side of the system board, and lower the right end into the chassis.Figure 2. Installing the system board

- Hold the handle and the rear edge of the system board (where the arrow points), and slide the system board slightly backward to secure it to the chassis.AttentionTo prevent from damaging components on the system board, make sure to hold the edge where the arrow points when sliding the system board in place.Figure 3. Securing the system board
After this task is completed
- Re-install all the removed parts, including top covers and security bezel (if applicable).
- Reconnect power cords and all external cables.
- Reconfigure the serve and reset the system date and time.
- Update the machine type and serial number with Lenovo XClarity Provisioning Manager (see Update the machine type and serial number).
- If SED encryption has been enabled on this server, recover the SED AK (see Backup the Self Encryption Drive Authentication Key (SED AK)).
- For ThinkEdge Security Pack Enabled, re-activate the system (see Activate the system).
- Optionally, enable Secure Boot (see Enable UEFI Secure Boot).
Give documentation feedback