Install a PCIe adapter (Riser)
Use this information to install a PCIe adapter to the riser.
About this task
Attention
- Read the following section(s) to ensure that you work safely.
Touch the static-protective package that contains the component to any unpainted metal surface on the server; then, remove it from the package and place it on a static-protective surface.
Note
GPU adapters are only supported on servers with redundant power supply.
Watch the procedure
- A video of this procedure is available at YouTube.
Procedure
- Install the PCIe adapter.Note
Ensure that you observe the installation rules and sequence in Technical rules for PCIe slots.
Figure 1. PCIe adapter installation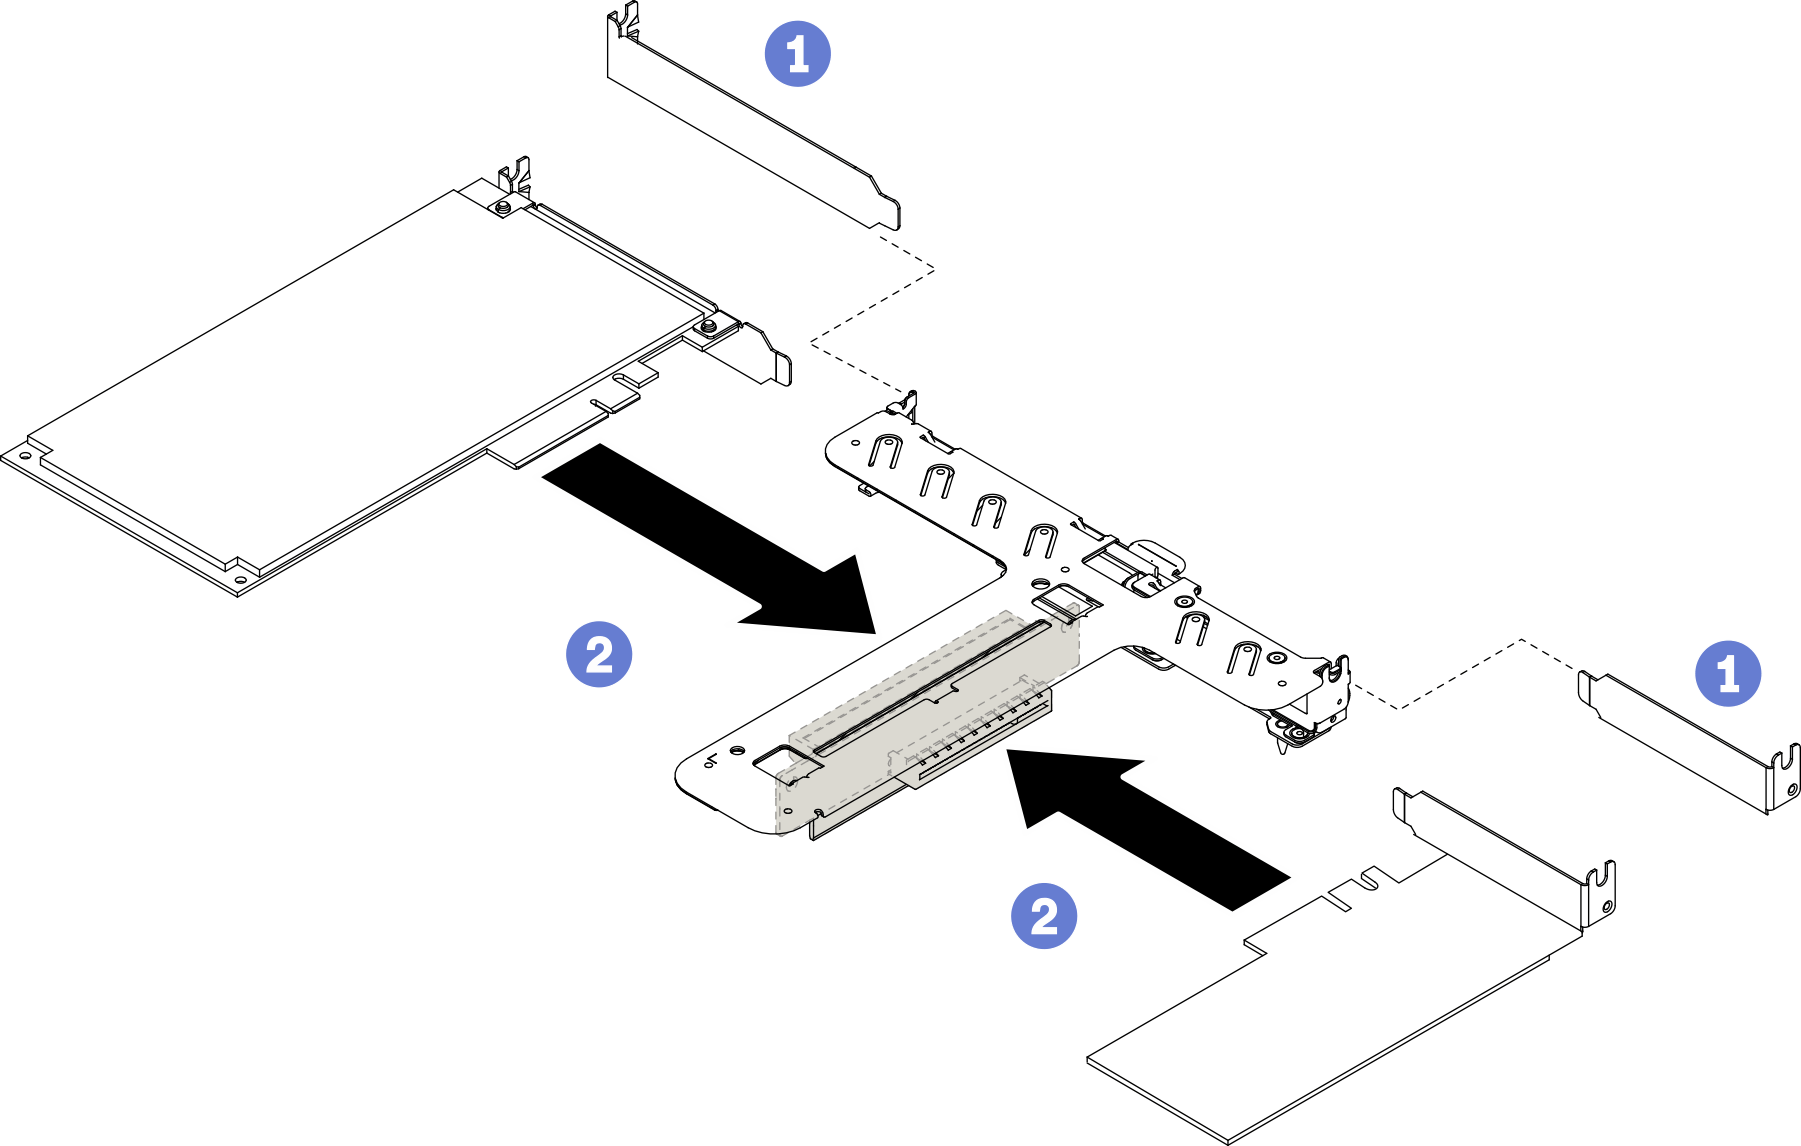 Note
NoteFor the detail connectors on the PCIe riser card, see PCIe riser assembly.
Install one adapter at a time, do not insert two adapters to the riser card at the same time.
 If fillers are installed on the rear side of the riser cage, remove them.
 Align and insert the PCIe adapter assembly into the slot on the PCIe riser. Make sure you install the PCIe adapter into the correct slot.
Give documentation feedback