Remove the heat sink
Use this information to remove the heat sink. This procedure must be executed by a trained technician.
About this task

Read Installation Guidelines and Safety inspection checklist to ensure that you work safely.
Power off the server and peripheral devices and disconnect the power cords and all external cables. See Power off the server.
If the server is installed in a rack, remove the server from the rack.
Touch the static-protective package that contains the component to any unpainted metal surface on the server; then, remove it from the package and place it on a static-protective surface.
Procedure
- Loosen screw 3 and 4:
- Partially loosen screw 3.
- Fully loosen screw 4.
- Fully loosen screw 3.
Figure 1. Heat sink removal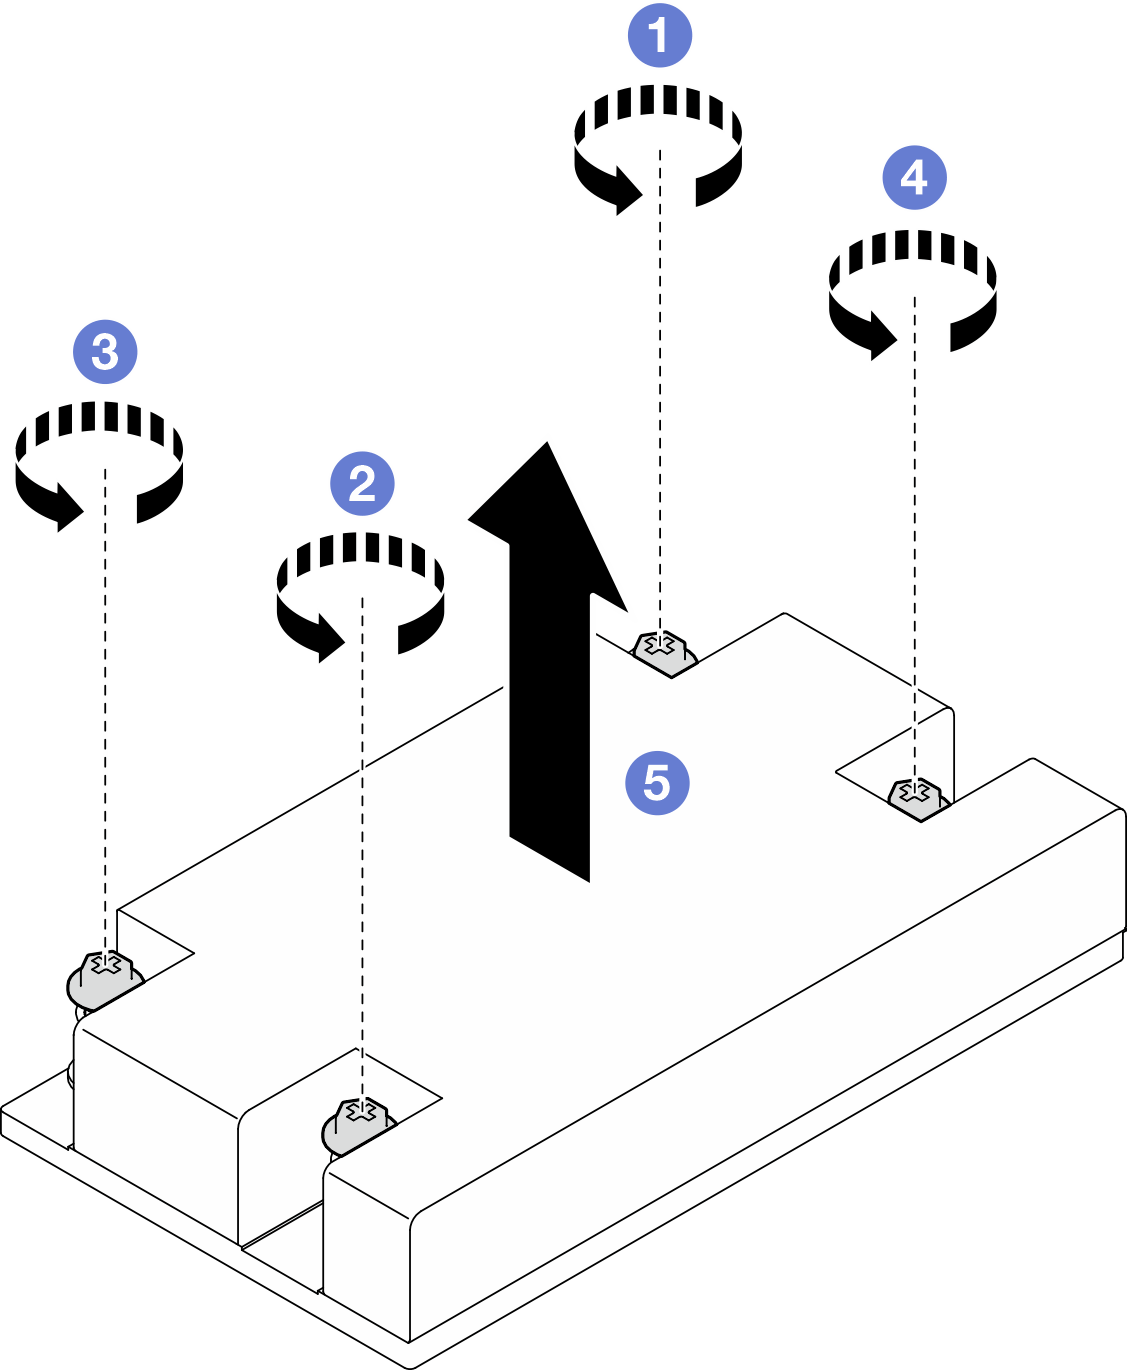
After you finish
Install a replacement unit. See Install the heat sink.
If you are instructed to return the component or optional device, follow all packaging instructions, and use any packaging materials for shipping that are supplied to you.
Demo video