Install the enclosure
Use this information to install the enclosure.


Before installing the enclosure, touch the static-protective package that contains the new enclosure to any unpainted surface on the outside of the storage. Then, take the new enclosure out of the package and place it in a safe, static-protective place.
Procedure performed by: customer or field service
To install the enclosure, complete the following steps:
To install the ThinkAgile CP storage enclosure on the slide rails, do the following:
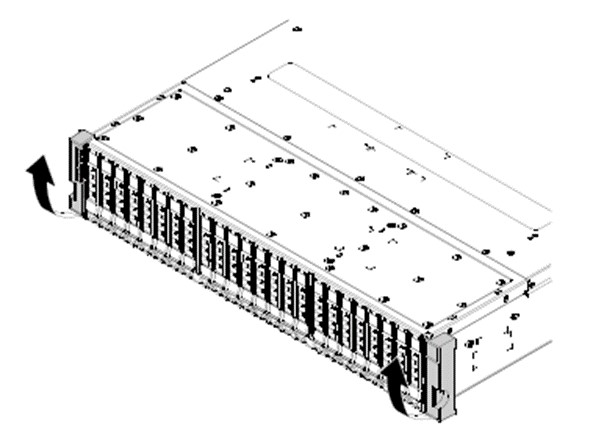
- Remove both of the side covers on the enclosure by grasping and pulling out the bottom of each side cover, and then pulling it straight up.Figure 1. Removal of side cover
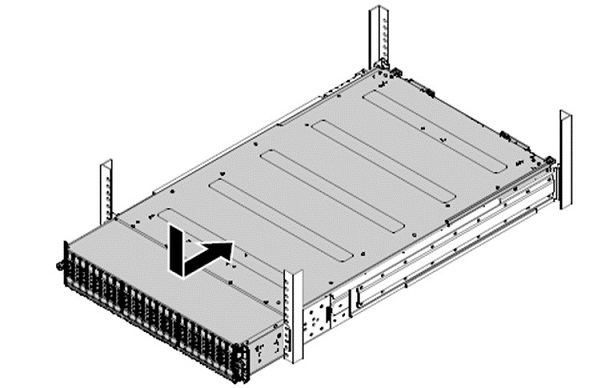
- Carefully slide the enclosure into the rack along the rails until the enclosure is fully inserted.Figure 2. Installing the enclosure into the rack
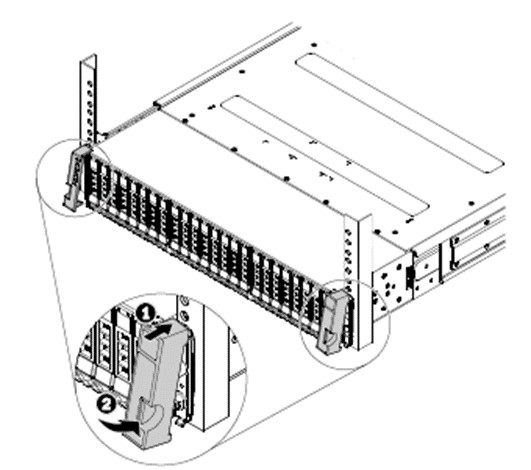
- Secure the enclosure with the thumbscrews and the M5 screws on the front.Figure 3. Installing screws on front of enclosure

- On each side of the storage enclosure, fit the hook on the top of the side cover and push the bottom of it inward to reinstall the side cover to the storage enclosure.Figure 4. Reinstalling the side cover
The installation of the storage enclosure is now complete.
After installing the enclosure:
Connect the cables and start the storage.
Configure the storage.
Give feedback