Install an adapter
Use this information to install an adapter.
Read the Installation Guidelines to ensure that you work safely.
If the ThinkSystem Mellanox ConnectX-6 HDR/200GbE QSFP56 1-port PCIe VPI Adapter (Shared IO) is installed, make sure that you install the adapters correctly as the following illustration.
There are two cables come with the Auxiliary adapter, make sure that you connect these two cables to the Shared IO adapter as the following illustration.
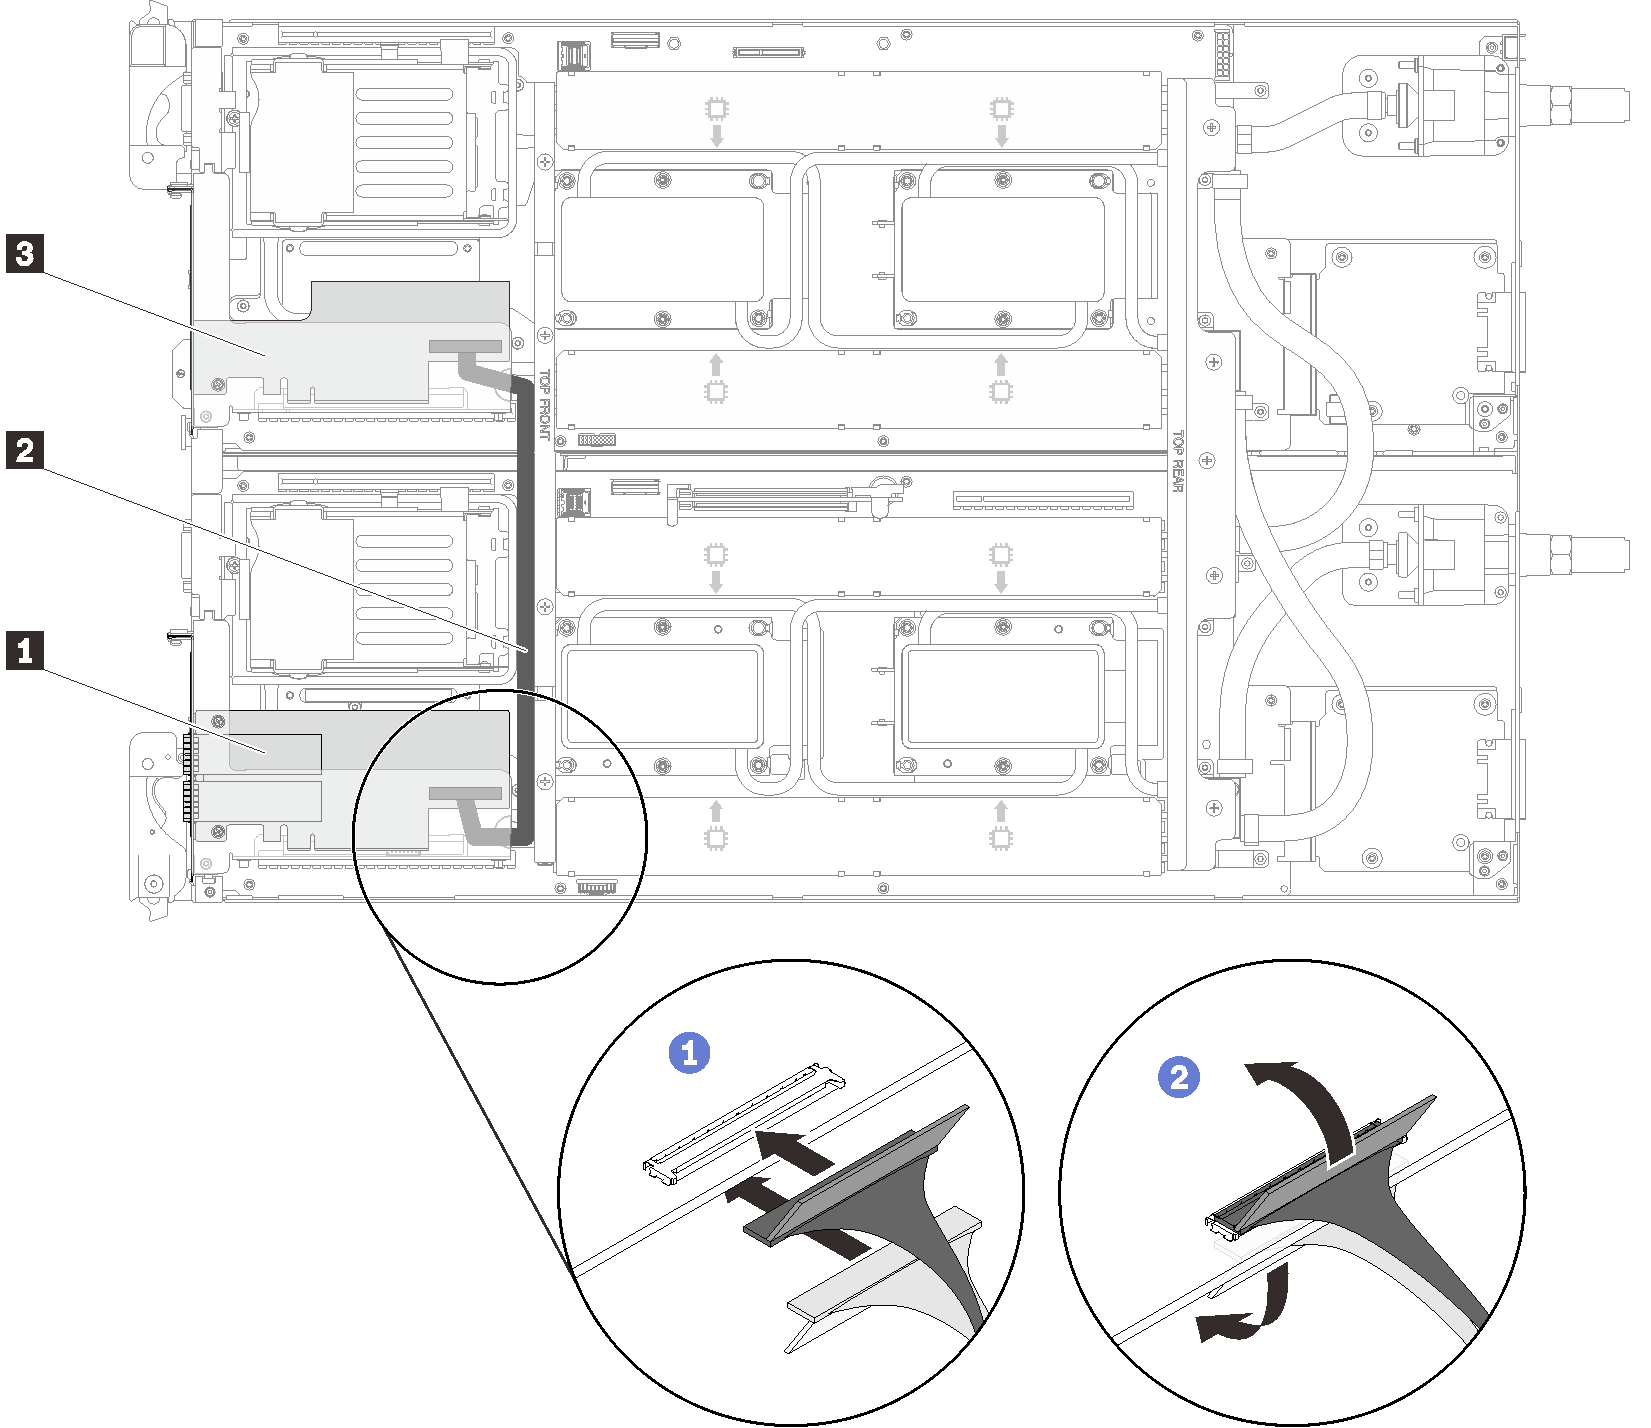
| 1 Shared IO adapter | 3 Auxiliary adapter |
| 2 Slim-Line 8I SAS cable |
Complete the following steps to remove an adapter.
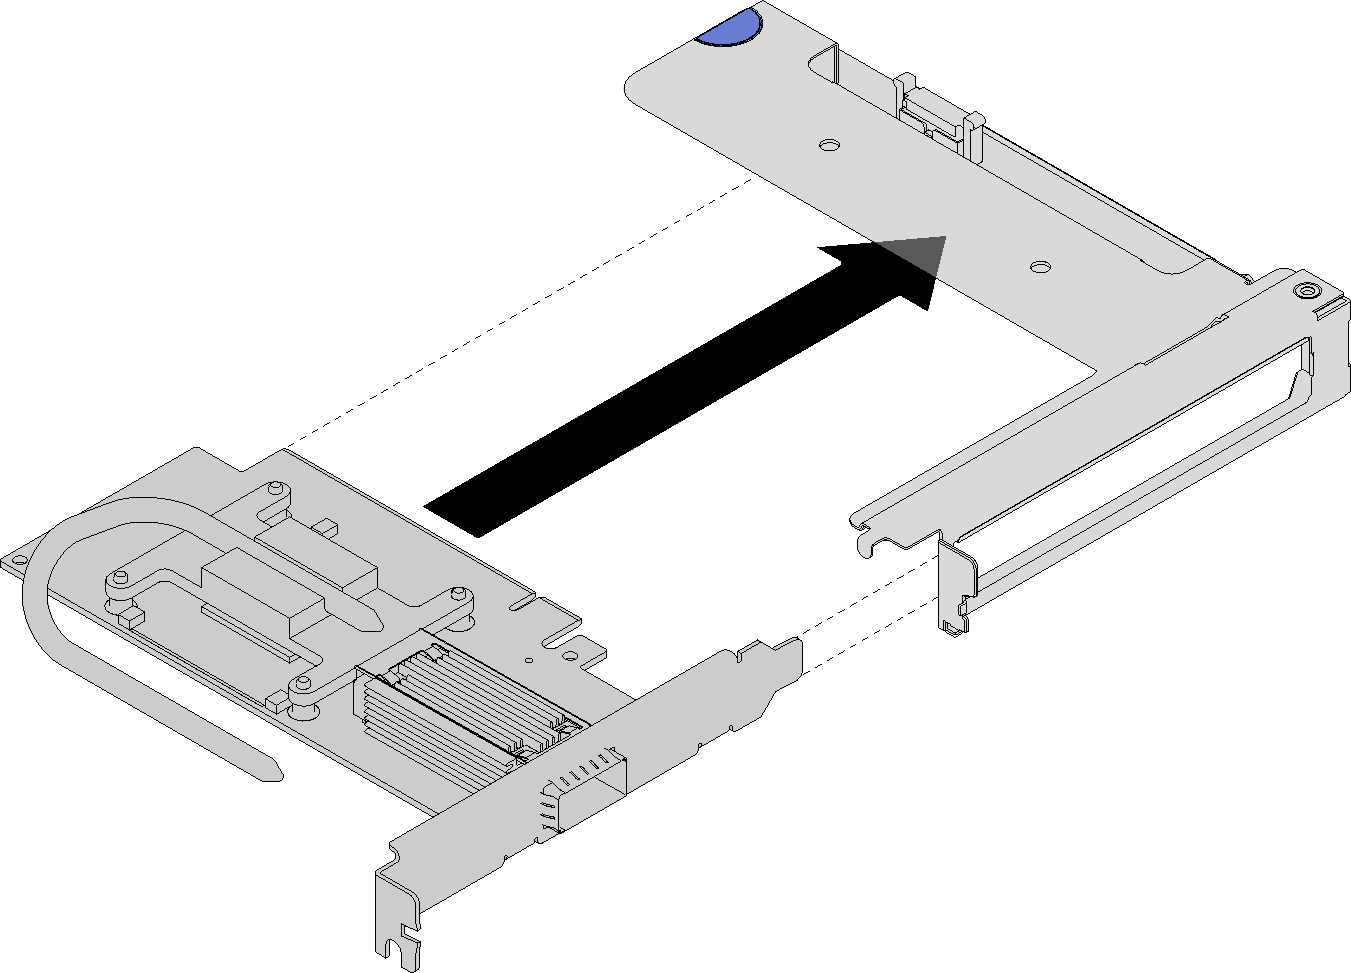
- Align the adapter with the PCIe slot on the riser-cage. Then, carefully press the adapter straight into the slot until it is securely seated.Figure 2. Adapter installation
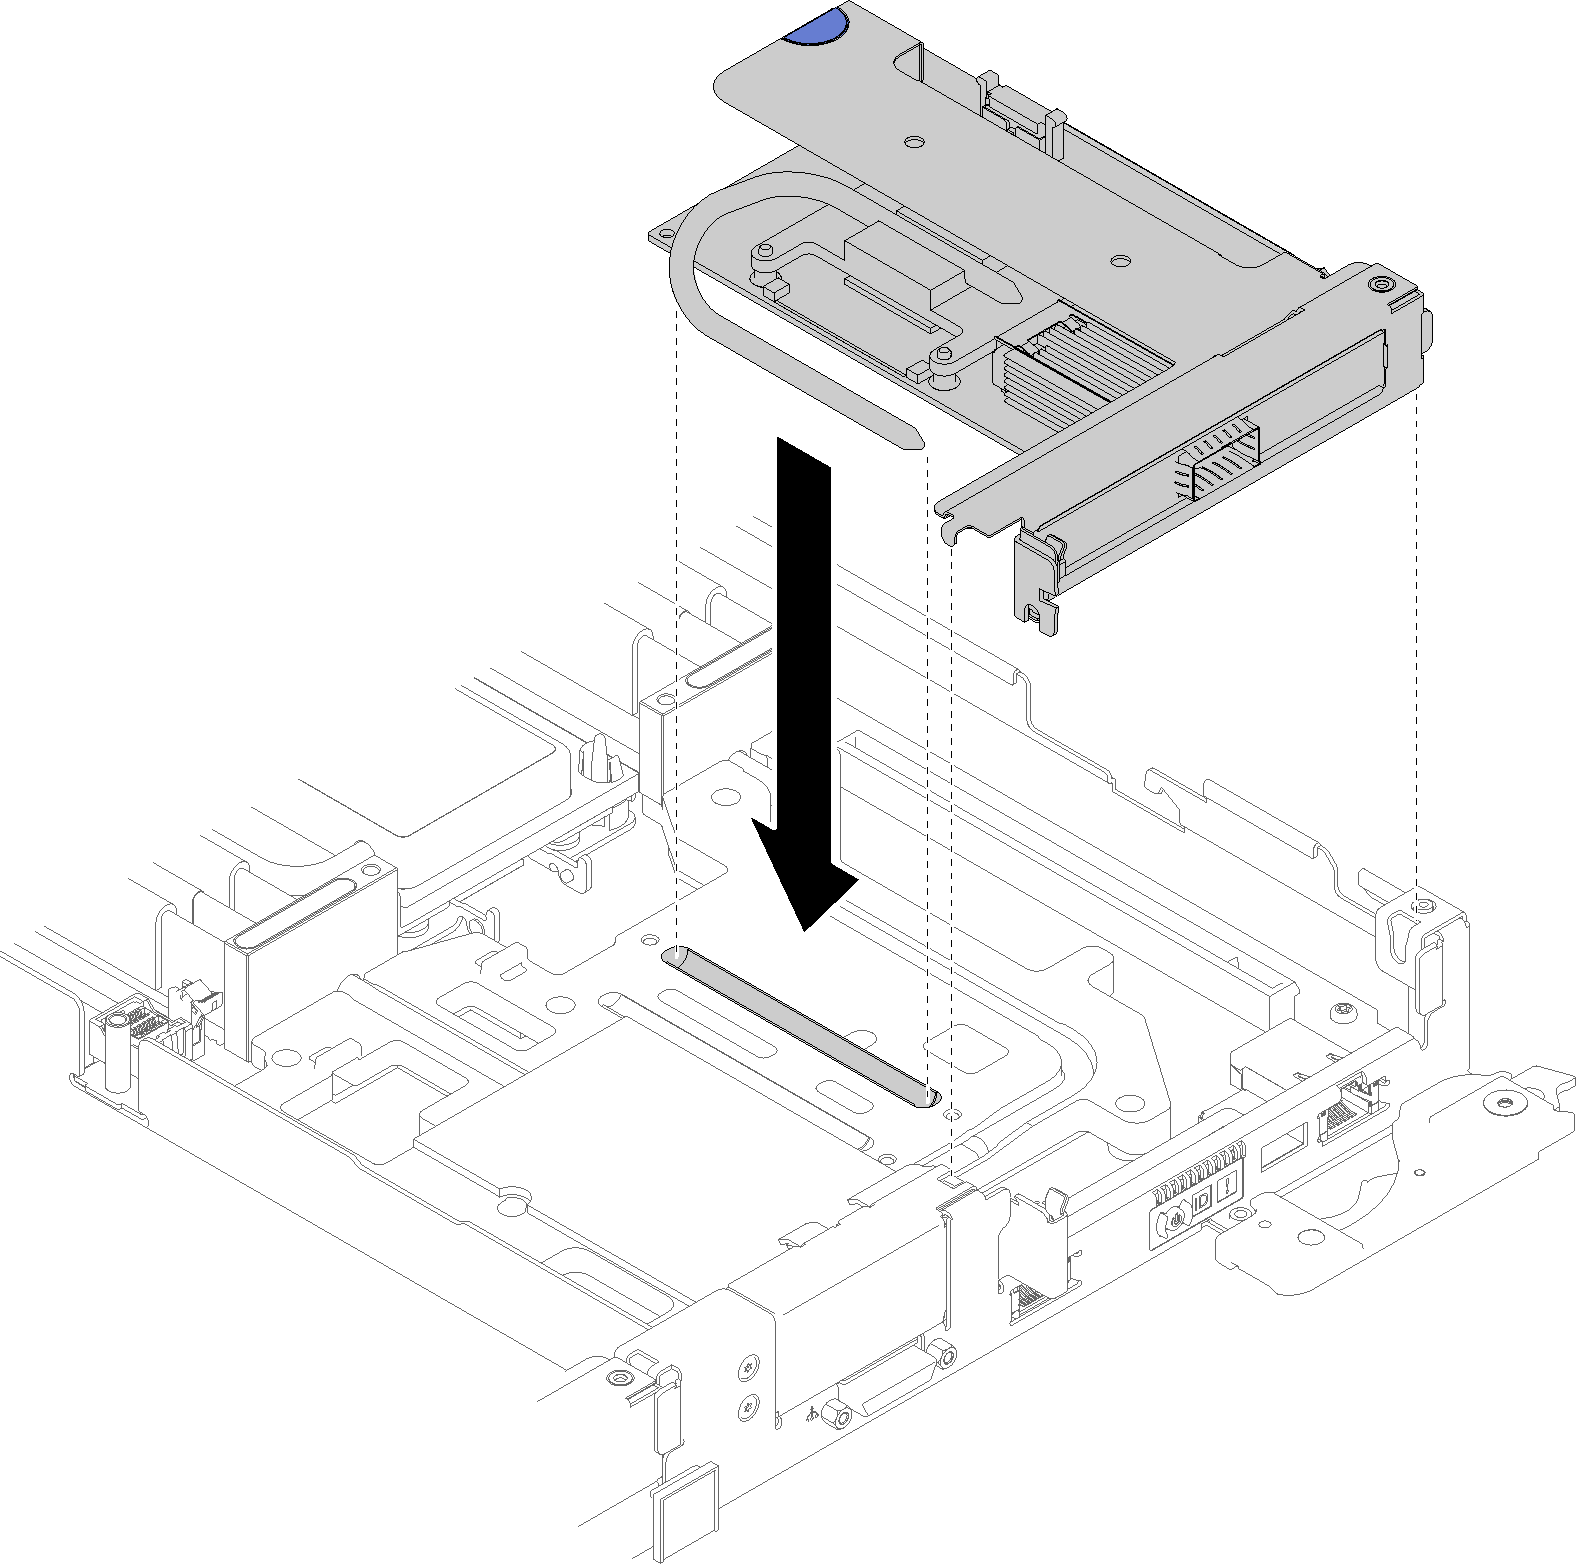
- Install the PCIe riser assembly.
- Press the PCIe riser assembly firmly into the node.Figure 3. PCIe riser-cage assembly installation
- Secure the clamp by inserting and tightening two silver Torx T10 screws.Figure 4. Screws and retaining clamp installation
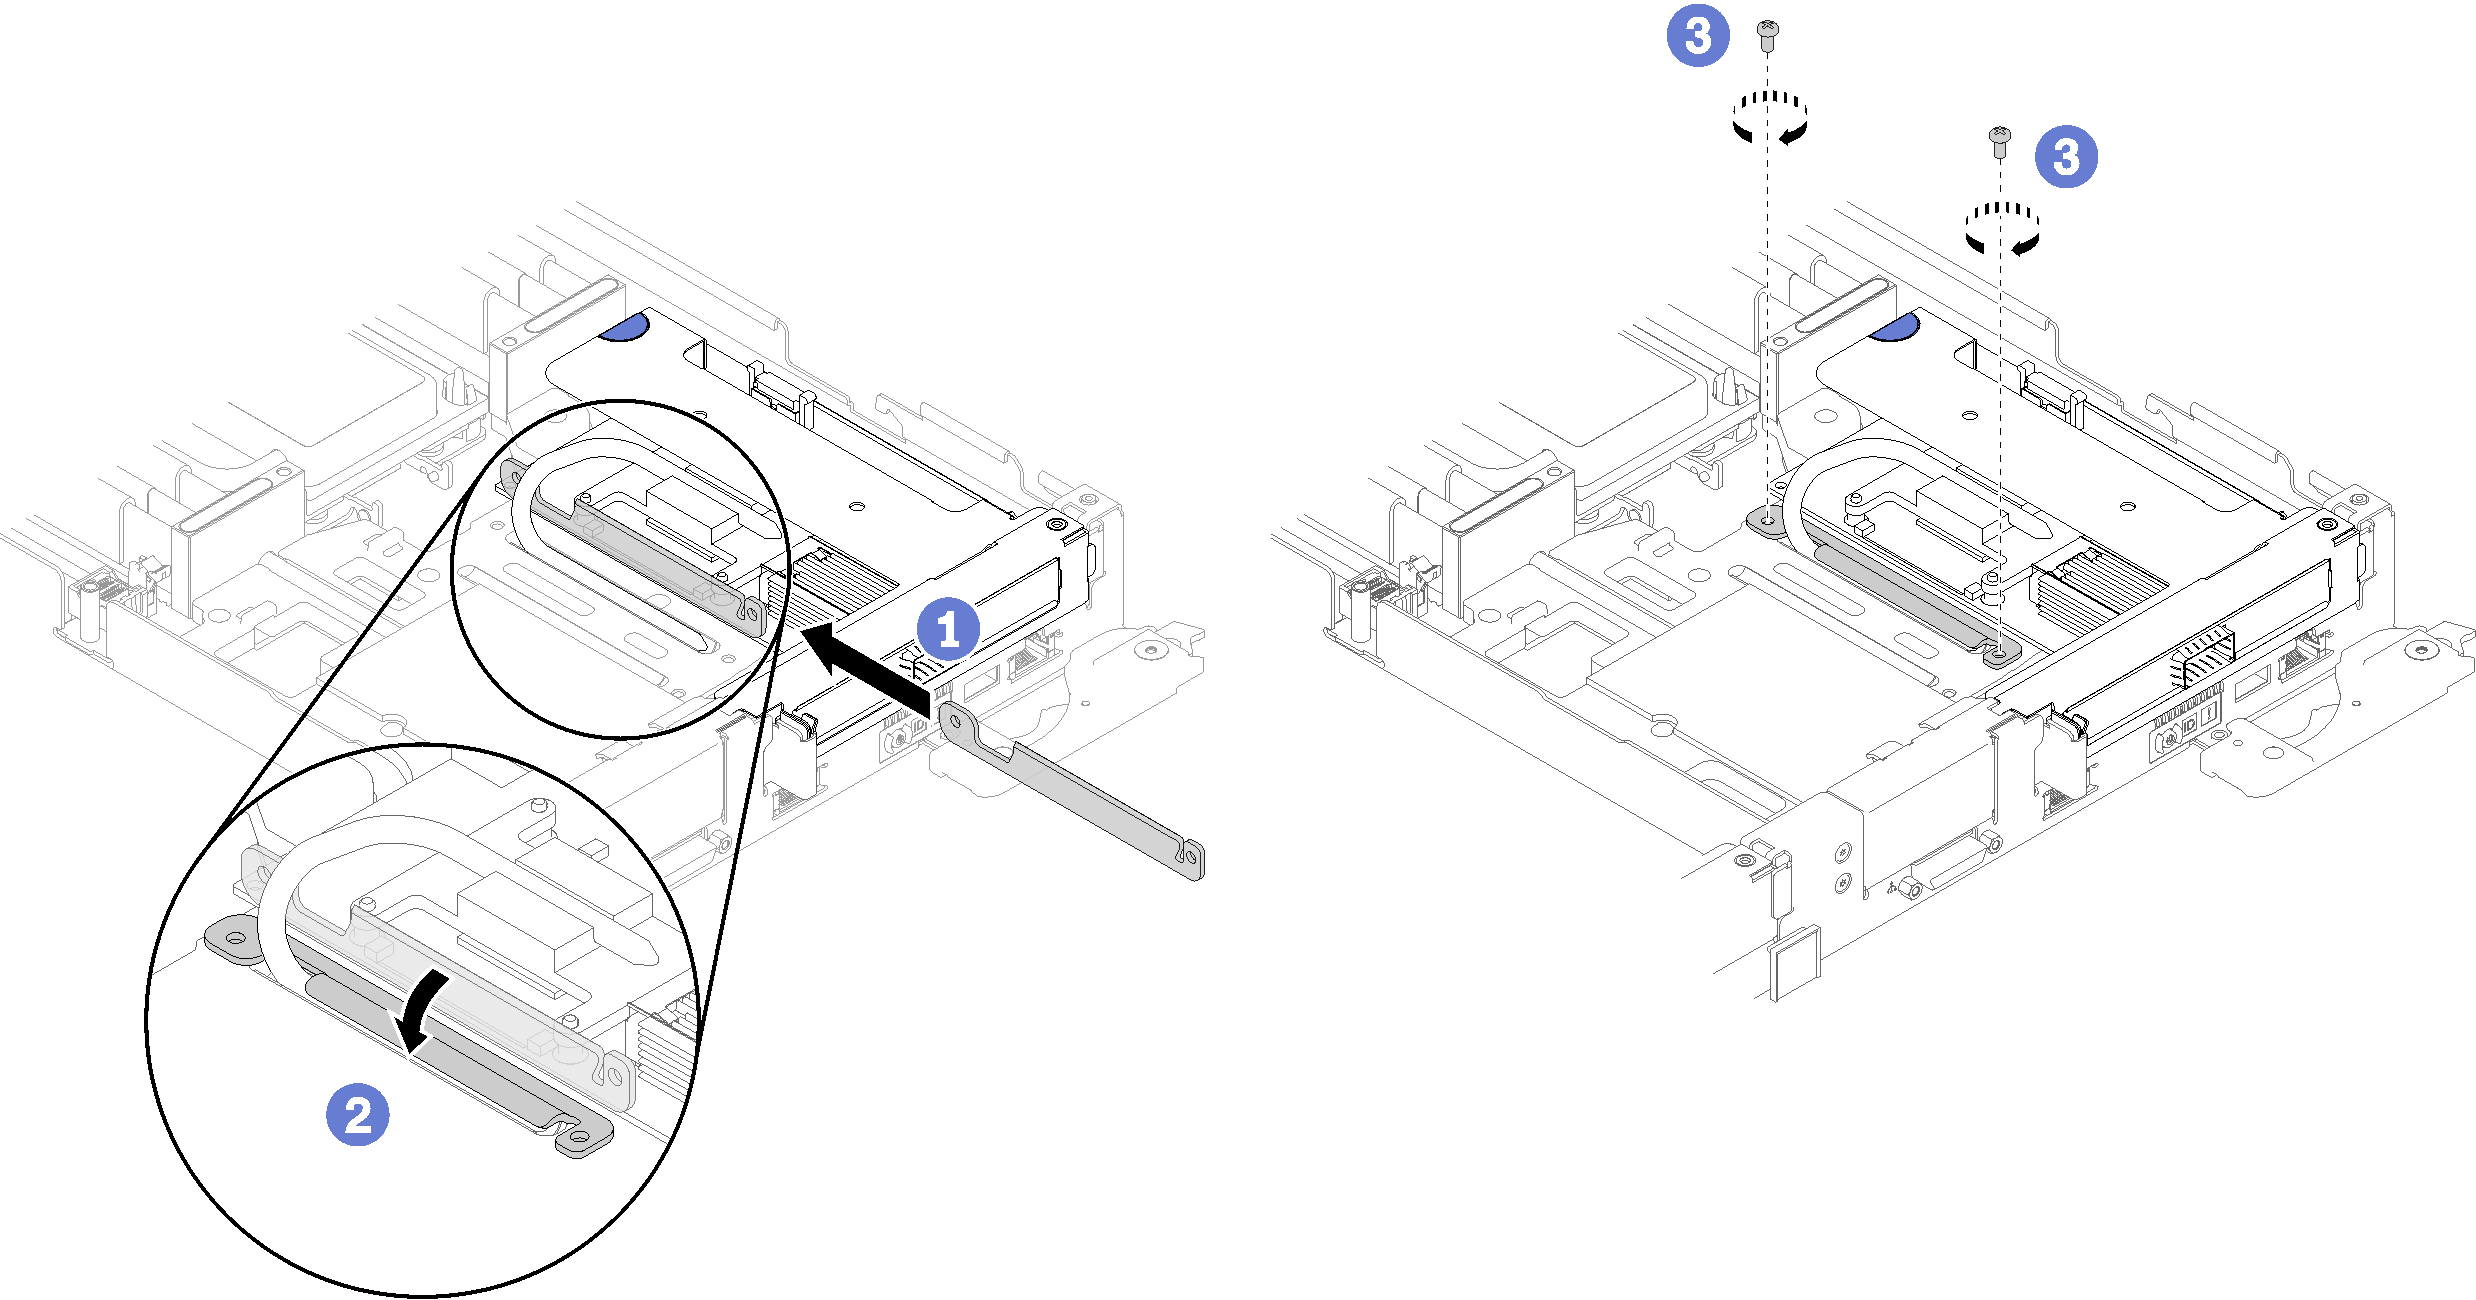
- Press the PCIe riser assembly firmly into the node.
After you install an adapter, complete the following steps:
Reinstall the front cross brace.
Figure 5. Front cross brace installation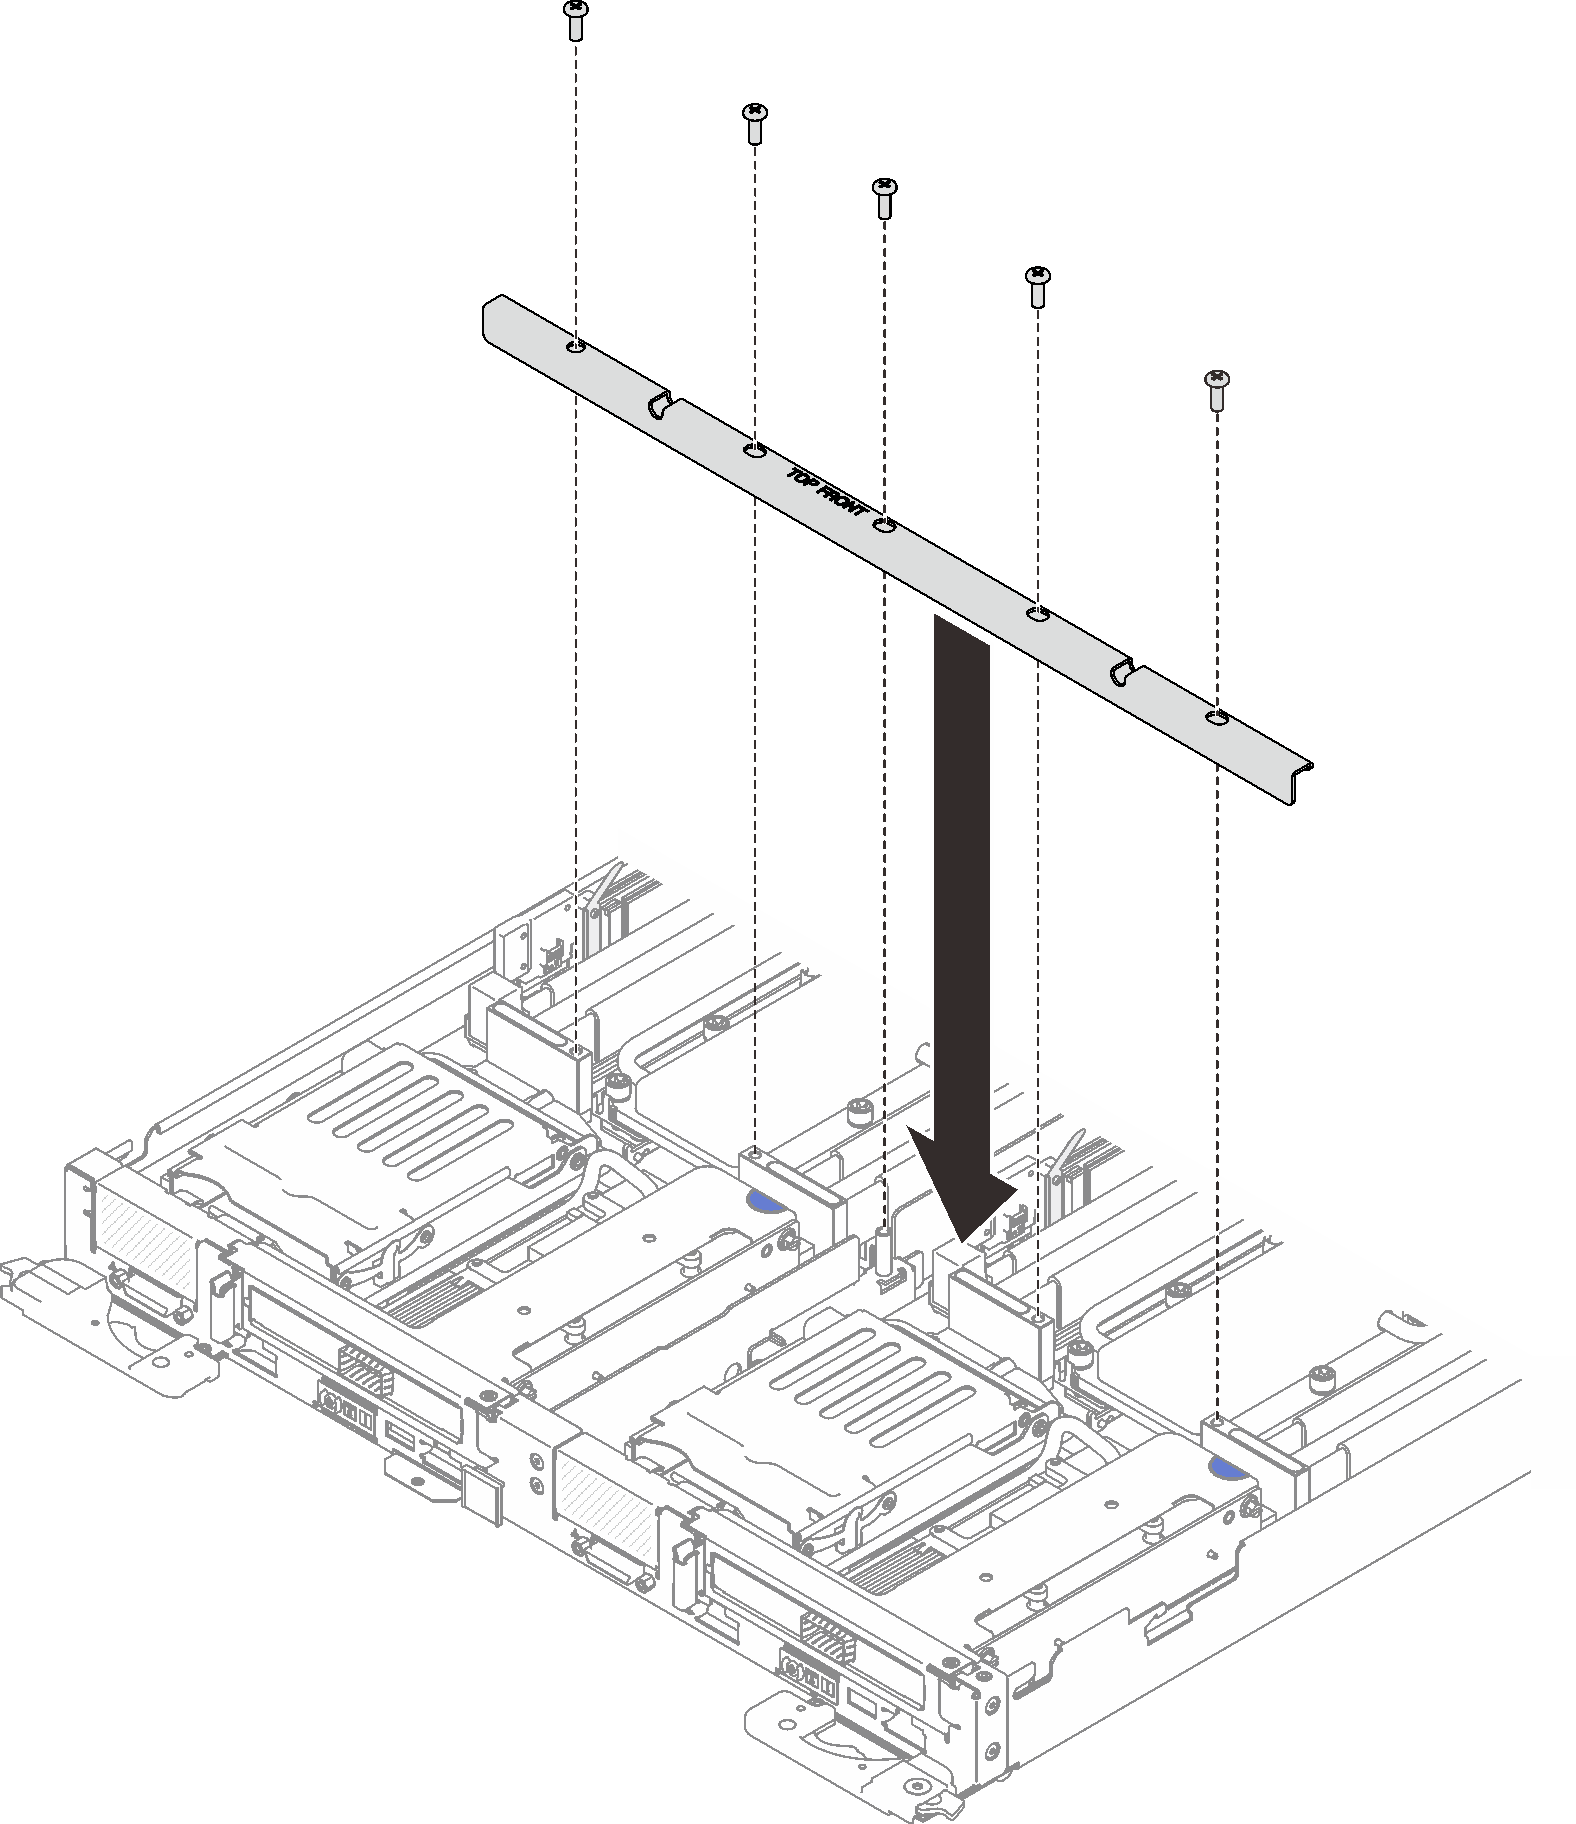
Reinstall the tray cover (see Install the tray cover).
Reinstall the tray (see Install a DWC tray in the enclosure).
Check the power LED on each node to make sure it changes from fast blink to slow blink to indicate both nodes are ready to be powered on.
Demo video