Remove the top cover
Follow instructions in this section to remove the top cover.
About this task
To avoid potential danger, make sure to read and follow the safety information.
- S002
 CAUTIONThe power-control button on the device and the power switch on the power supply do not turn off the electrical current supplied to the device. The device also might have more than one power cord. To remove all electrical current from the device, ensure that all power cords are disconnected from the power source.
Attention
Read Installation Guidelines and Safety inspection checklist to make sure that you work safely.
Remove the shipping bracket or security bezel, if applicable (see Configuration guide); then, power off the server and disconnect the power cords (see Power off the server).
Remove the node from the enclosure or node sleeve, if applicable (see Configuration guide); then, carefully lay the node on a flat, static-protective surface.
Procedure
- Make preparations for this task.
- If applicable, remove any locking device that secures the top cover, such as a Kensington lock.
- Remove the top cover.
 Remove the screw that secures the top cover on the side.
 Press and hold the release button on the top cover; then, slide the cover toward the rear of the node to remove it.Figure 1. Removal of the top cover
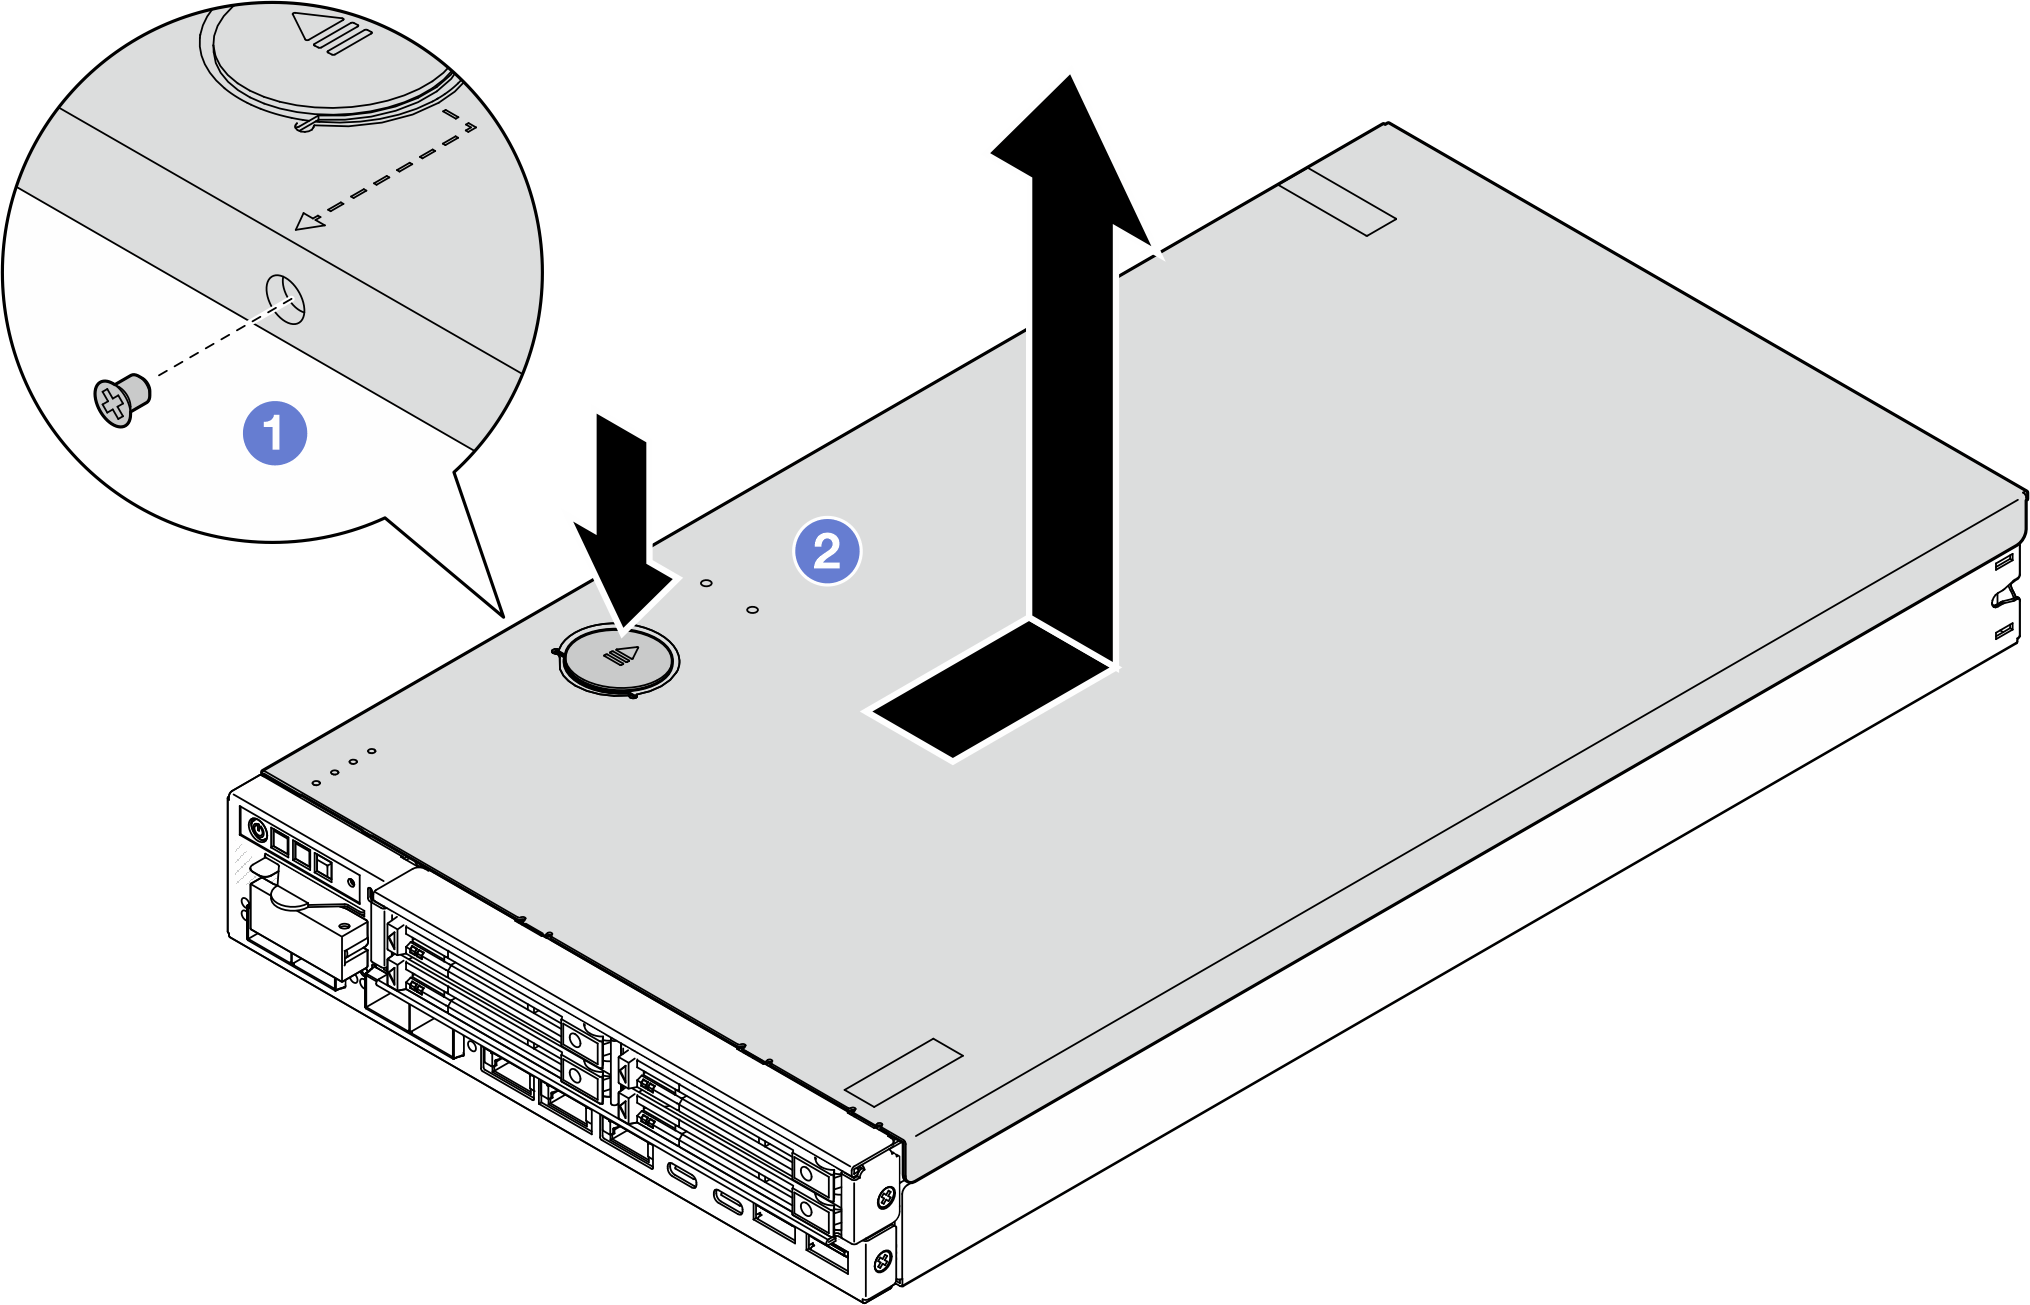
- Place the top cover on a flat and clean surface.
Attention
- The service label is located on the inside of the top cover.
- For proper cooling and air flow, either install the top cover onto the node or install the node into an enclosure before you power on the server. Operating the node without an installed top cover might damage the components.
After this task is completed
- If necessary, install a replacement unit (see Install the top cover).Important
For safety, make sure to tighten the top cover safety screw (provided in the accessory kit) after installing the top cover.
- If you are instructed to return the component, follow all of the packaging instructions and use any packaging materials for shipping that are supplied to you.
Give documentation feedback