Remove the PCIe riser assembly
Use this information to remove the PCIe riser assembly .
- S012
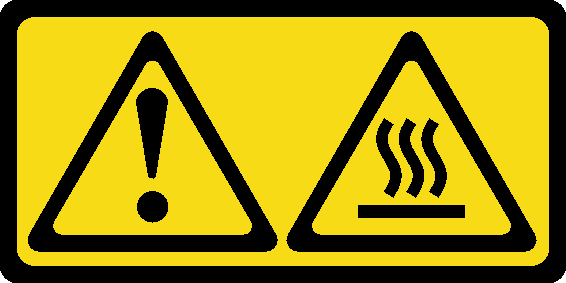 CAUTIONHot surface nearby.
Before you remove the PCIe riser assembly , complete the following steps:
- Read the following sections to ensure that you work safely.
Turn off the server. Disconnect the power cords and all external cables (see Power off the server).
Remove the node from the enclosure if needed (see Remove a node).
Procedure
- Grasp the PCIe riser assembly by its edge and the blue tab; then, carefully lift it out of the server.Note
The following illustration might differ slightly from your hardware.
Carefully lift the PCIe riser assembly straight up. Avoid tilting the PCIe riser assembly at a large angle, tilting might cause damage to the connector.
Figure 1. PCIe riser assembly removal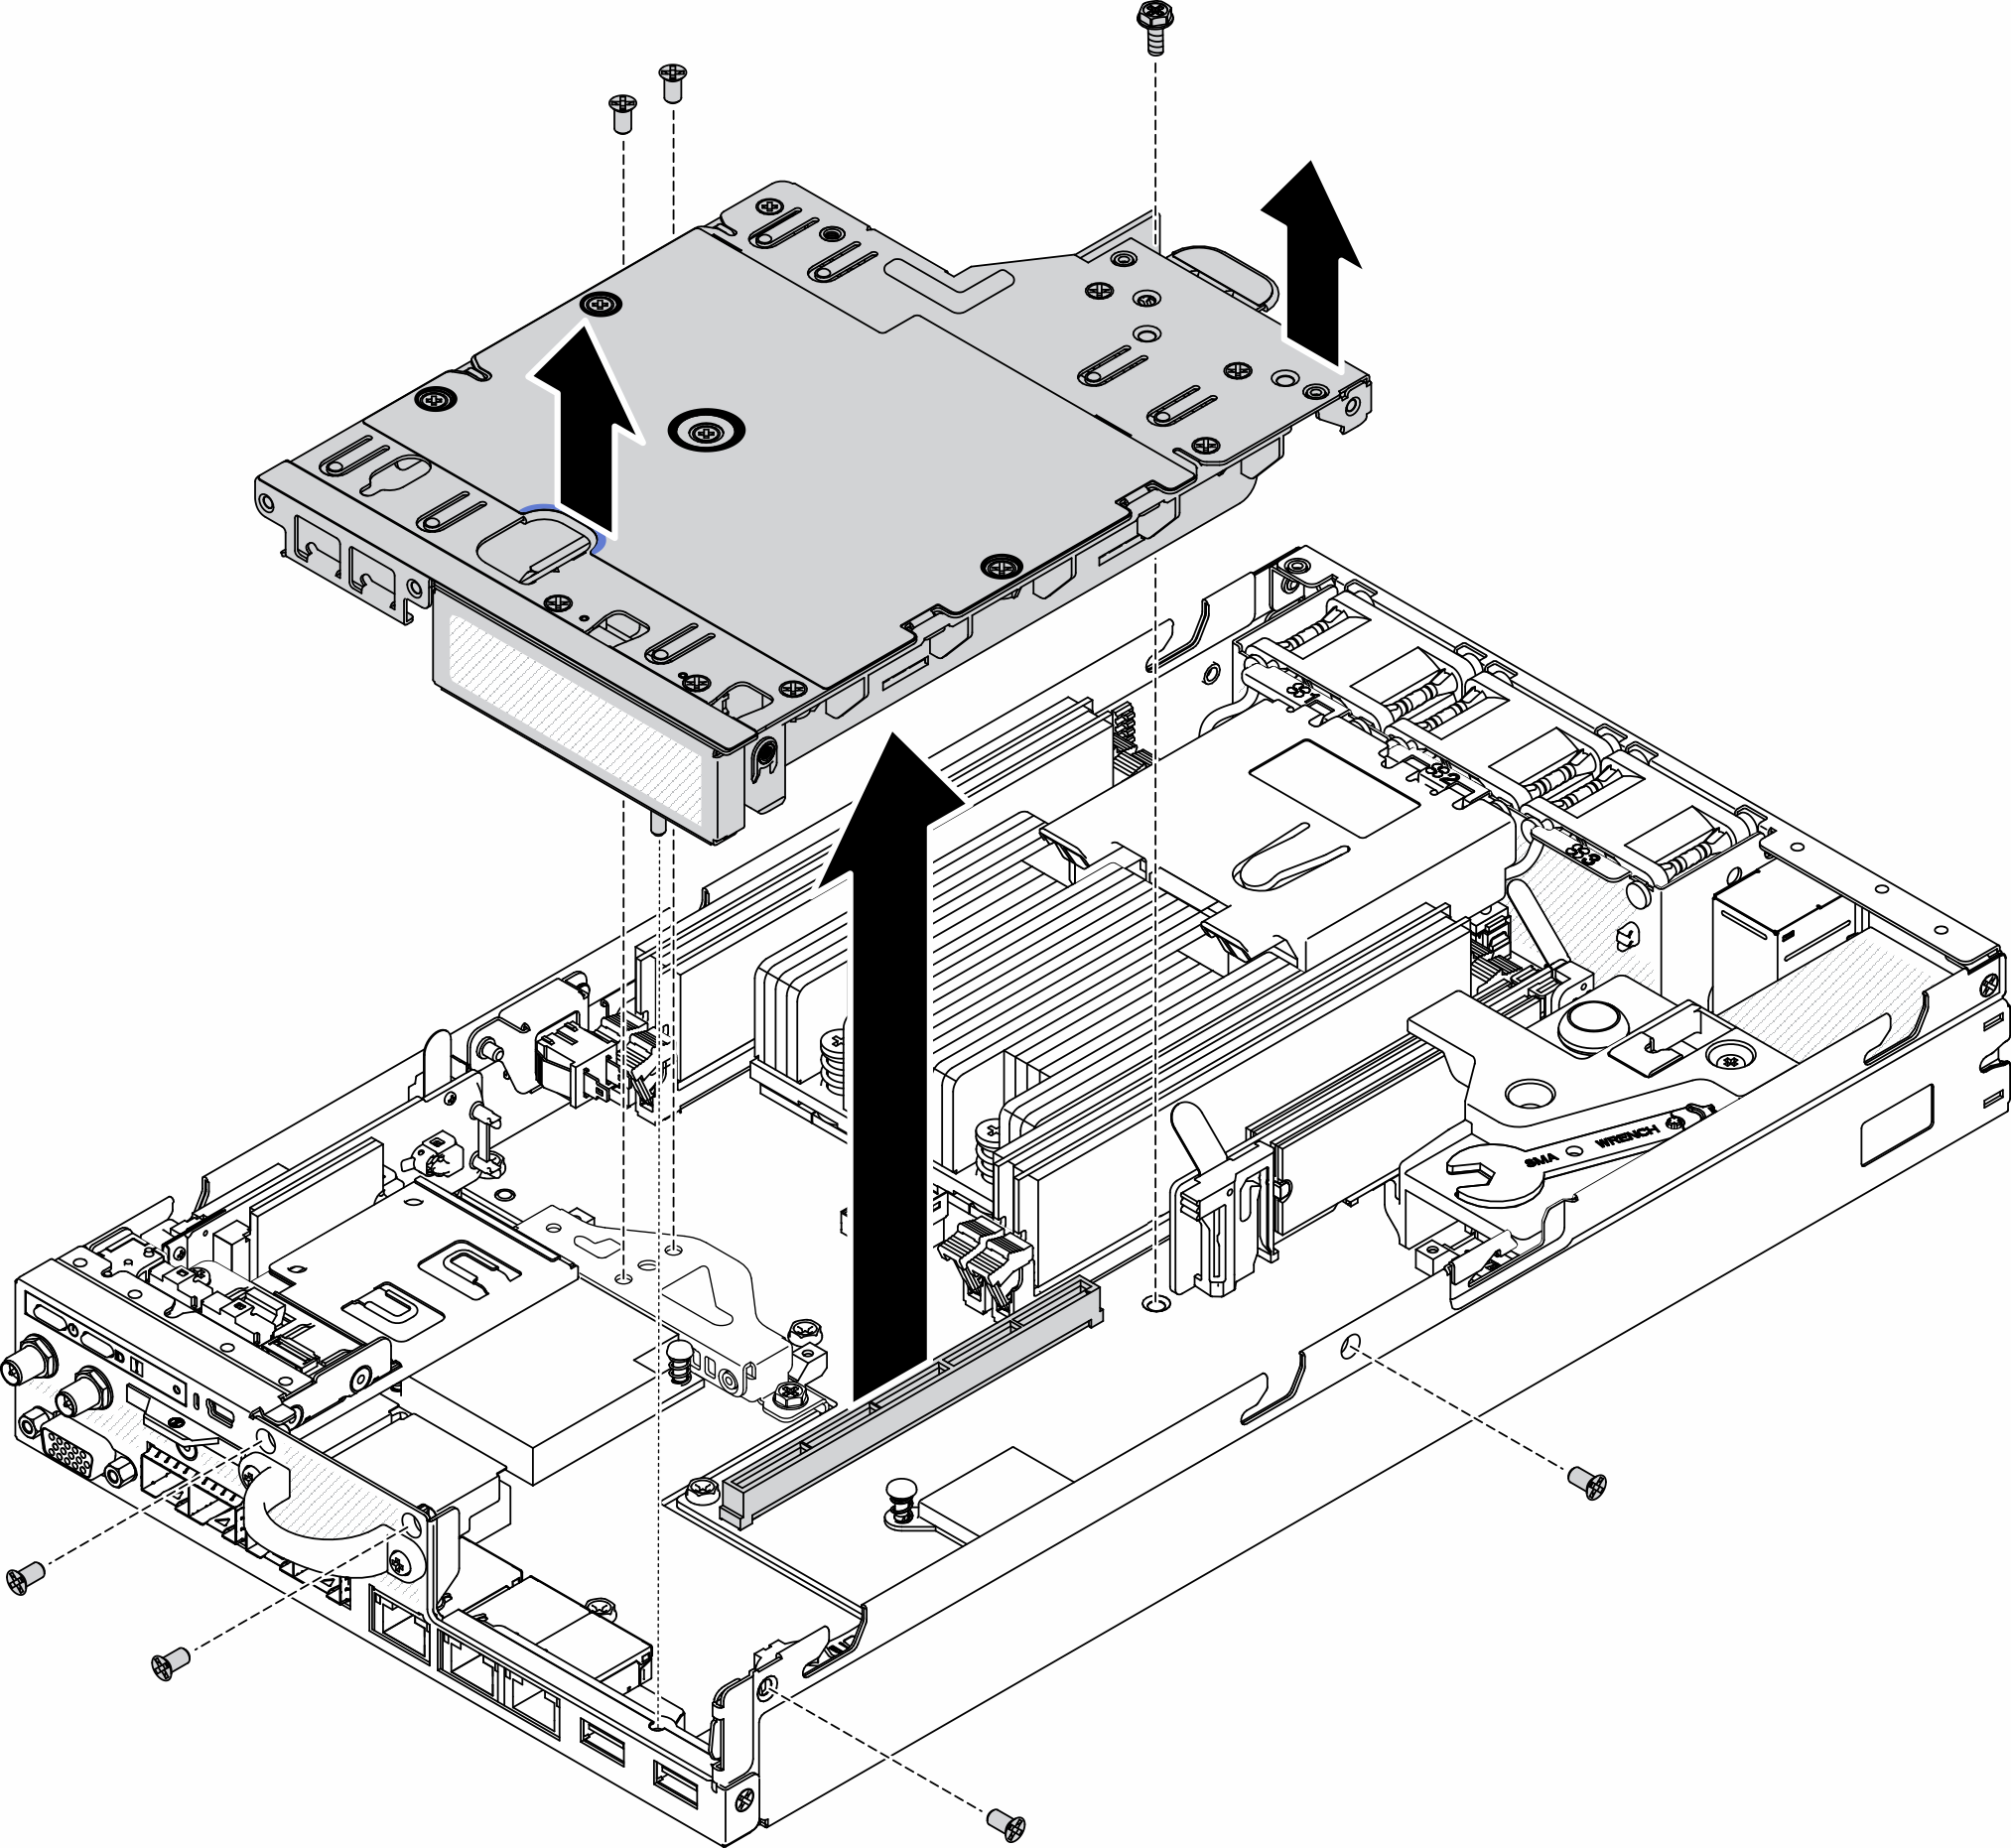
Install the filler and fasten the three screws.
Figure 2. Filler installation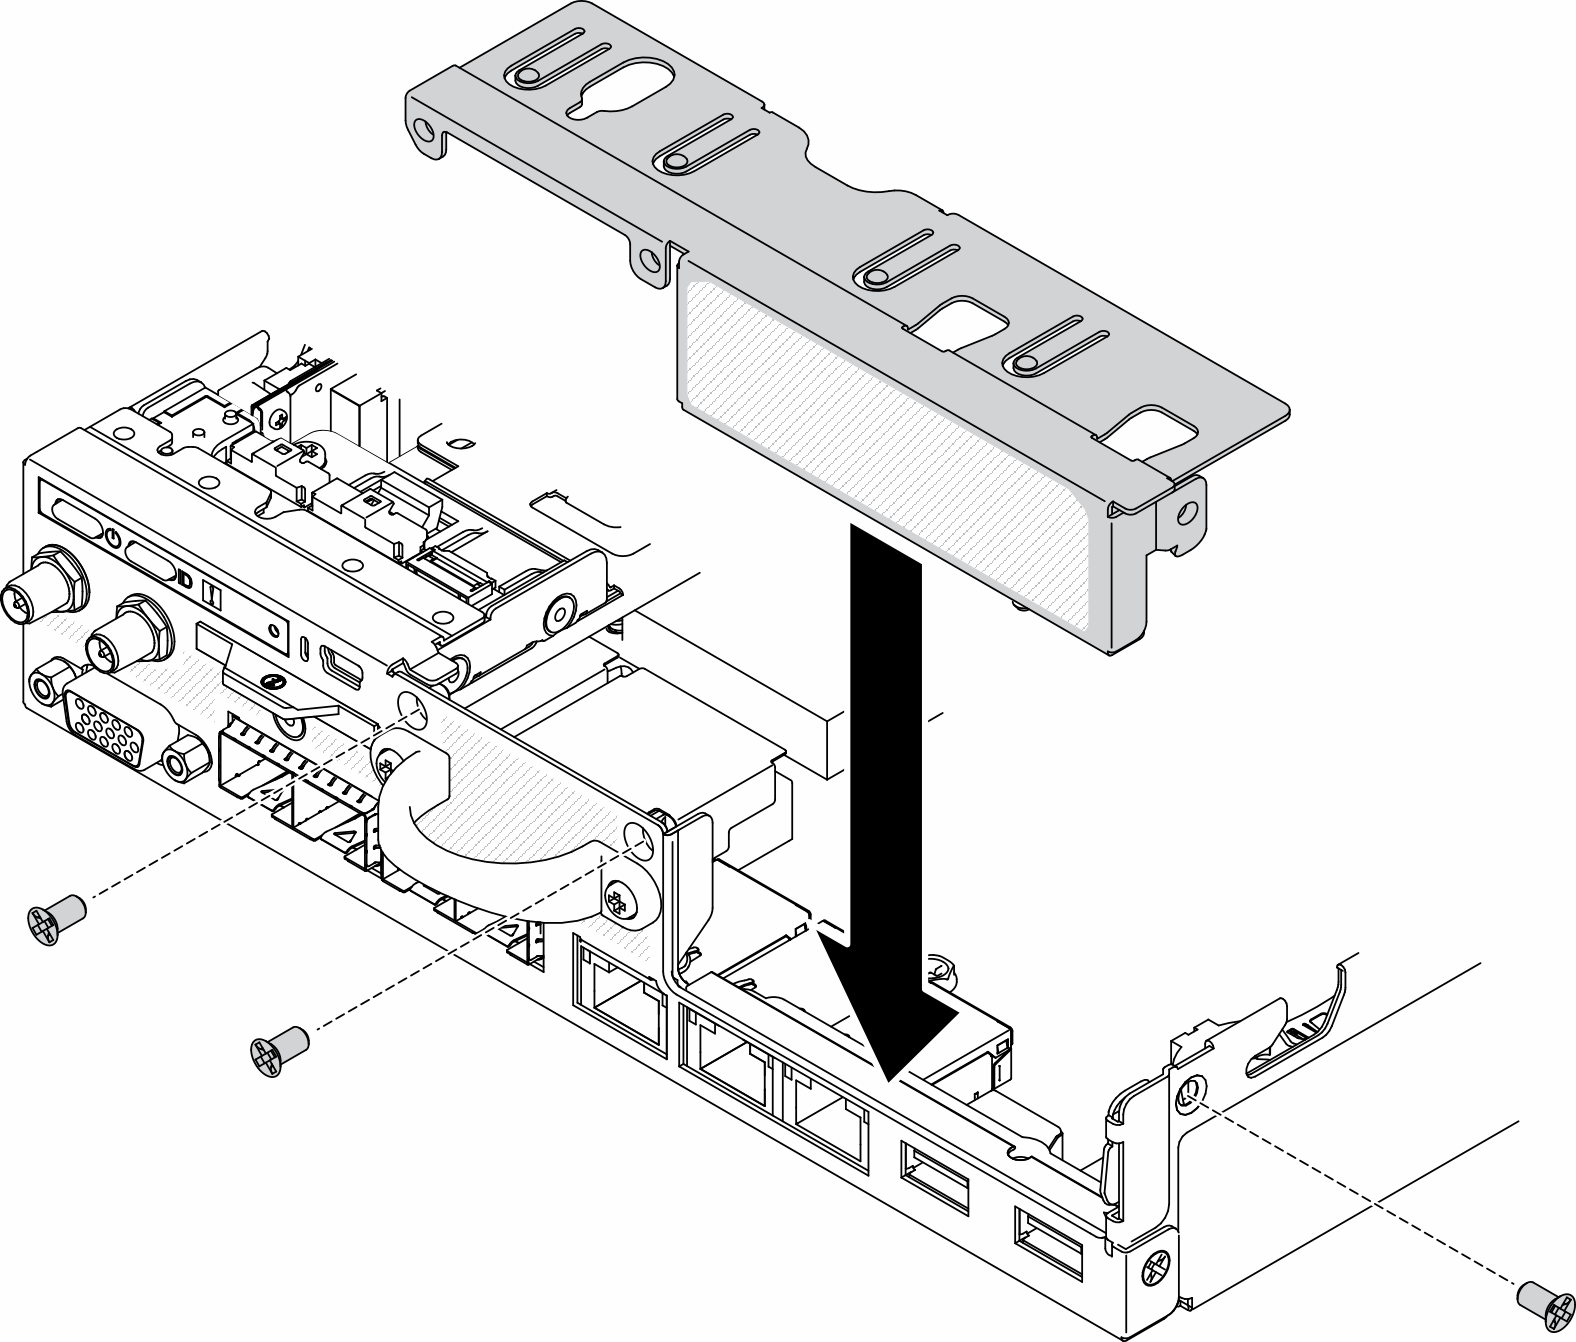
If you are instructed to return the defective component, please package the part to prevent any shipping damage. Reuse the packaging the new part arrived in and follow all packaging instructions.
Demo video