Remove a storage cage
Use this information to remove a storage cage.
Before you remove a storage cage, complete the following steps:
Read Installation Guidelines to ensure that you work safely.
- If the compute node is installed in a chassis, remove it (see Remove a compute node for instructions).
- Carefully lay the compute node on a flat, static-protective surface, orienting the compute node with the bezel pointing toward you.
Remove the compute node cover (see Remove the compute node cover for instructions).
To remove a storage cage, complete the following steps:
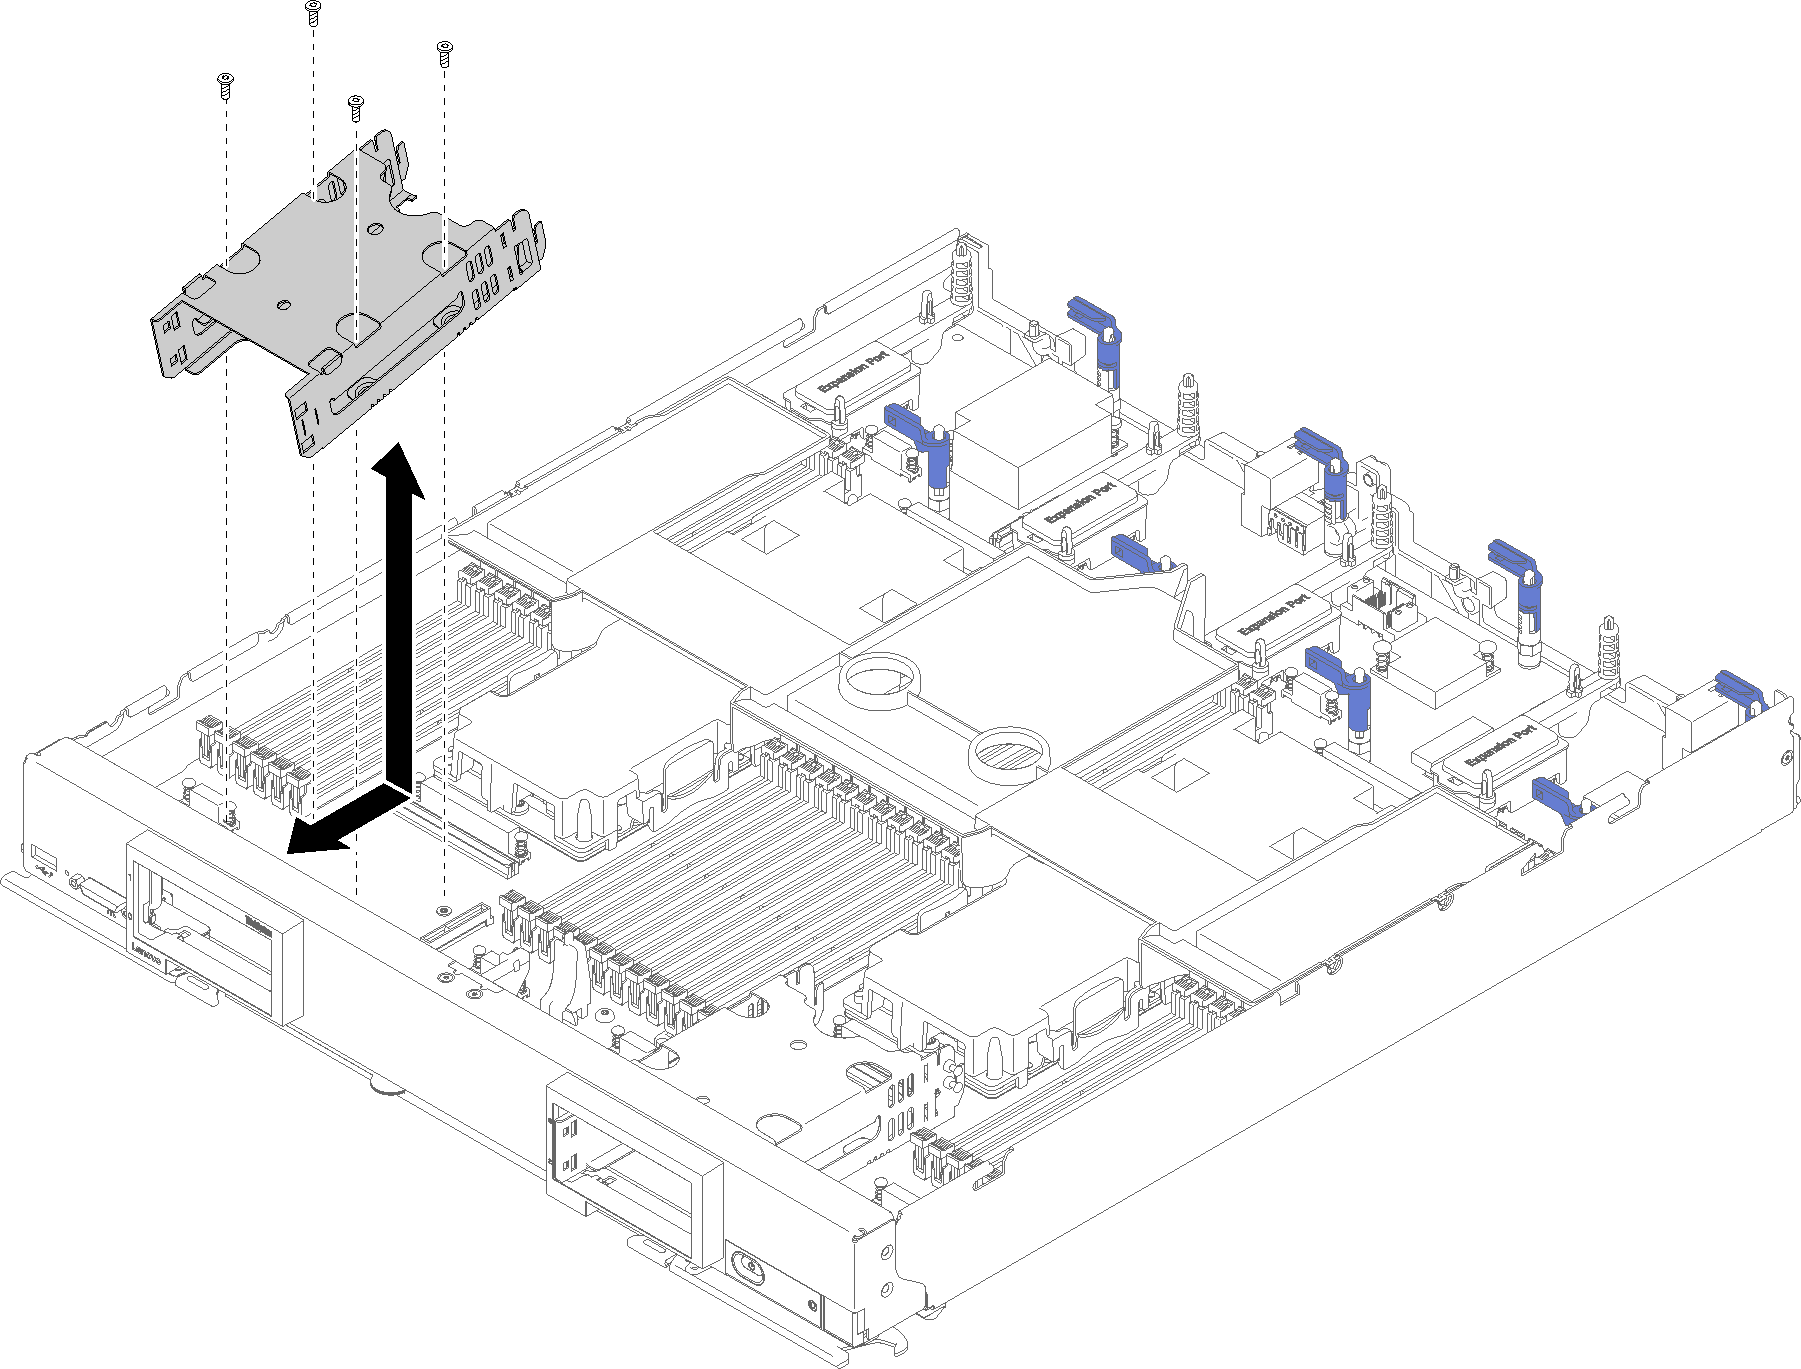
Figure 1. Storage cage removal
- Remove any drives, optional drive components, and drive bay fillers and set them aside on a static-protective surface (see Remove a 2.5-inch hot-swap drive for instructions).
- Remove the drive backplane and set them aside on a static-protective surface (see Remove a 2.5-inch drive backplane for instructions).
- Remove the M.2 backplane if you are removing the storage cage on the left hand side (see Remove the M.2 backplane for instructions).
- Using a T10 Torx screwdriver, remove the four screws which secure a storage cage.
- Rotate the cage from under the compute node front panel; then, remove a storage cage from the compute node at an angle.
If you are instructed to return a storage cage, follow all packaging instructions, and use any packaging materials for shipping that are supplied to you.
Demo video
Give documentation feedback