Install a hot-swap power supply unit
Follow instructions in this section to install a hot-swap power supply unit.
S002
CAUTION
The power-control button on the device and the power switch on the power supply do not turn off the electrical current supplied to the device. The device also might have more than one power cord. To remove all electrical current from the device, ensure that all power cords are disconnected from the power source.
S029
DANGER
danger
For -48V dc power supply, electrical current from power cords is hazardous.
To avoid a shock hazard:
- To connect or disconnect -48V dc power cords when you need to remove/install redundancy power supply unit(s).
| To Connect: | To Disconnect: |
|---|---|
|
|
S035

CAUTION
Never remove the cover on a power supply or any part that has this label attached. Hazardous voltage, current, and energy levels are present inside any component that has this label attached. There are no serviceable parts inside these components. If you suspect a problem with one of these parts, contact a service technician.
About this task
Attention
- Read Installation Guidelines and Safety inspection checklist to ensure that you work safely.
- Touch the static-protective package that contains the component to any unpainted metal surface on the server; then, remove it from the package and place it on a static-protective surface.
Procedure
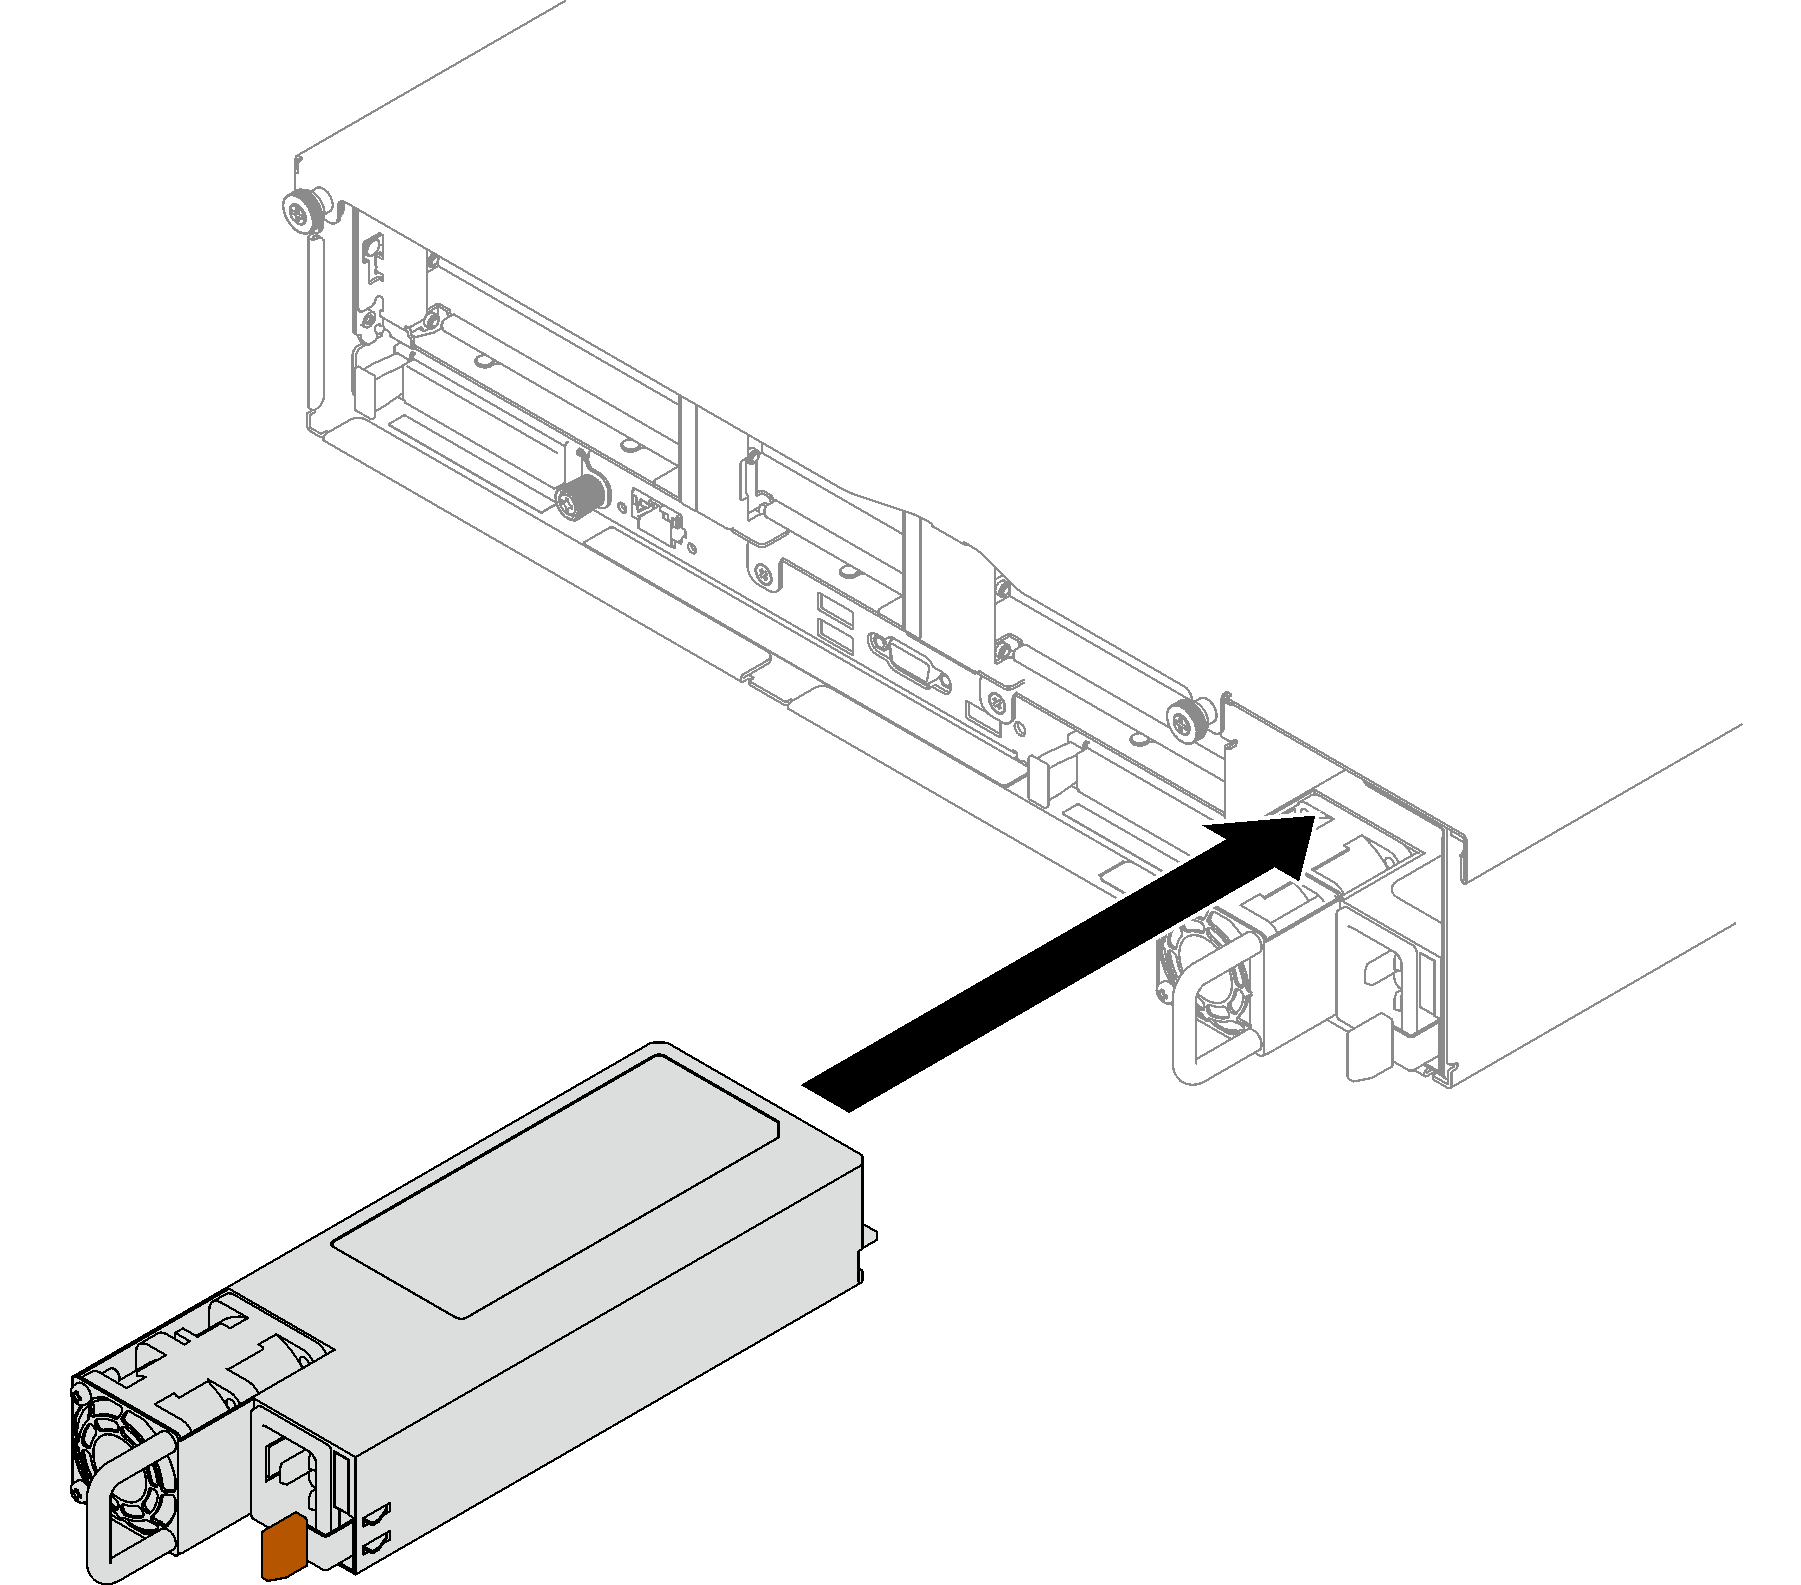
- Make sure the label on the power supply is facing up; then, grasp the handle and slide it into the power supply bay until it clicks into place.Figure 1. Power supply unit installationNote
- A CFFv4 power supply is used as an example for illustration. The replacement procedure for CRPS power supply is similar.
- The color of the CRPS handle might be different from the illustration.
After you finish
- Pull the handle to see if the power supply unit is properly installed. If it slides out, reinstall it.
- Connect the power cord to the power supply unit, and make sure it's properly connected to the power.
- Complete the parts replacement. See Complete the parts replacement.
- If the server is turned off, turn on the server. Ensure that both the power input LED and the power output LED on the power supply are lit, indicating that the power supply is operating properly.
Demo video
Give documentation feedback