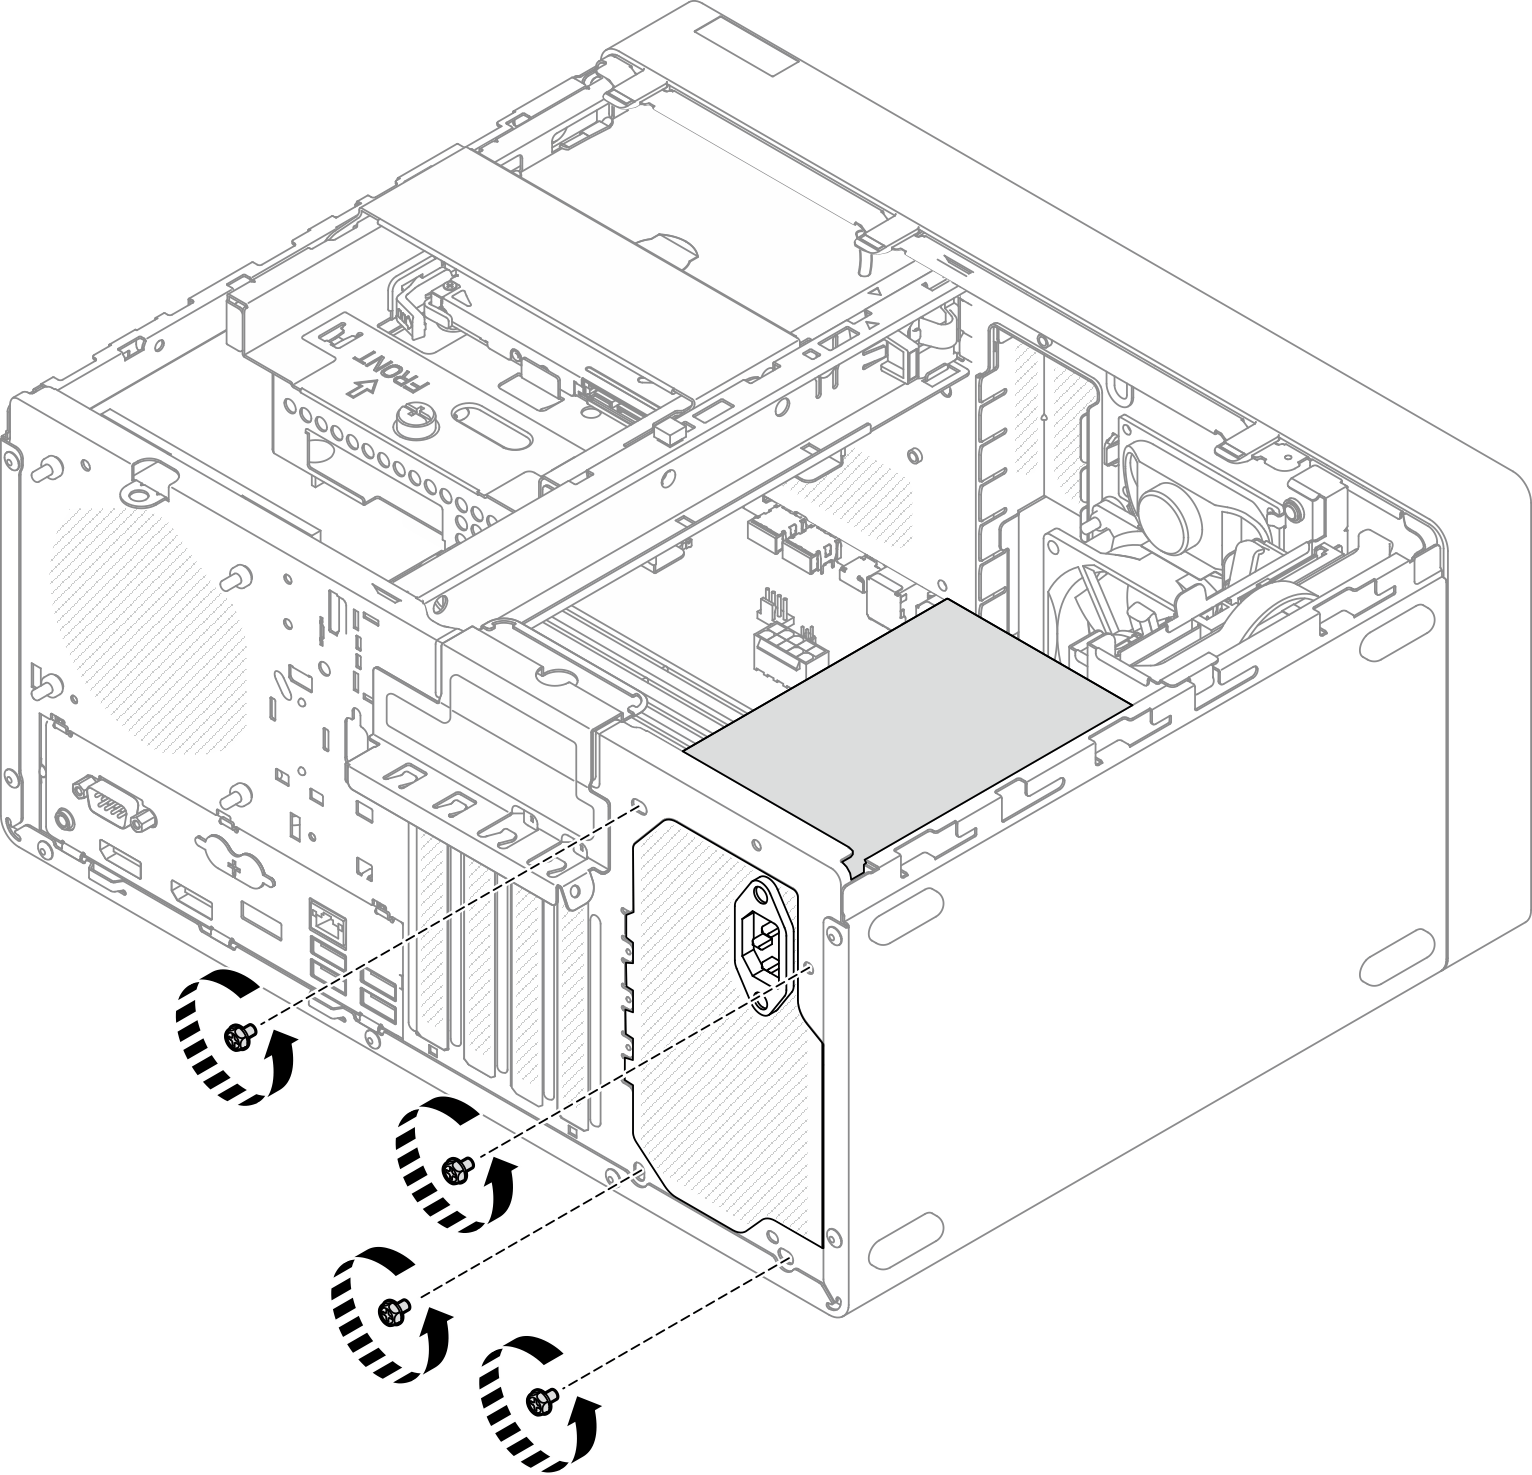
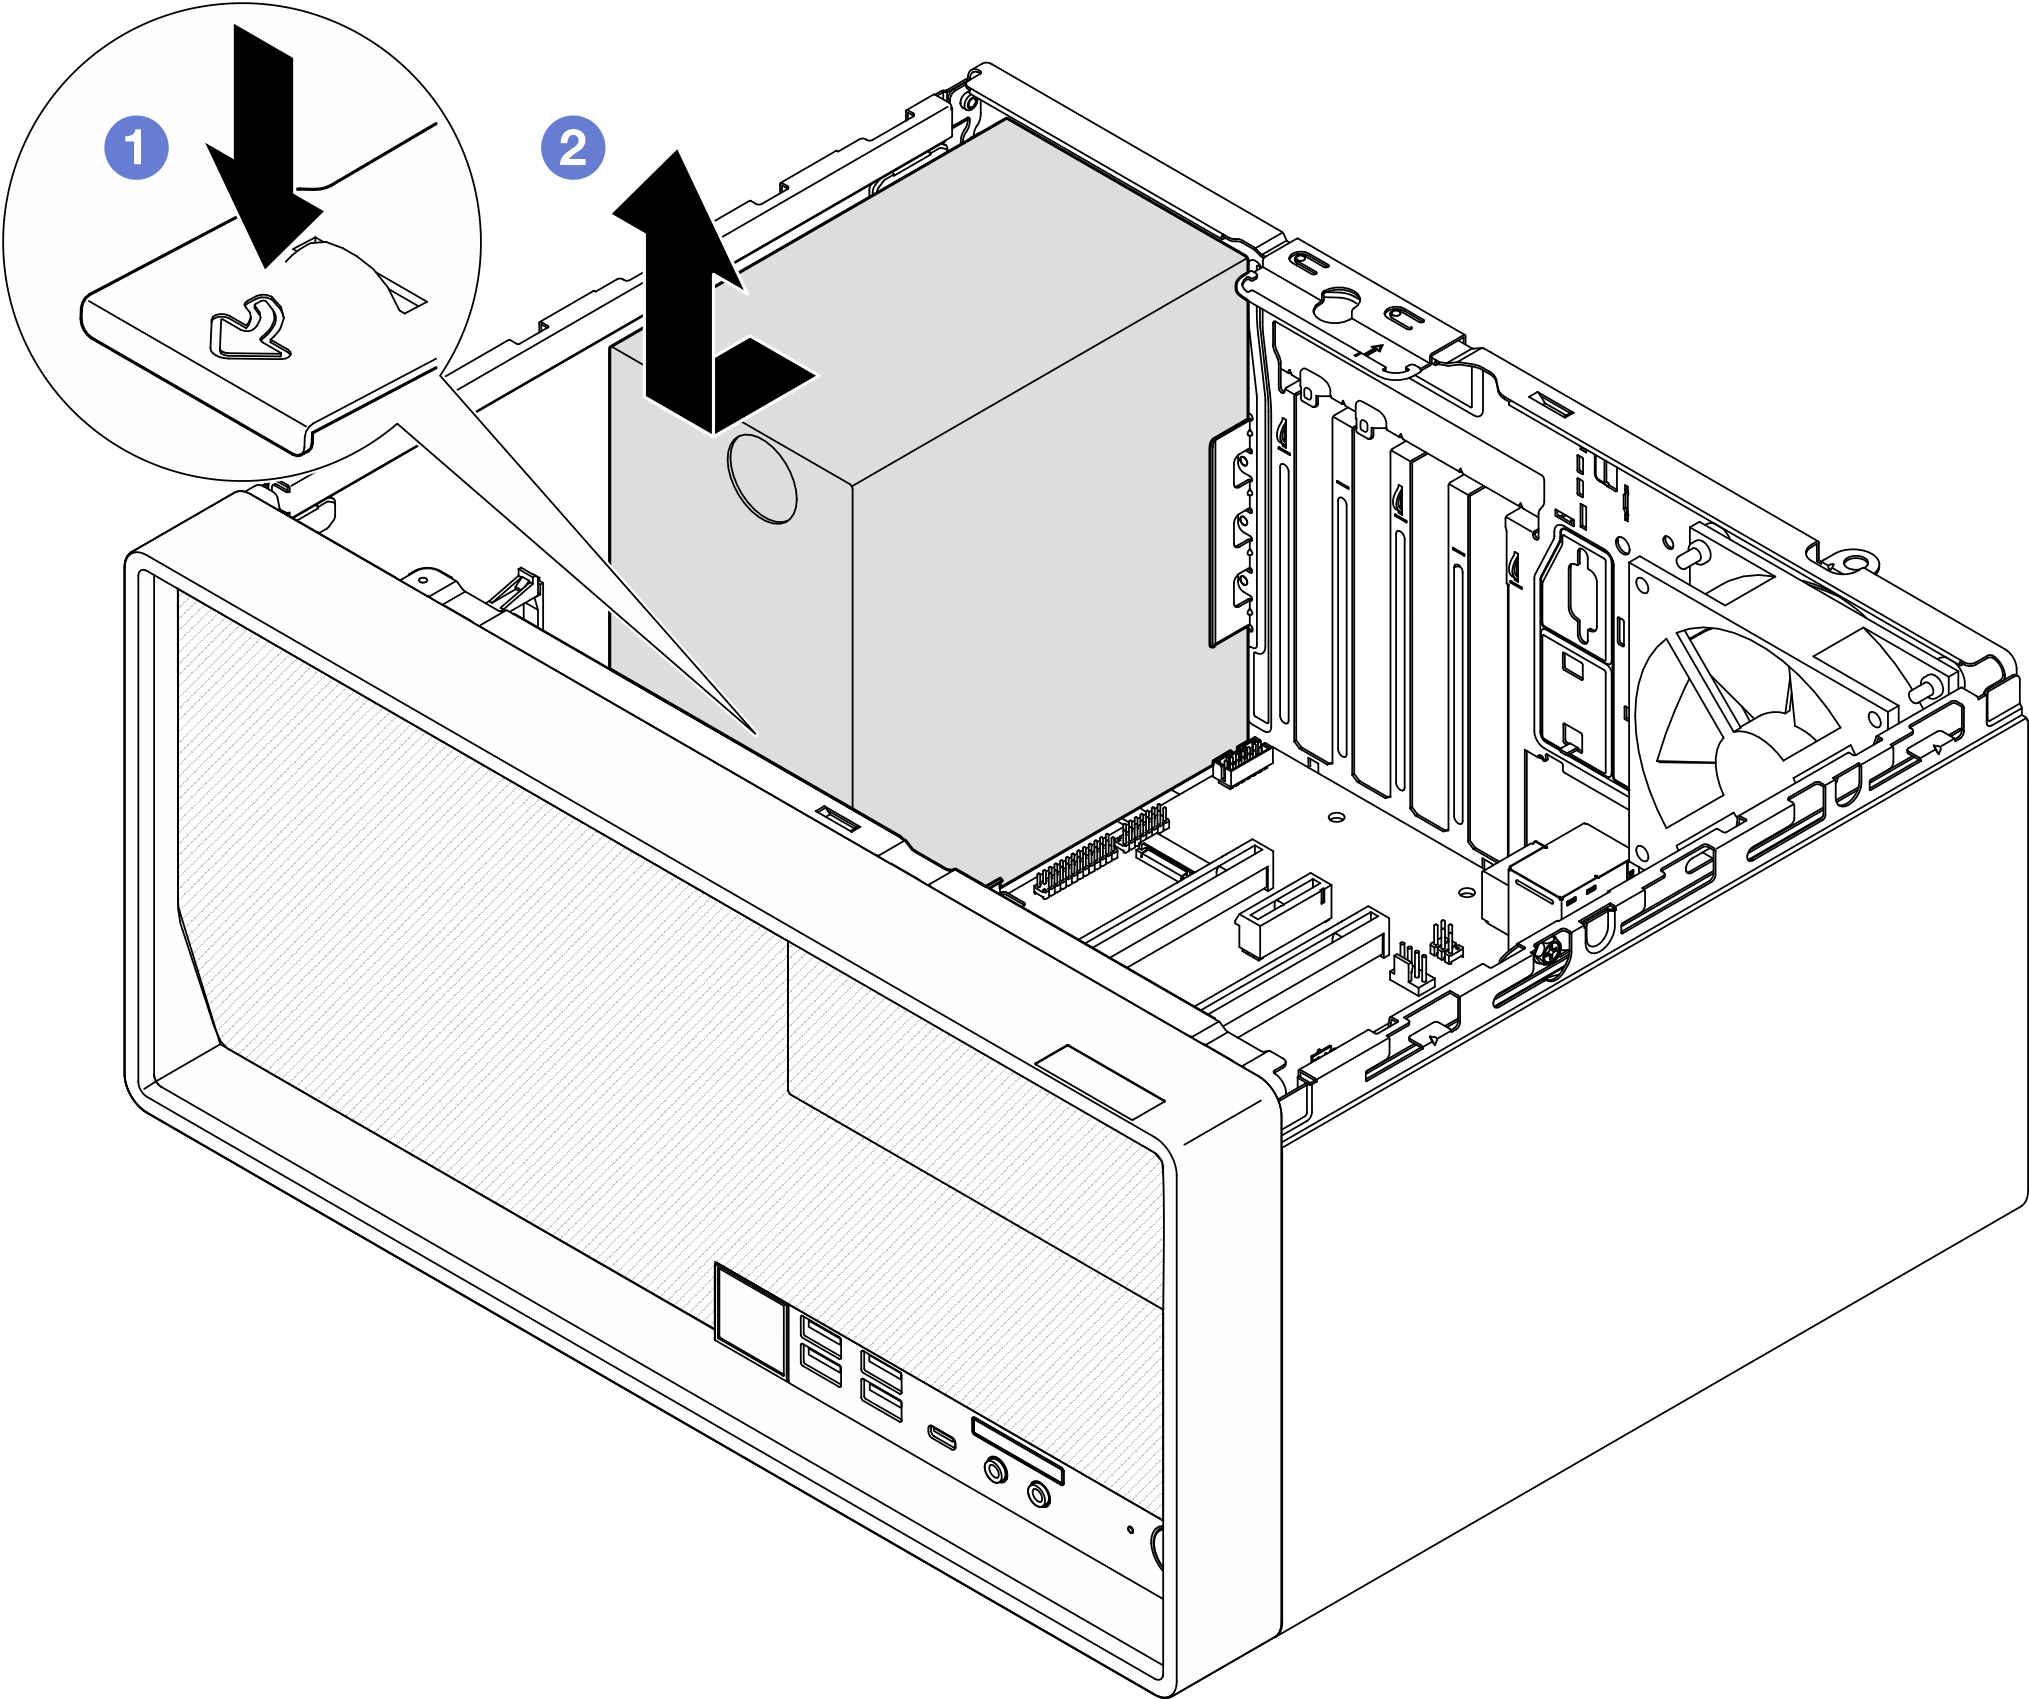
Remove the power supply unit
Follow this procedure to remove the power supply unit.

To avoid a shock hazard:
- Connect all power cords to a properly wired and grounded electrical outlet/source.
- Connect any equipment that will be attached to this product to properly wired outlets/sources.
- When possible, use one hand only to connect or disconnect signal cables.
- Never turn on any equipment when there is evidence of fire, water, or structural damage.
- The device might have more than one power cord, to remove all electrical current from the device, ensure that all power cords are disconnected from the power source.


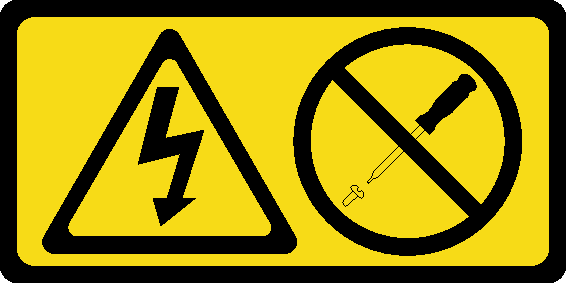
Never remove the cover on a power supply or any part that has this label attached. Hazardous voltage, current, and energy levels are present inside any component that has this label attached. There are no serviceable parts inside these components. If you suspect a problem with one of these parts, contact a service technician.
Read Safety inspection checklist and Installation guidelines to ensure that you work safely.
Turn off the server and peripheral devices, and disconnect the power cords and all external cables, see Power off the server.
If the server is in a rack, remove it from the rack. See Remove the server from the rails.
Remove any locking device that secures the server, such as a Kensington lock or a padlock.
Place the server on its side with the cover up.
- A video of this procedure is available at YouTube.
Procedure
Install another power supply unit, see Install the power supply unit.
If you are instructed to return the component or optional device, follow all packaging instructions, and use any packaging materials for shipping that are supplied to you.


