Install the server cover
Use this information to install the server cover.


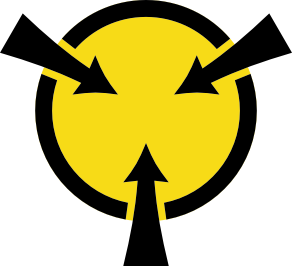
S033
CAUTION
Hazardous energy present. Voltages with hazardous energy might cause heating when shorted with metal, which might result in spattered metal, burns, or both.
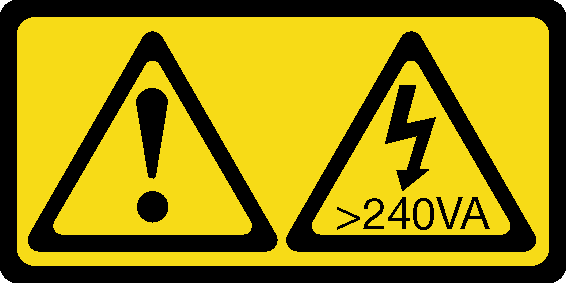
S014
CAUTION
Hazardous voltage, current, and energy levels might be present. Only a qualified service technician is authorized to remove the covers where the label is attached.
Before installing the server cover:
Ensure that all adapters and other components are installed and seated correctly and that you have not left loose tools or parts inside the server.
Ensure that all internal cables are correctly routed. See Internal cable routing.
To install the server cover, complete the following steps:
Watch the procedure
- A video of this procedure is available at YouTube
Figure 1. Server cover installation

Give documentation feedback