
Add a VLAN

ThinkAgile CP allows you to take advantage of your existing virtual LANs (VLANs) or create new VLANs for use in the ThinkAgile CP stack.

Follow these steps to add a new VLAN in ThinkAgile CP Cloud Controller.

  1. In the left navigation menu of ThinkAgile CP Cloud Controller, select Networks under Networks.
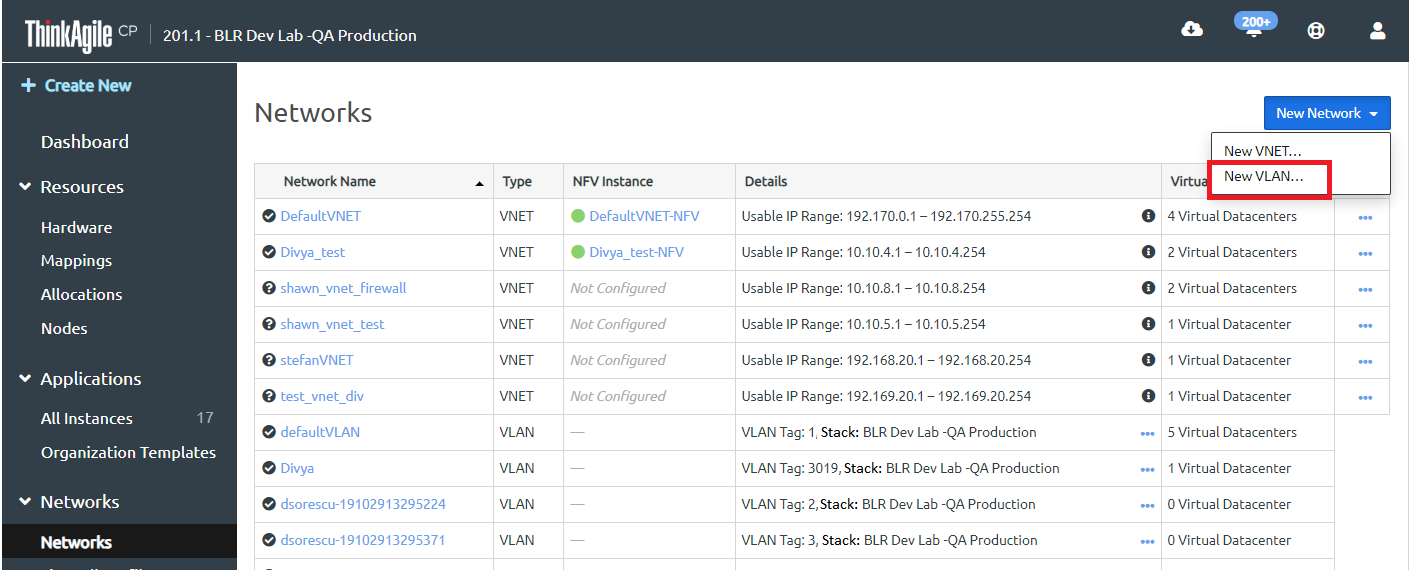
  2. Click New Network and then select New VLAN.


    The New VLAN page opens.

    Figure 1. Define VLAN properties when creating a new VLAN
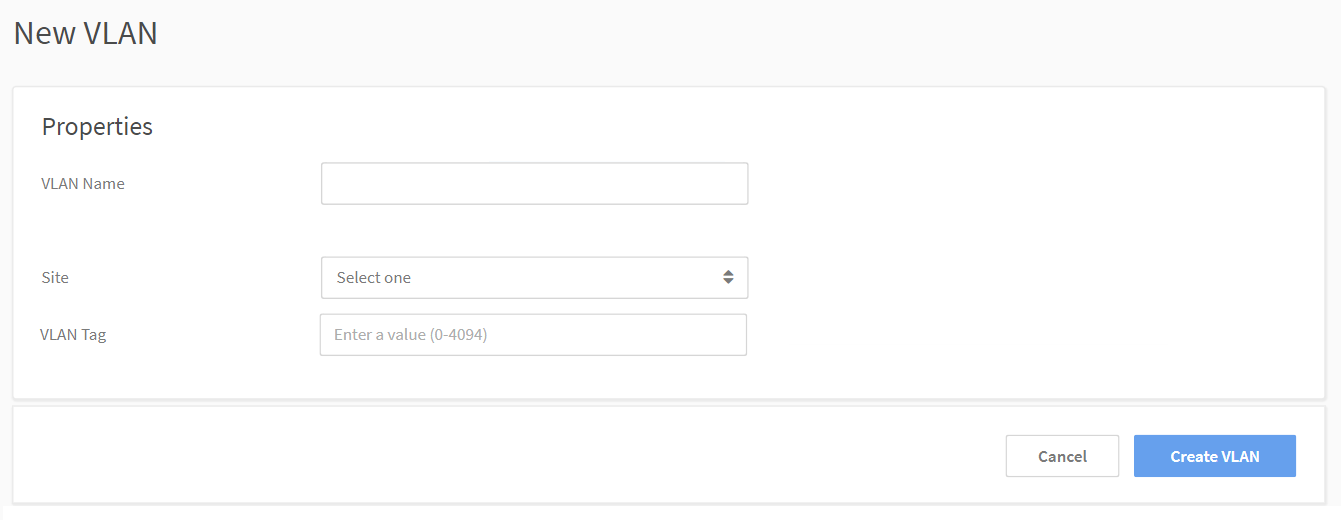

  3. Enter the following information.
    • VLAN Name - Enter a name for the VLAN.
    • Stack - Select the stack where the VLAN should be available. A VLAN is stack-specific. You can select from all stacks within your infrastructure.
    • VLAN Tag - Enter a VLAN Tag (the VLAN ID). If you want to use an existing VLAN, enter the VLAN ID of your existing VLAN network. The VLAN tag entered must be between 0 and 4094, and it cannot be a reserved tag or be already in use within the associated stack.
    Note

    Each stack can use a unique set of VLAN tags.

    Note

    If this VLAN must be available for other stacks, you should create a new VLAN in ThinkAgile CP Cloud Controller for each of the stacks but with the same VLAN ID. If you have more than one location with different VLAN tags and create a migration zone that spans the different locations, then the application could potentially start on a compute node in a location that does not support the given VLAN tag. However, if the different locations share a VLAN tag, then as long as one of the locations VLANs is chosen, the migration zone spanning multiple locations will work when starting the application.

  4. Click Create VLAN
    Note

    For application instances to use the VLAN, you would select the VLAN while configuring the application instance vNICs.