Replacing the hot-swap power supply
This procedure applies only to the 5U server model with hot-swap power supplies (Model name: 2582-F4x).
The following items describe the type of power supply that the server supports and other information that you must consider when you install a power supply:
- To confirm that the server supports the power supply that you are installing, see the Lenovo ServerProven website.
- The server comes standard with one 430-watt hot-swap power supply. The input voltage is 110 V ac or 220 V ac auto-sensing.
- These power supplies are designed for parallel operation. In the event of a power-supply failure, the redundant power supply continues to power the system. The server supports a maximum of two power supplies.
- The server can run fully configured with one power supply. For redundancy support, you must install the second hot-swap power supply.
Note
You cannot mix high-efficiency and non-high-efficiency power supplies in the server.
Statement 5

CAUTION
The power control button on the device and the power switch on the power supply do not turn off the electrical current supplied to the device. The device also might have more than one power cord. To remove all electrical current from the device, ensure that all power cords are disconnected from the power source.

Statement 8

CAUTION
Never remove the cover on a power supply or any part that has the following label attached.


Hazardous voltage, current, and energy levels are present inside any component that has this label attached. There are no serviceable parts inside these components. If you suspect a with one of these parts, contact a service technician.
Attention
During normal operation, each power-supply bay must contain either a power supply or power-supply filler for proper cooling.
To install a hot-swap power supply on the 5U server model with hot-swap power supplies (Model name: 2582-F4x), complete the following steps.
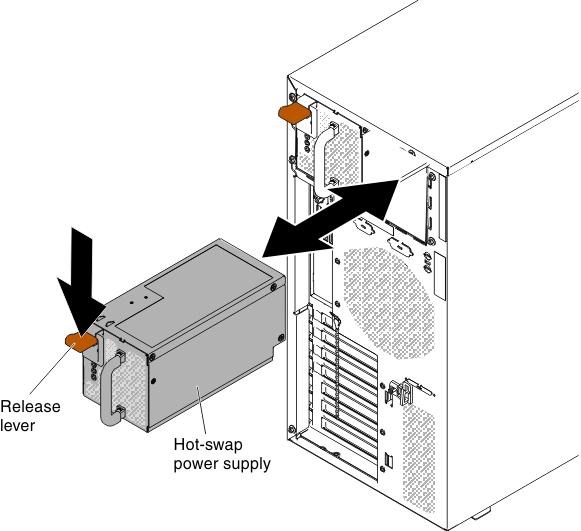
- Place the power supply into the bay guides.
- Using the handle, push the power supply toward the front of the chassis until it locks into place.

- Connect one end of the power cord into the connector on the back of the power supply and connect the other end of the power cord into a properly grounded electrical outlet.
- Make sure that both the ac and dc power LEDs on the rear of the power supply are lit, indicating that the power supply is operating correctly.
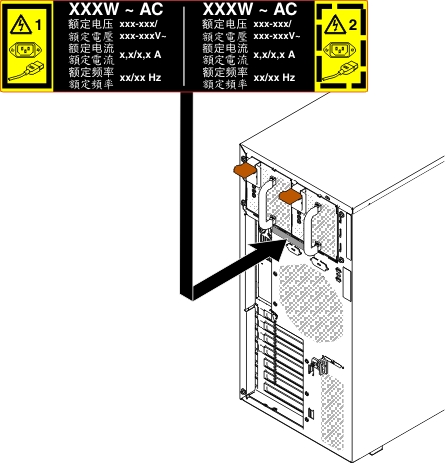
- If you are adding a power supply to the server, attach the redundant power information label that comes with this option on the server top cover near the power supplies.

Give documentation feedback