
Install the compute node cover

Use this procedure to install the compute node cover.

S014
shock hazard
CAUTION
Hazardous voltage, current, and energy levels might be present. Only a qualified service technician is authorized to remove the covers where the label is attached.
S033
240VA shock hazard
CAUTION

Hazardous energy present. Voltages with hazardous energy might cause heating when shorted with metal, which might result in spattered metal, burns, or both.

Before you install the compute node cover:
  1. Read the following section(s) to ensure that you work safely.
  2. Turn off the corresponding compute node that you are going to perform the task on.

  3. Make sure that all components are installed and seated correctly and that you have not left loose tools or parts inside the node.

  4. Make sure that all internal cables are correctly routed. See Internal cable routing.

  5. Remove the compute node (see Remove a compute node from the enclosure).

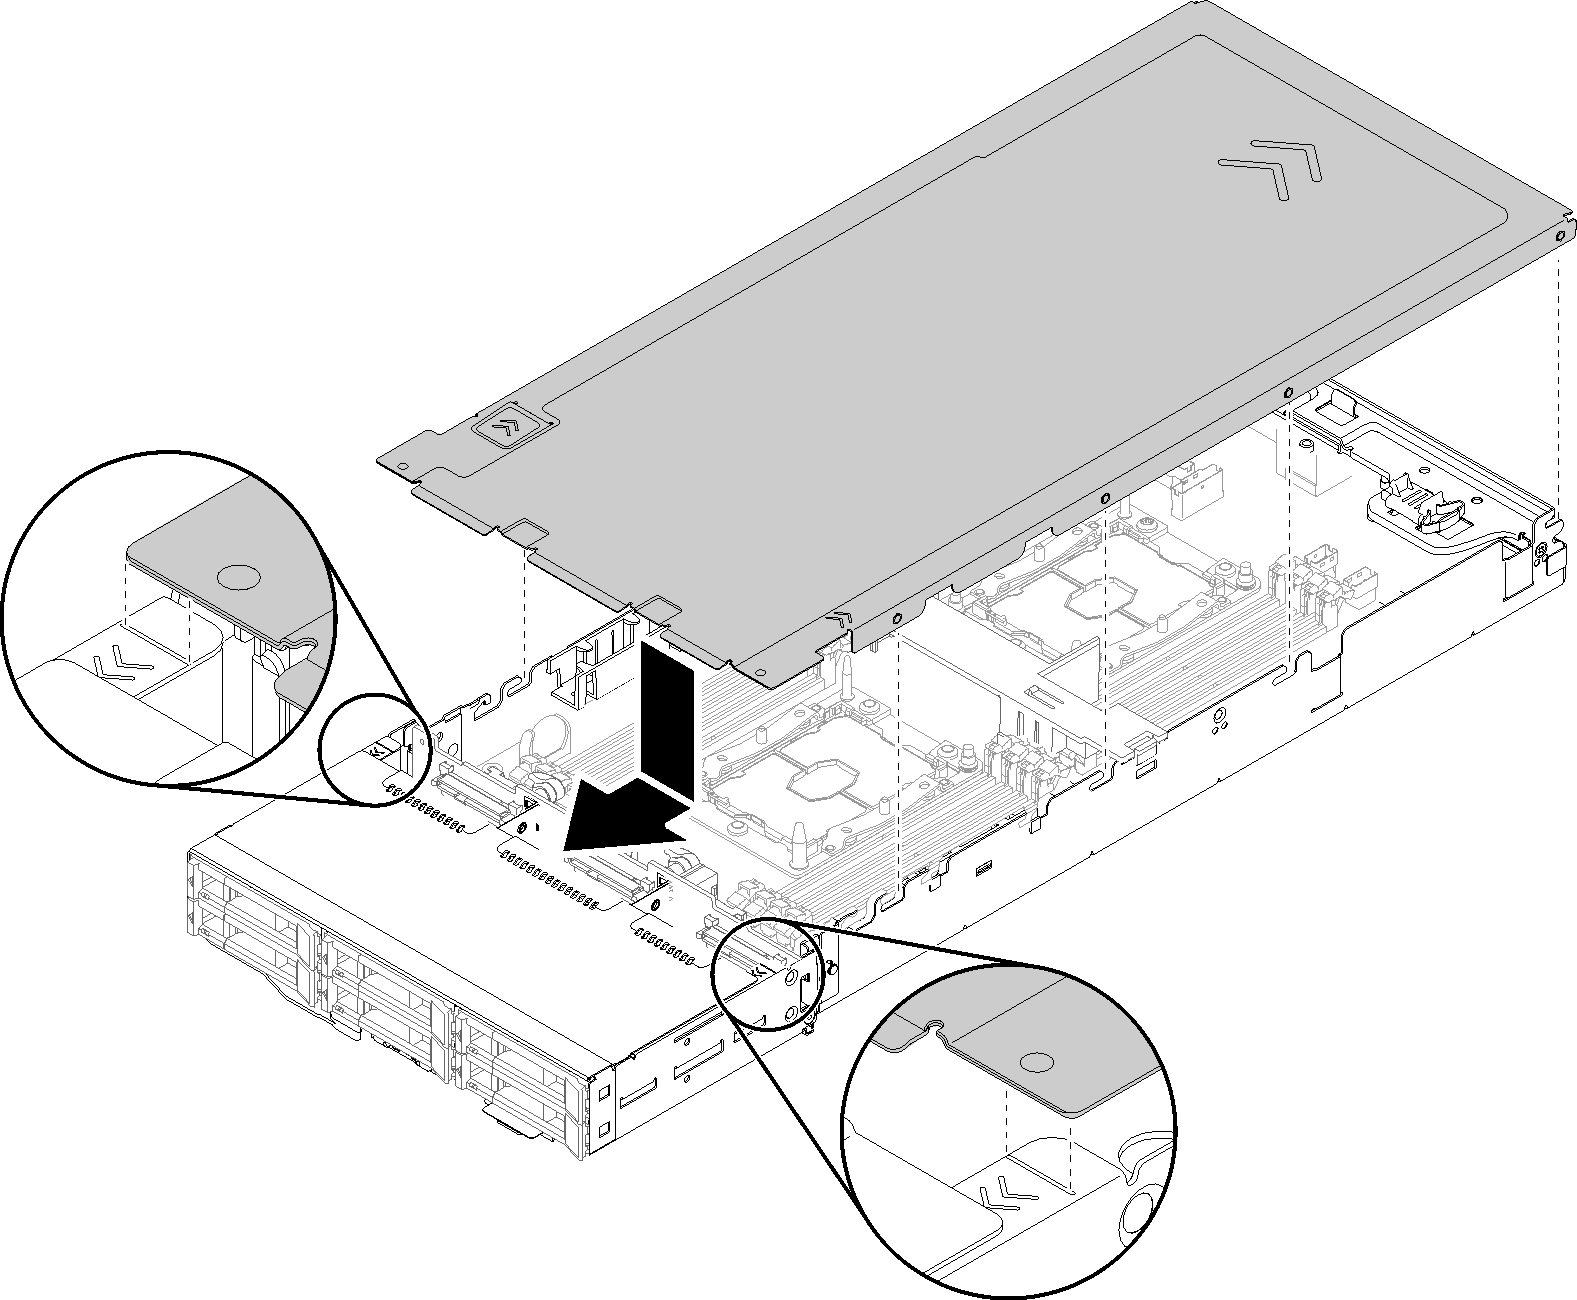
Complete the following steps to install the compute node cover.

Figure 1. Compute node cover installation
Compute node cover installation
Note
Before sliding the cover forward, make sure that all the tabs on the front, rear, and side of the cover engage the side walls correctly. If the pins do not engage the enclosure correctly, it will be very difficult to remove the cover next time.

  1. Align the cover pins with the notches in the side walls of the node, then, position the cover on top of the node.
    Note
    Align the front of the cover with lines in the node as shown in the illustration would help you to install the cover correctly.
  2. Slide the cover forward until the cover latches in place.
After you install the node cover, complete the following steps.
  1. Reinstall the compute node (see Install a compute node in the enclosure).

  2. Check the power LED to make sure it transitions between fast blink and slow blink to indicate the node is ready to be powered on.

Demo video

Watch the procedure on YouTube